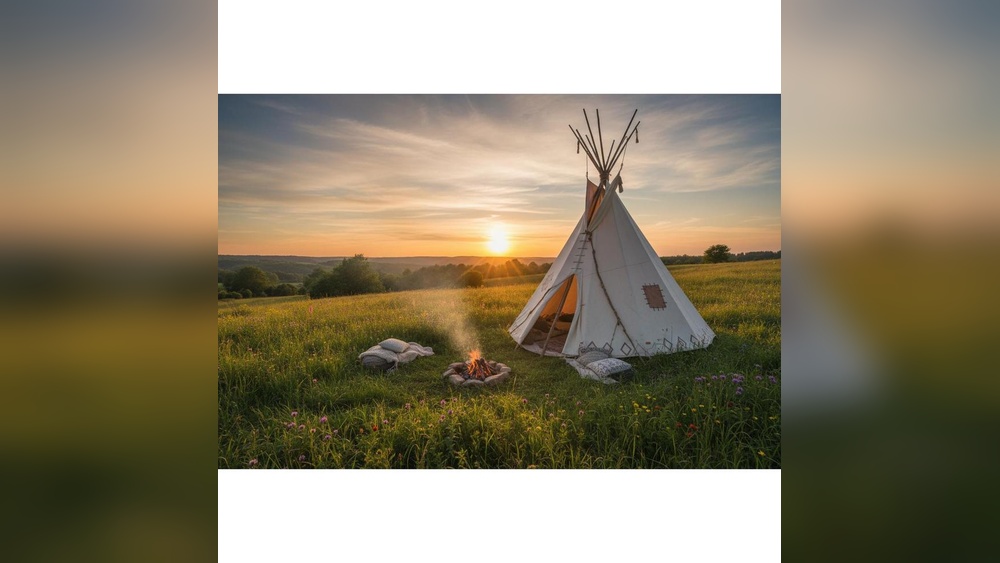
How to Make a Teepee Tent for Camping: Easy Step-by-Step Guide
Ready to transform your camping experience with a unique, cozy shelter? Making your own teepee tent is easier than you think—and it’s a fun project that puts you in control of your outdoor comfort.
Whether you’re camping with family, friends, or solo, a teepee tent offers more space, better ventilation, and a classic style that stands out. In this guide, you’ll discover simple steps to build a sturdy teepee tent using easy-to-find materials. Stick with me, and by the end, you’ll have everything you need to create a reliable, weather-ready teepee that makes your next camping trip unforgettable.
Let’s get started!

Credit: www.wikihow.com
Materials Needed
Gathering the right materials is the first step to make a sturdy teepee tent. This section covers everything needed for a safe and comfortable camping shelter. Focus on three main areas: poles, fabric, and extra supplies. Each plays a key role in the tent’s strength and usability.
Choosing Poles
Select long, straight poles for the tent frame. Wood or bamboo poles work well. They should be strong enough to hold the tent’s weight. The length depends on the size of your teepee. Usually, 6 to 8 feet poles are perfect. Make sure the poles have smooth surfaces to avoid tearing the fabric.
Selecting Fabric
Pick durable, weather-resistant fabric for the tent cover. Canvas is a popular choice because it is tough and breathable. You can also use heavy-duty polyester or nylon. The fabric should be large enough to wrap around the poles fully. Light colors help keep the tent cool during the day.
Additional Supplies
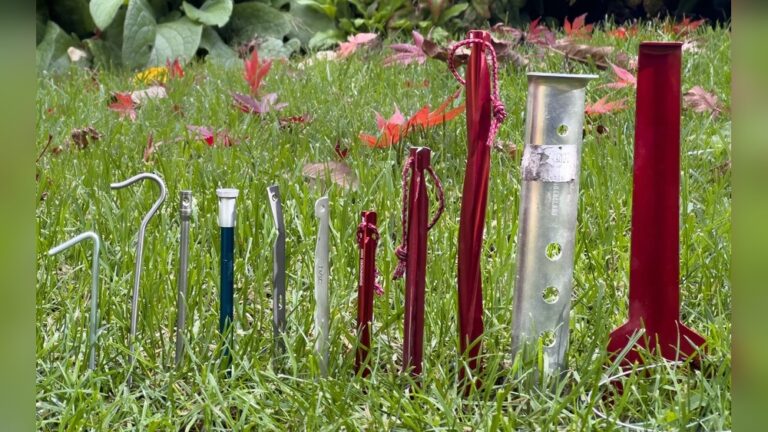
Gather ropes or strong cords to tie the poles at the top. Use stakes or pegs to secure the tent to the ground. A hammer or mallet helps to drive stakes into hard soil. You might also need scissors and a measuring tape for cutting fabric. Consider adding a ground tarp for extra protection from moisture.
Preparing The Poles
Preparing the poles is an important step in building a sturdy teepee tent. The poles form the frame that holds the tent upright. Proper preparation makes the whole structure strong and safe for camping.
This process involves measuring and cutting the poles to the right length. Then, drilling holes for securing them together. Finally, sanding and smoothing the poles ensures no rough edges remain.
Measuring And Cutting
Start by measuring the length needed for each pole. Use a tape measure for accuracy. Mark the wood clearly at the cutting points. Use a saw to cut the poles to the exact lengths. Make sure all poles are equal in length for balance.
Drilling Holes
Drill holes where the poles will be tied or connected. Use a drill bit that fits the rope or fasteners. Drill slowly to avoid splitting the wood. Check that the holes line up when poles are crossed. This helps the tent stay secure.
Sanding And Smoothing
Sand the poles to remove rough spots and splinters. Use medium-grit sandpaper to smooth the surface. Pay special attention to edges and drilled holes. Smooth poles make handling safer and prevent fabric damage. Finish by wiping away dust with a clean cloth.
Constructing The Frame
Constructing the frame is the first step in building your teepee tent. It forms the strong skeleton that holds the tent upright. A well-built frame ensures stability and safety during camping.
Use sturdy poles and secure them tightly to avoid any collapse. Each pole’s position and connection matter to create a balanced structure. Follow these simple steps to build a reliable frame for your teepee tent.
Arranging The Poles
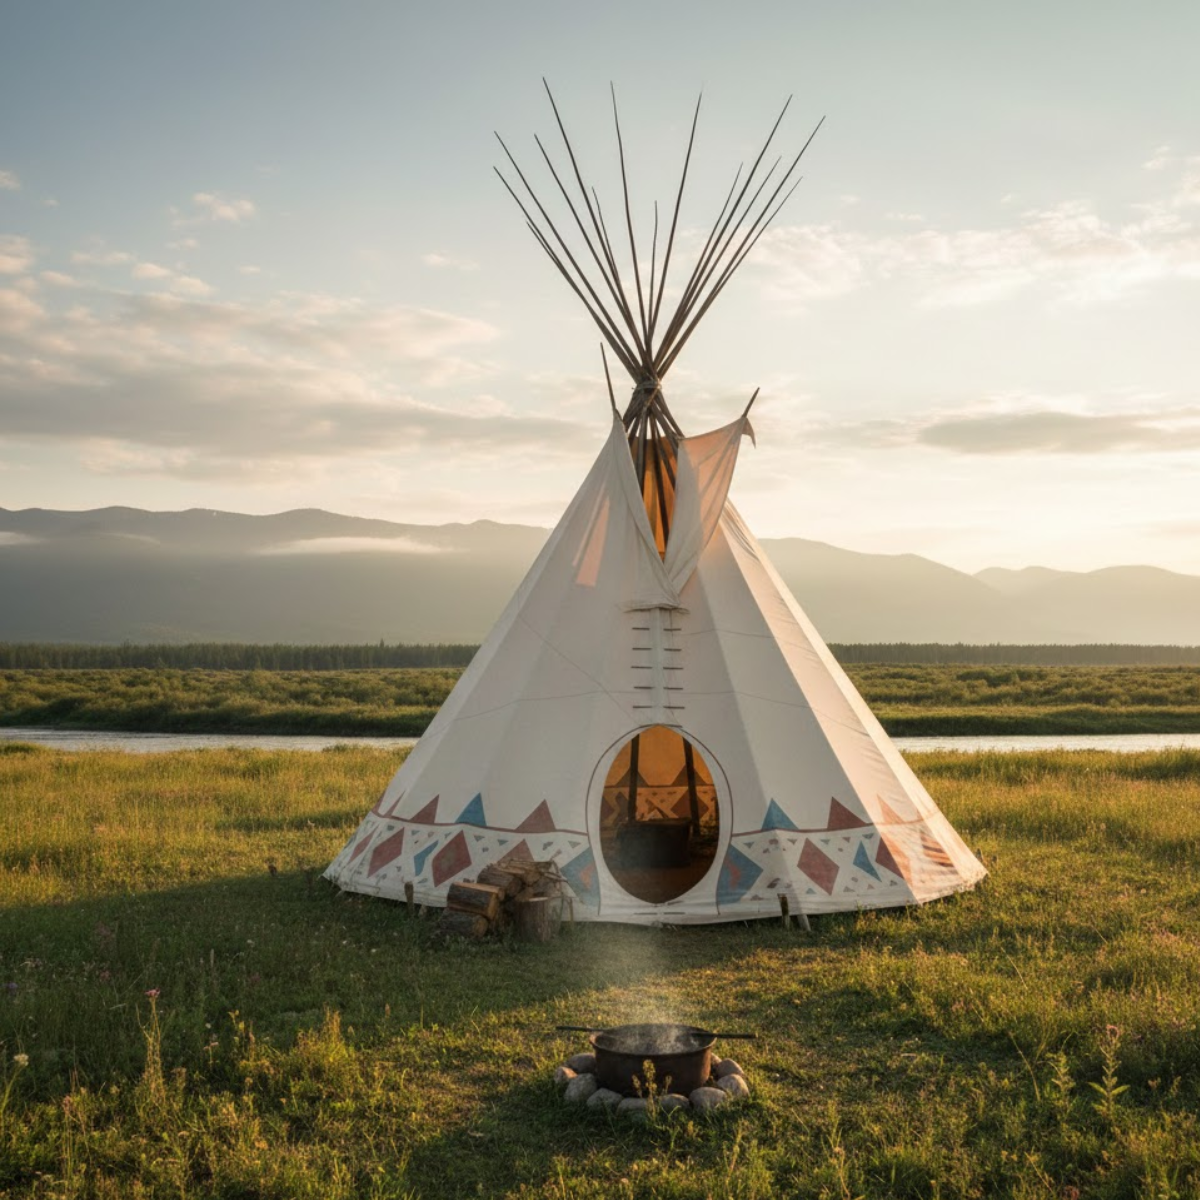
Start by selecting three or more long poles of equal length. Stand them upright in a circle, leaning them toward the center. Spread the bottoms evenly to form a wide base. This triangular shape gives your teepee good support.
Make sure the poles meet at the top with no gaps. Adjust their positions until they feel stable. This setup creates the basic framework for your tent.
Tying The Top Knot
Secure the poles at the top with a strong rope or cord. Wrap the rope around the crossing point several times. Pull it tight to hold the poles firmly together.
Use a sturdy knot like a square knot or clove hitch. This knot keeps the poles from slipping apart during use. Check the knot regularly to maintain tension and strength.
Adding A Stabilizer
Add a stabilizer where the poles cross to prevent wobbling. A simple stabilizer can be a wooden ball or metal piece attached with screws. This piece locks the poles in place and improves durability.
The stabilizer keeps the frame rigid and the fabric tight. It stops the tent from collapsing in windy conditions. Install it carefully for a safe and strong teepee frame.
Credit: www.aosom.com
Attaching The Fabric
Attaching the fabric to your teepee frame sets the stage for a cozy camping shelter. The fabric must fit snugly and stay secure through wind and weather. This step makes the teepee both functional and inviting.
Use a strong canvas or tarp for durability. The fabric should be large enough to cover the frame fully. Proper attachment helps keep warmth inside and moisture out.
Draping The Canvas
Start by spreading the canvas over the teepee poles. Let the fabric hang evenly around the frame’s circumference. Ensure the canvas reaches the ground for full coverage.
Smooth out wrinkles and folds as you adjust the fabric. Leave a little extra at the bottom to anchor it firmly. The canvas should look tight but not overstretched.
Securing With Rope Or Clips
Use rope or clips to fasten the fabric securely to the poles. Tie the rope around the top where the poles meet. Wrap it tightly to hold the canvas in place.
Attach clips or ties along the edges to prevent flapping. Check the tension regularly and tighten ropes as needed. Secure fabric keeps the teepee stable during windy nights.
Creating A Door Flap
Cut a flap in the canvas for an entrance. Leave enough fabric to fold back easily. Reinforce edges with extra stitching or tape for durability.
Attach small ties or Velcro strips to hold the flap open. This makes entering and exiting simple without letting bugs inside. A well-made door flap adds comfort to your teepee.
Setting Up The Tent
Setting up your teepee tent properly ensures comfort and safety during your camping trip. The process starts with selecting the right spot. Next, you raise the structure carefully. Finally, secure the tent to withstand wind and weather. Follow these steps for a stable and cozy teepee camp.
Choosing A Campsite
Pick a flat area free of rocks and debris. Avoid low spots that collect water after rain. Look for natural windbreaks like trees or bushes. Check for overhead hazards such as dead branches. Make sure the ground is firm to hold stakes well.
Erecting The Teepee
Lay out the poles evenly in a circle. Gather the tops of the poles and tie them tightly. Stand the poles upright, spreading the base evenly. Adjust the poles until the frame is stable. Drape the fabric or canvas over the frame carefully. Align the opening with your preferred entrance direction.
Staking And Anchoring
Drive stakes into the ground at each fabric corner. Pull the fabric taut to prevent sagging. Use guy lines attached to the poles for extra support. Tighten all ropes to keep the tent firm. Check stakes regularly and tighten as needed during your stay.
Weatherproofing Tips
Making a teepee tent ready for different weather conditions is key for a good camping trip. Weatherproofing helps keep you dry, warm, and comfortable. This section covers simple tips to protect your teepee from rain, wind, and stuffy air.
Waterproofing The Fabric
Start with a waterproof fabric or treat your canvas with a water repellent spray. Focus on seams and edges to stop water from seeping in. Use seam tape for extra protection. A waterproof cover or tarp over the tent adds a second layer of defense.
Wind Protection
Secure the teepee firmly with strong stakes and ropes. Place the tent where natural windbreaks like trees or bushes exist. Lower the tent height slightly to reduce wind impact. Use thicker poles to add stability. Tighten the fabric to avoid flapping in the wind.
Ventilation Options
Good airflow prevents condensation and keeps the tent fresh. Leave small gaps at the bottom or create a vent near the top. Use mesh windows or panels to allow air in while keeping bugs out. Adjust vents based on weather to balance airflow and warmth.
Safety And Maintenance
Safety and maintenance are key for a great teepee camping experience. A well-kept teepee lasts longer and keeps everyone safe inside. Regular care helps avoid accidents and damage. This section covers how to handle fire safely, check your teepee often, and store it properly after use.
Fire Safety Around Teepees
Keep fires at least ten feet from your teepee. Use a fire ring or pit to contain flames. Never leave a fire unattended. Avoid using flammable liquids near the tent. Always have water or a fire extinguisher nearby. Clear dry leaves and sticks away from the fire area. Smoke can damage the fabric, so keep the door upwind. Teach everyone about safe fire habits before camping.
Regular Checks And Repairs
Inspect your teepee before each trip. Look for holes, tears, or weak spots in the fabric. Check all poles for cracks or splinters. Tighten any loose ropes or ties. Repair small holes with patches or heavy-duty tape. Replace broken poles immediately to prevent collapse. Clean the tent fabric gently with mild soap and water. Allow the teepee to dry completely before packing.
Packing And Storage
Always pack your teepee dry to prevent mold and mildew. Fold the fabric neatly without sharp creases. Store poles in a separate bag to avoid damage. Keep the teepee in a cool, dry place away from sunlight. Avoid placing heavy objects on top of the tent. Check stored materials periodically for signs of wear or pests. Proper storage helps keep your teepee ready for the next adventure.
Customizing Your Teepee
Customizing your teepee tent makes your camping spot feel like home. It adds personality and comfort to your outdoor shelter. Small touches turn a simple teepee into a cozy retreat. Focus on decorations, interior comforts, and lighting to enhance your experience.
Adding Decorations
Use fabrics like colorful scarves or lightweight blankets to decorate the teepee walls. Hang small banners or flags from the poles for a festive look. Attach natural elements like pinecones or feathers for an earthy feel. Choose decorations that are lightweight and easy to pack.
Interior Comforts
Place soft cushions and blankets on the ground to create a comfy floor. Use a small foldable chair or stool for seating. Add a sleeping bag or mattress for warmth and support. Store gear in cloth bags to keep the space neat. Keep the interior simple to save room and avoid clutter.
Lighting Solutions
String battery-operated fairy lights around the poles for gentle lighting. Use LED lanterns with dim settings to avoid bright glare. Place a small flashlight or headlamp inside for reading. Avoid candles to reduce fire risk. Proper lighting makes the teepee inviting after dark.

Credit: camperchristina.com
Conclusion
Building your own teepee tent is a fun and rewarding project. It offers a cozy shelter for your camping trips. Use strong poles and durable fabric for the best results. Secure the frame tightly to keep it stable in the wind.
Don’t forget to stake the tent properly to the ground. With these simple steps, you can enjoy nature with a unique and comfortable shelter. Try making your teepee and experience camping in a new way. Happy camping!

I am an outdoor enthusiast and gear researcher passionate about camping, hiking, backpacking, and outdoor adventures. I enjoy testing gear, comparing products, and sharing practical advice to help readers make informed decisions. At BestOutsideGear, I create honest gear reviews, buying guides, and outdoor tips to help adventurers choose the right equipment with confidence.