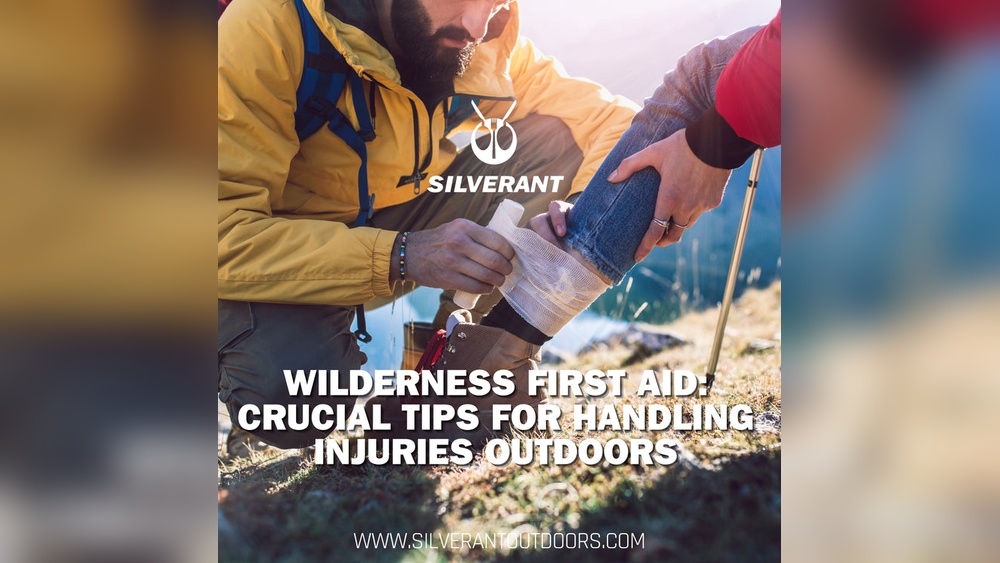
First Aid Tips for Outdoors: Essential Life-Saving Strategies
Imagine you’re deep in the woods, miles away from help, when suddenly someone in your group gets hurt. What would you do?
Knowing the right first aid tips for outdoors can make all the difference between a minor scare and a serious emergency. Whether you’re hiking, camping, or just exploring nature, being prepared with simple, effective first aid skills puts you in control.
This guide will walk you through essential steps to handle common outdoor injuries quickly and confidently—so you can keep yourself and your loved ones safe no matter where your adventure takes you. Ready to become the person everyone counts on when things go wrong? Let’s get started.
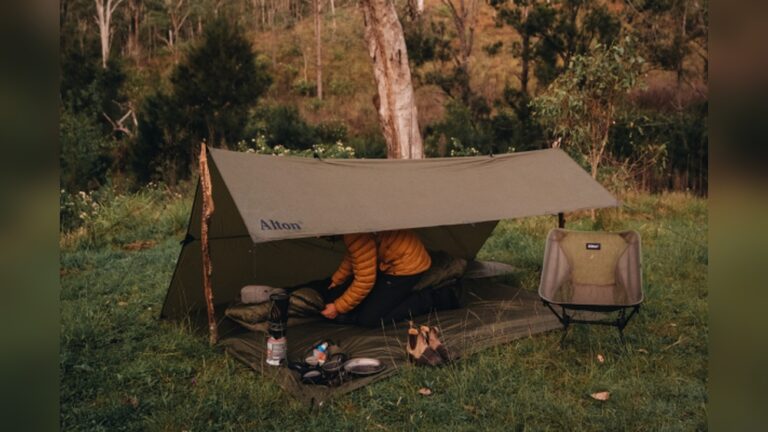
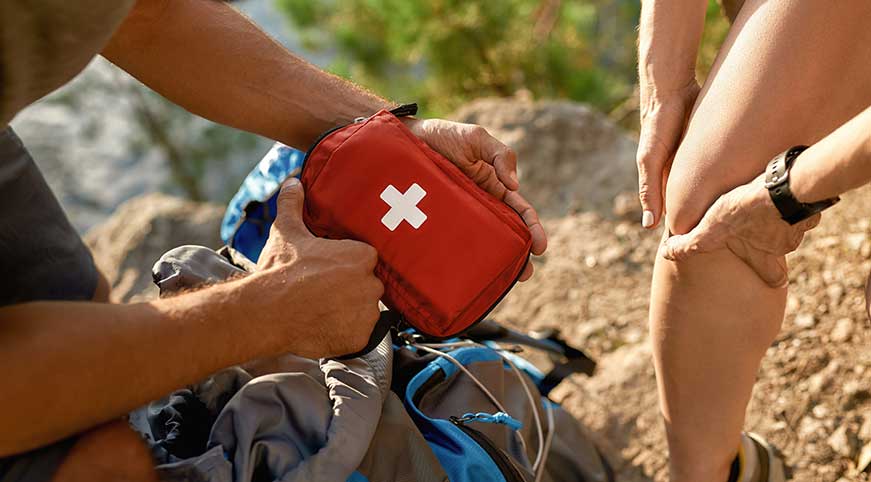
Outdoor First Aid Kit Essentials
Having the right first aid kit is key for safety outdoors. It helps handle common injuries fast and keeps small problems from getting worse. A well-stocked kit prepares you for cuts, burns, bites, and other emergencies. Understanding what to pack makes your outdoor adventures safer and more enjoyable.
Basic Supplies To Include
Start with items that treat common injuries. Bandages and adhesive tape protect wounds and cuts. Sterile gauze pads help stop bleeding. Antiseptic wipes clean wounds to prevent infection. Tweezers remove splinters and debris. Pain relievers ease aches and pains. Include scissors and safety pins for cutting and fixing.
Specialized Gear For Wilderness
Wilderness needs extra gear beyond basics. A snake bite kit is vital in some areas. Emergency blankets keep you warm in cold weather. A whistle helps signal for help if lost. Moleskin prevents blisters on long hikes. Include allergy medicine for insect stings or plant reactions. Waterproof matches or a lighter can start fire in emergencies.
Packing Tips For Portability
Keep your kit compact and light. Use a small, durable container to protect supplies. Organize items in clear bags or compartments for easy access. Check and restock your kit before each trip. Carry the kit in a backpack pocket or belt pouch. A well-packed kit stays ready without adding bulk or weight.
Assessing Outdoor Emergencies
Assessing outdoor emergencies quickly and correctly saves lives. Before helping, understand the situation and risks. Stay calm and focus on what needs attention first. Proper assessment guides your actions and keeps everyone safer.
Ensuring Scene Safety
Check the area for dangers like fire, falling branches, or wildlife. Do not rush into unsafe spots. Make sure you and the injured person are safe before helping. Use gloves or barriers to protect from blood or fluids. Safety first protects both you and the victim.
Prioritizing Injuries
Look for life-threatening problems like heavy bleeding or no breathing. Stop severe bleeding by applying firm pressure. Check if the person is breathing or conscious. Treat the most serious injuries first. Minor cuts or bruises come after major issues are handled. Keep the person calm and still.
When To Call For Help
Call emergency services if the injury is serious or life-threatening. This includes heavy bleeding, broken bones, or unconsciousness. If you are unsure, call for help anyway. Better safe than sorry in outdoor emergencies. Provide clear information about the location and condition. Stay on the line until help arrives.
Bleeding Control Techniques
Controlling bleeding outdoors is critical for preventing shock and saving lives. Quick, effective actions help reduce blood loss and stabilize the injured person. Knowing simple techniques ensures you can respond confidently in emergencies.
Applying Direct Pressure
Place a clean cloth or bandage directly on the wound. Press firmly with your hand to stop bleeding. Maintain steady pressure without lifting it. If blood soaks through, add more cloths on top. Do not remove the first cloth to avoid reopening the wound. Keep the injured area elevated above the heart if possible.
Using Tourniquets Safely
Use a tourniquet only for severe limb bleeding that direct pressure cannot control. Position it 2 to 3 inches above the wound, away from joints. Tighten until bleeding stops and no pulse is felt below the tourniquet. Note the time it was applied. Do not loosen or remove the tourniquet until medical help arrives. Improper use can cause tissue damage.
Managing Severe Bleeds
For heavy bleeding, call emergency services immediately. Apply direct pressure or a tourniquet as needed. Keep the person calm and lying down. Prevent hypothermia by covering them with a blanket. Monitor breathing and consciousness until help arrives. Rapid response is vital to prevent complications.
Treating Burns In The Wild
Burns in the wild need quick and careful treatment. Immediate care reduces pain and stops damage. Knowing how to handle burns outdoors helps protect skin and avoid infection. Stay calm and follow simple steps to treat burns safely.
Cooling And Dressing Burns
Cool the burn with clean, cool water for 10 to 20 minutes. Avoid using ice or very cold water. Pat dry gently with a clean cloth. Cover the burn with a loose, sterile dressing or cloth. Do not apply creams or oils. Keep the dressing loose to avoid pressure on the burn.
Handling Stuck Clothing
Do not pull off clothing stuck to the burn. Cut around the stuck fabric carefully. Leave the stuck parts in place to avoid more damage. Cover the area with a clean cloth to protect it. Seek medical help as soon as possible.
Preventing Infection
Keep the burn clean and dry. Change dressings daily or if they become wet or dirty. Avoid touching the burn with dirty hands. Use sterile gloves if available. Watch for signs of infection like redness, swelling, or pus. Get medical care quickly if infection appears.
Managing Fractures And Sprains
Fractures and sprains are common injuries during outdoor activities. Quick and proper care reduces pain and prevents further damage. Knowing basic steps to manage these injuries is essential for safety in the outdoors.
Immobilizing Injuries
Immobilize the injured area to stop movement. Movement can cause more damage or increase pain. Use your hands or a soft material to hold the limb steady. Avoid trying to straighten a bent or twisted limb. Keep the person calm and still until help arrives.
Using Splints Effectively
Splints support and protect broken bones and sprains. Use rigid items like sticks, boards, or rolled-up newspapers. Place padding between the splint and skin to avoid pressure sores. Secure the splint with cloth strips or bandages above and below the injury. Check circulation by pressing a finger beyond the injury; color should return quickly.
Elevation And Compression
Elevate the injured limb above heart level to reduce swelling. Use pillows, blankets, or your hands for support. Apply gentle compression with an elastic bandage to control swelling. Do not wrap too tightly; watch for numbness or color changes. Elevation and compression help ease pain and speed recovery.
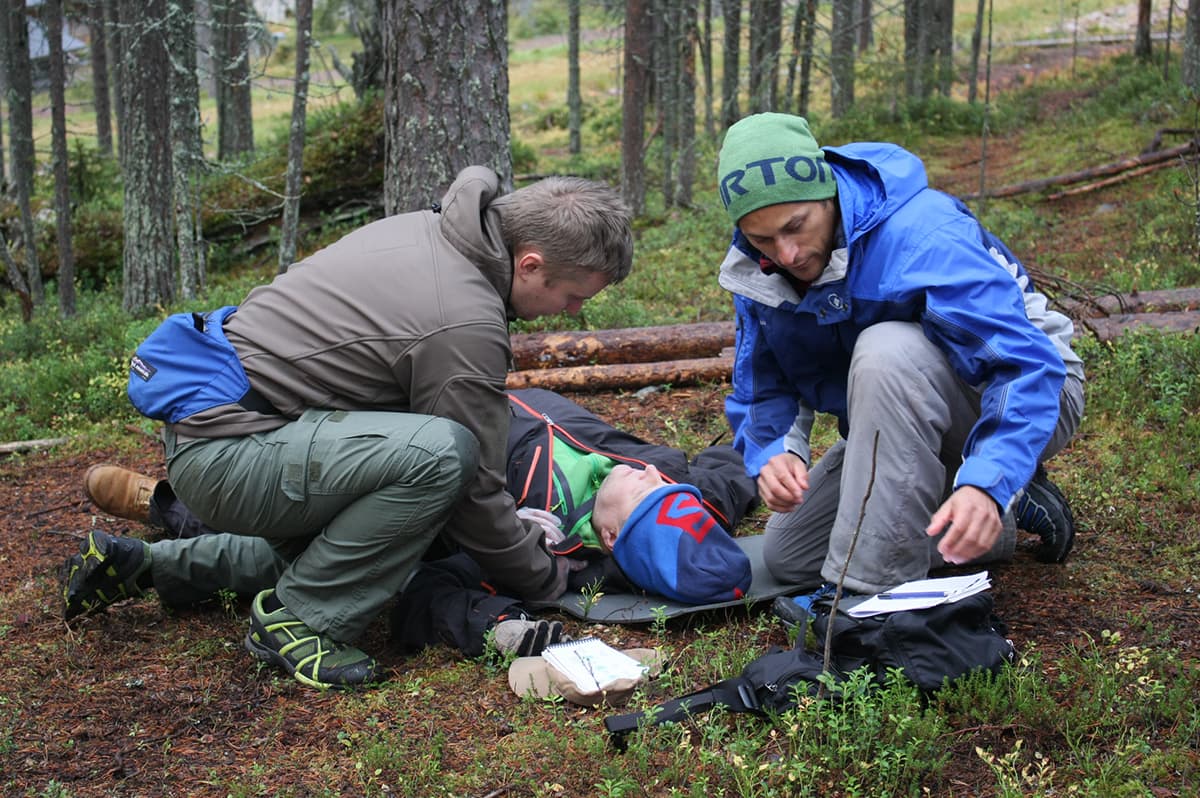
Handling Head And Spinal Injuries
Handling head and spinal injuries outdoors requires careful attention and calm action. These injuries can be very serious and need immediate care. Understanding how to respond can prevent further harm and save lives.
In outdoor settings, help may be far away. Knowing the right steps helps keep the injured person safe until professionals arrive. Avoid rushing or making sudden moves that may worsen the injury.
Recognizing Serious Signs
Look for signs like loss of consciousness or confusion. Watch for severe headache or vomiting. Notice any weakness or numbness in limbs. Check if the person cannot move their arms or legs. Look for bleeding or bruising on the head or neck. These signs show a serious head or spinal injury.
Minimizing Movement
Keep the person still and calm. Do not try to lift or turn them. Support the head and neck gently if you must move them. Use your hands or rolled towels to keep the head steady. Avoid twisting or bending the spine. Movement can cause more damage.
When To Evacuate
Evacuate only if the person is in immediate danger. For example, if there is fire or flood nearby. Call emergency services as soon as possible. Keep the person lying flat and still during evacuation. Use a sturdy board or stretcher if available. Move slowly and carefully to avoid jolts.
Basic Cpr And Rescue Breathing
Basic CPR and rescue breathing are critical skills during outdoor emergencies. These techniques can keep a person alive until professional help arrives. Knowing how to act fast and correctly improves survival chances significantly.
CPR helps maintain blood flow to vital organs. Rescue breathing provides oxygen to someone who has stopped breathing. Both are essential in cases of drowning, choking, or cardiac arrest outdoors.
Hands-only Cpr Steps
Place the person on their back on a firm surface. Kneel beside their chest. Put the heel of one hand on the center of their chest. Place your other hand on top, interlocking your fingers.
Keep your arms straight and shoulders directly above your hands. Push hard and fast, about 2 inches deep and 100 to 120 compressions per minute. Let the chest rise fully between compressions. Continue until help arrives or the person shows signs of life.
Using Barrier Devices
Barrier devices protect you and the victim during rescue breaths. Common types include face shields and pocket masks. Always carry one in your first aid kit outdoors.
Place the barrier over the victim’s mouth and nose. Pinch the nose shut if using a face shield. Give two slow breaths, watching for the chest to rise. Remove the barrier and continue chest compressions immediately.
Cpr For Children And Adults
CPR steps differ slightly by age. For adults, use both hands for compressions. For children aged 1 to 8, use one or two hands depending on their size.
Give rescue breaths with a barrier device for both groups. For infants under 1 year, use two fingers for chest compressions and cover the mouth and nose with your mouth for breaths.
Always check for responsiveness and breathing before starting CPR. Call emergency services as soon as possible. Early CPR improves survival and recovery outcomes outdoors.
Credit: lnt.org
Dealing With Cuts And Scrapes
Outdoor activities often lead to small injuries like cuts and scrapes. These wounds can be painful and may slow down your adventure. Proper care helps wounds heal faster and prevents infection. Knowing how to treat cuts and scrapes is essential for any outdoor enthusiast.
Cleaning Wounds Properly
Start by washing your hands to avoid adding germs. Rinse the cut or scrape with clean water. Use mild soap if available, but avoid harsh chemicals. Gently remove any dirt or debris with a soft cloth or tweezers. Avoid scrubbing, as this can damage the skin further. Pat the area dry with a clean towel or gauze.
Applying Dressings
Cover the wound with a sterile dressing to keep it clean. Use adhesive bandages for small cuts or sterile gauze for larger scrapes. Secure the dressing with tape or a bandage wrap. Change the dressing daily or if it gets wet or dirty. Keep the wound dry and protected to speed healing.
Spotting Infection Signs
Watch for redness, swelling, or warmth around the wound. Pus or bad smell can also signal infection. Increased pain or fever are warning signs too. Seek medical help if these symptoms appear. Early action prevents serious problems and helps you recover safely.
Preventing Outdoor Illnesses
Spending time outdoors brings joy and adventure. Staying healthy during outdoor activities is key. Illnesses can spoil the fun and cause serious problems. Simple prevention steps help avoid common outdoor health issues. Knowing how to protect yourself improves safety and comfort.
Heat Exhaustion And Hypothermia
Heat exhaustion happens from too much sun and heat. Symptoms include heavy sweating, weakness, and dizziness. Rest in a cool place and drink water slowly. Remove tight clothes and cool the skin with wet cloths.
Hypothermia occurs when the body loses heat too fast. It causes shivering, confusion, and slow movements. Warm the person with blankets and dry clothes. Avoid hot drinks or direct heat on cold skin.
Insect Bites And Stings
Insect bites can cause itching, swelling, and pain. Avoid scratching to prevent infection. Use insect repellent and wear long sleeves in bug areas. Remove stingers gently with a flat edge, not tweezers.
For stings, clean the area with soap and water. Apply ice to reduce swelling and take pain relievers if needed. Watch for allergic reactions like difficulty breathing or swelling of the face.
Water And Food Safety
Unclean water and food cause stomach illnesses outdoors. Drink only filtered or bottled water. Boil water if unsure about its safety. Eat fully cooked food and avoid raw or undercooked items.
Keep food sealed and away from dirt and insects. Wash hands before eating or handling food. These habits prevent common illnesses and keep you feeling well.
Credit: www.hollywoodpresbyterian.com
Emergency Signaling Methods
Emergency signaling methods are vital during outdoor first aid. They help rescuers find you quickly. Knowing simple signals can save lives. Use tools and natural resources around you. Keep calm and signal clearly for help.
Using Mirrors And Whistles
A mirror can reflect sunlight to catch attention from far away. Aim the reflection towards aircraft or distant people. Flash the light in short bursts to create a clear signal.
A whistle is loud and carries farther than shouting. Use three short blasts followed by a pause. Repeat this pattern to indicate distress. Whistles do not need much energy, so use them wisely.
Fire And Light Signals
Fire creates smoke during the day and light at night. Build a small fire with dry materials. Add green leaves to create thick smoke for daytime signaling.
At night, flash a torch or use a fire to send signals. Use three fires or flashes spaced apart. This pattern is recognized worldwide as a call for help.
Communicating Location
Mark your location clearly to guide rescuers. Use rocks or branches to form large symbols on the ground. The letters “SOS” or a large “X” work well.
Keep these signs visible from the sky. Place them in open areas without trees blocking the view. Always stay near your signals for better chances of being found.
Credit: www.exsplore.com
Frequently Asked Questions
What Are The 5 P’s Of First Aid?
The 5 P’s of first aid are: Preserve life, Prevent worsening, Promote recovery, Protect from infection, and Provide reassurance.
What Are The 10 Basic First Aid Tips?
1. Check the scene for safety before helping. 2. Call emergency services immediately. 3. Wear gloves to protect yourself. 4. Stop bleeding with firm pressure. 5. Clean and cover wounds with sterile dressings. 6. Elevate injured limbs to reduce swelling.
7. Cool burns with water, then cover loosely. 8. Keep the person calm and comfortable. 9. Avoid moving those with suspected spinal injuries. 10. Perform CPR if the person stops breathing.
What Are The First Aid Techniques In Outdoor Recreation?
Assess the scene for safety and call for help. Stop bleeding with firm pressure. Cool burns and cover loosely. Immobilize fractures, elevate limbs, and apply compression. Keep the person calm and still. Perform CPR if needed. Clean and dress wounds, monitoring for infection.
What Are The 3 C’s Of First Aid?
The 3 C’s of first aid are Check, Call, and Care. First, check the scene and victim. Then, call emergency services. Finally, provide care until help arrives.
Conclusion
Being prepared with basic first aid skills makes outdoor adventures safer. Always carry a well-stocked first aid kit. Know how to stop bleeding, treat burns, and handle injuries. Stay calm and act quickly to help yourself or others. Practice these tips regularly to build confidence.
Remember, safety starts with readiness. Enjoy nature while protecting yourself and those around you.