Step by Step Guide to Using Inflatable Sleeping Pad: Ultimate Comfort Tips
Ready to transform your camping nights with comfort and ease? Using an inflatable sleeping pad might seem tricky at first, but once you get the hang of it, you’ll wonder how you ever camped without one.
This step-by-step guide will show you exactly how to set up your inflatable sleeping pad quickly and correctly, so you can enjoy a good night’s sleep wherever your adventures take you. Follow along, and you’ll learn simple tips and tricks that save you time and effort—making every outdoor trip more relaxing.
Let’s dive in and get your sleeping pad ready to provide the perfect rest you deserve!
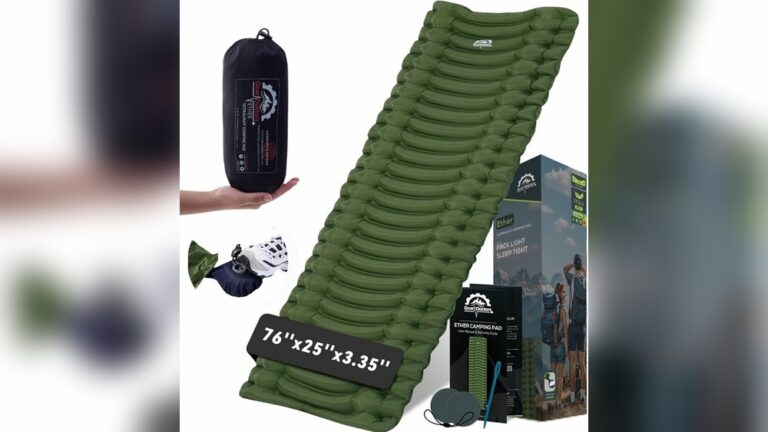
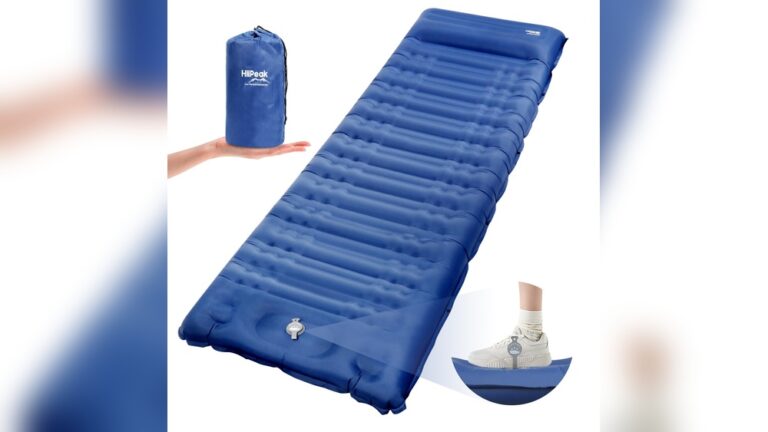
Choosing The Right Sleeping Pad
Choosing the right inflatable sleeping pad makes your outdoor rest much better. It affects comfort, warmth, and ease of use. The right pad fits your needs and camping style. Consider types, material, size, and weight carefully. This ensures a good night’s sleep on any adventure.
Types Of Inflatable Pads
Inflatable sleeping pads come in three main types: air pads, self-inflating pads, and hybrid pads. Air pads are lightweight and compact. Self-inflating pads have foam inside that expands with air. Hybrid pads combine foam and air for extra comfort. Each type suits different camping needs and budgets.
Material And Durability
Material quality affects how long your pad lasts and its resistance to punctures. Look for pads made from strong nylon or polyester fabrics. Some have extra coatings for water resistance. Durable materials protect you from rough ground and sharp objects. A tough pad lasts through many camping trips.
Size And Weight Considerations
Size and weight matter for carrying and comfort. Larger pads offer more space but weigh more. Smaller pads save space but might feel tight. Consider your backpack space and how far you walk. Choose a pad that balances comfort with easy transport. Lightweight pads ease long hikes and quick setup.

Credit: cascadedesigns.com
Preparing For Inflation
Preparing your inflatable sleeping pad for inflation sets the stage for a comfortable rest. Proper preparation ensures the pad inflates evenly and lasts longer. Follow simple steps to get ready before adding air.
Selecting A Flat Surface
Choose a clean, flat area free of sharp objects. Rocks, sticks, and uneven ground can damage the pad or cause discomfort. Clear the spot thoroughly to protect your sleeping pad and provide a stable base.
Removing The Pad From Storage
Take the pad out of its storage bag gently. Avoid pulling or tugging hard, which might stretch or tear the material. Lay it flat on the prepared surface to let it start to warm up and relax before inflation.
Checking For Damage Or Leaks
Inspect the pad carefully for holes, tears, or weak spots. Press gently on the surface and listen for escaping air. Detecting problems early helps prevent air loss and ensures a good night’s sleep.
Inflating Your Sleeping Pad
Inflating your sleeping pad correctly sets the foundation for a comfortable night. It controls how soft or firm your pad feels. The process starts with opening the valve and continues with adding air. Different methods suit different pads. Use a pump sack, blow air manually, or combine both. Follow these simple steps to ensure your pad is ready for use.
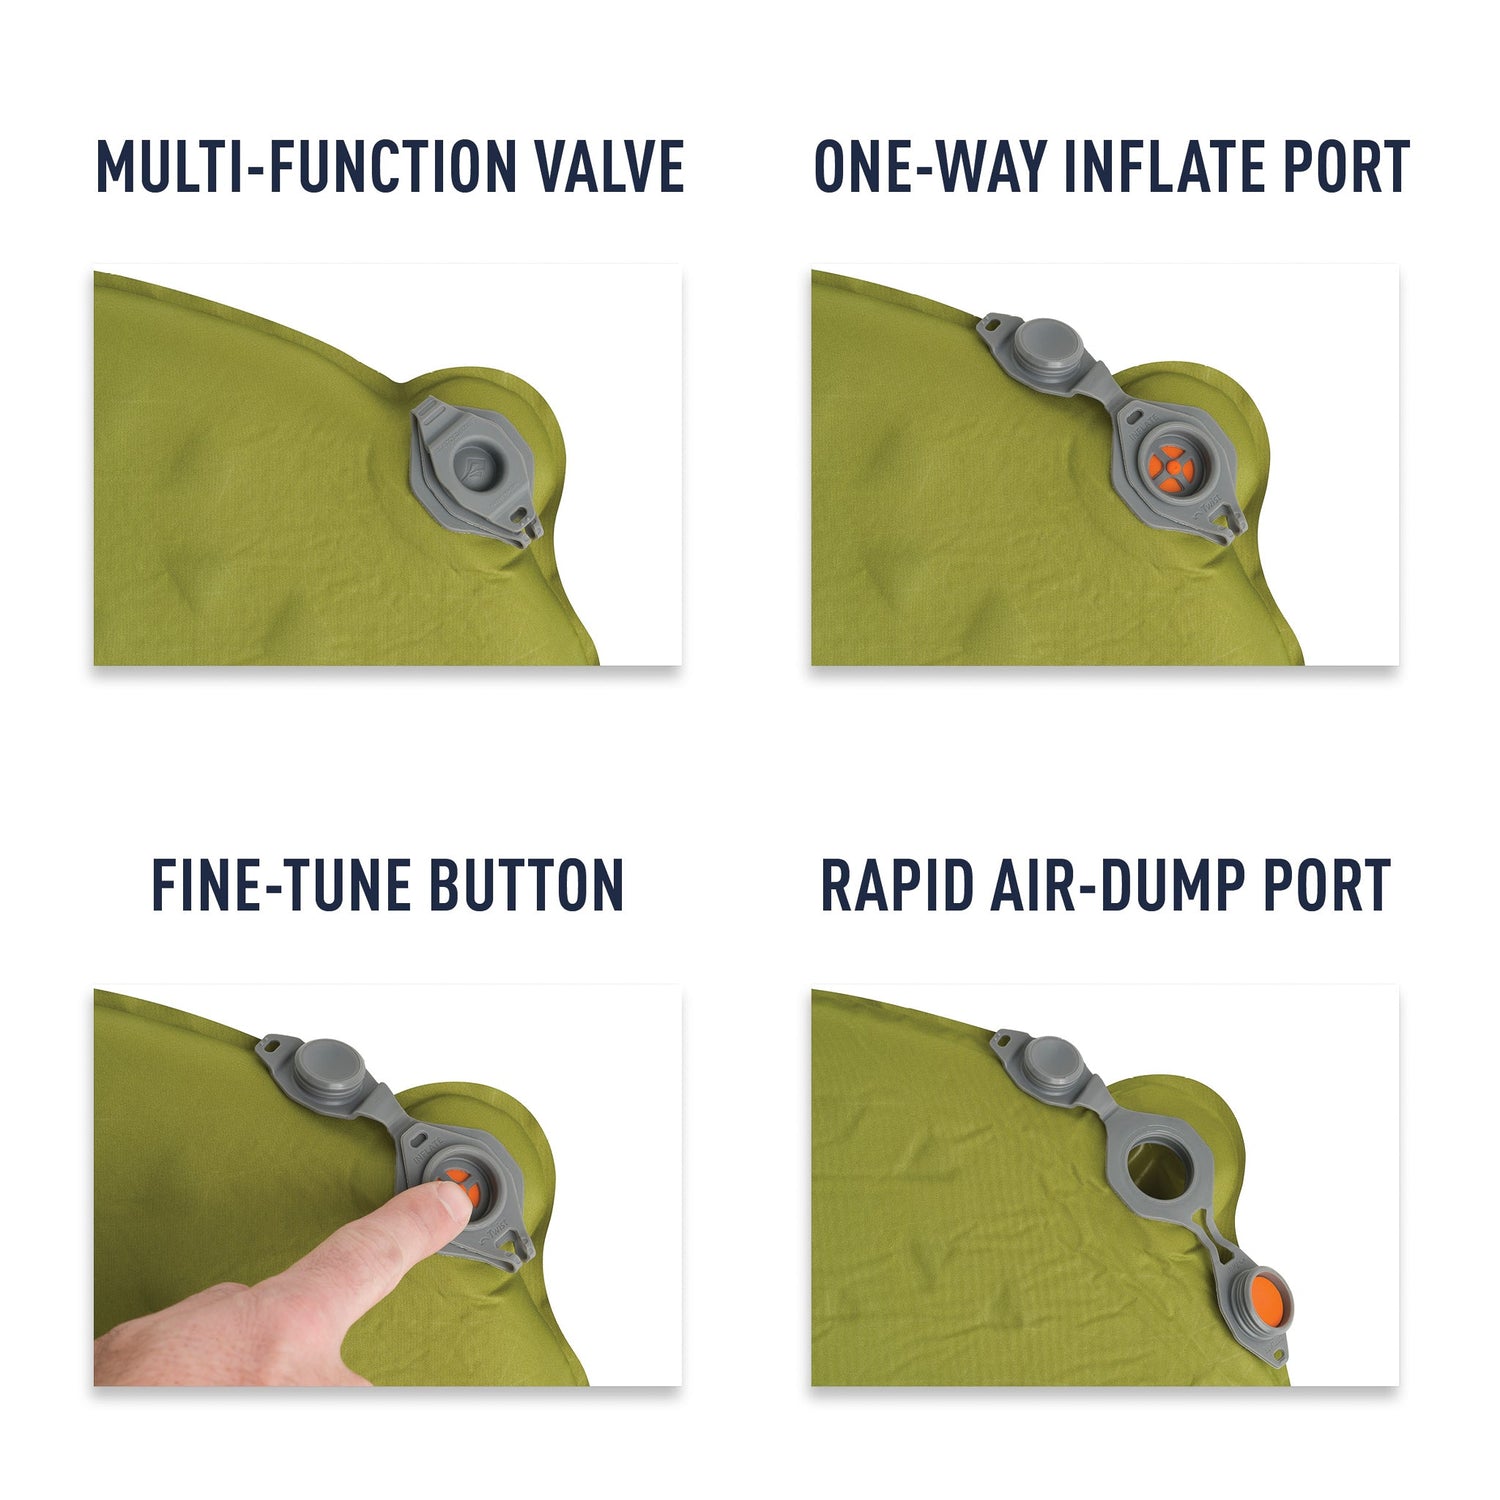
Opening The Valve
Locate the valve on your sleeping pad. Turn or pull it open gently. This valve allows air to enter or escape. Make sure it stays open during inflation. Closing it too soon traps less air inside. Confirm the valve is clean to avoid leaks. A fully open valve speeds up inflation.
Using A Pump Sack
Attach the pump sack to the valve. Pump sacks are bags that push air into the pad. Fill the sack with air by opening it wide. Seal the sack’s opening and press it to force air inside. Repeat this motion until the pad feels firm. Pump sacks save your breath and inflate pads fast.
Manual Inflation Techniques
Some pads require blowing air by mouth. Take a deep breath and blow steadily into the valve. Pause to check firmness often. Avoid over-inflating as it may damage the pad. Use short bursts if the valve has a one-way system. Cover the valve quickly after inflation to keep air inside.
Tips For Faster Inflation
Warm air inflates pads more easily. Inflate your pad indoors or in a warm spot. Keep the valve open fully during inflation. Use a pump sack whenever possible. Inflate in short bursts if blowing by mouth. Avoid bending or folding the pad too much. These tips help save time and effort.
Credit: seatosummit.com.au
Adjusting Firmness And Comfort
Adjusting the firmness and comfort of your inflatable sleeping pad is essential for a restful night. The right air level supports your body and cushions pressure points. Small changes can make a big difference. This section explains how to add or release air, find the best support, and use extra accessories for comfort.
Adding Or Releasing Air
Start by opening the valve on your sleeping pad. To increase firmness, blow air into the pad slowly until it feels firm but not hard. To soften the pad, open the valve slightly and press gently to let some air out. Repeat these steps until you reach your preferred comfort level. Always test by lying on the pad before sleeping.
Achieving Optimal Support
Firmness affects how your body rests on the pad. A firmer pad offers better support for your back and joints. A softer pad feels cushier but may not prevent soreness. Adjust air levels to balance comfort and support. Take time to find the right firmness for your sleeping style. Remember, your comfort improves your sleep quality.
Using Additional Accessories
Accessories can boost your comfort further. Use a thin foam layer under the pad for extra insulation and softness. A pillow or inflatable headrest can improve neck support. Some pads work well with sleeping bags designed for extra padding. Choose accessories that fit your needs and camping style. These small additions make your sleep much better outdoors.
Deflating And Packing Up
Deflating and packing up your inflatable sleeping pad is just as important as inflating it. Proper steps help keep the pad clean, safe, and ready for the next use. This process also makes packing easier and saves space in your bag.
Opening The Valve For Air Release
Start by fully opening the valve on your sleeping pad. This lets the trapped air escape quickly. Keep the pad flat on the ground to allow smooth air flow. Gently press on the pad to push out air faster. Avoid sharp folds to prevent damage.
Rolling And Compressing The Pad
After most air is out, fold the pad in half lengthwise. Begin rolling tightly from the end opposite the valve. Roll slowly to push remaining air out through the open valve. Use your hands to press and compress as you roll. Stop when the pad is small and firm.
Proper Storage Methods
Store the rolled pad in its carry bag or a dry, cool place. Avoid damp areas to prevent mold and mildew. Keep the pad away from direct sunlight or heat sources. If storing for a long time, unroll the pad occasionally to air it out. This maintains the pad’s shape and foam quality.

Credit: seatosummit.com
Maintaining Your Sleeping Pad
Maintaining your inflatable sleeping pad ensures it stays comfortable and lasts for many trips. Proper care helps avoid damage and keeps it clean. Follow these simple steps to keep your sleeping pad in top shape.
Cleaning And Drying
After use, wipe your sleeping pad with a damp cloth. Use mild soap if it has dirt or stains. Avoid harsh chemicals that can harm the material. Let the pad air dry completely before storing it. Drying prevents mold and bad smells.
Repairing Small Holes
Check your pad for small holes or leaks regularly. Use a patch kit designed for inflatable pads. Clean the area around the hole before applying the patch. Press the patch firmly and let it set for a few hours. This simple fix stops air leaks and keeps the pad usable.
Storage Tips For Longevity
Store your sleeping pad in a cool, dry place away from direct sunlight. Avoid folding it tightly; loosely roll or fold instead. Keep it away from sharp objects or heavy items. Proper storage maintains the pad’s shape and air retention. This care extends the life of your sleeping pad.
Troubleshooting Common Issues
Using an inflatable sleeping pad can greatly improve your outdoor sleep quality. Sometimes, small problems may occur. Troubleshooting common issues helps keep your pad in good shape. This section explains simple fixes for usual problems. Follow these easy steps to solve them quickly.
Fixing Leaks And Punctures
Leaks cause your pad to lose air and become uncomfortable. Find leaks by listening for hissing sounds or feeling for escaping air. You can also spread soapy water on the pad surface. Bubbles will show where the air escapes.
Use a repair kit with patches and glue to fix holes. Clean the area around the leak first. Apply the patch firmly and let it dry. Avoid inflating the pad immediately to ensure a strong seal.
Dealing With Valve Problems
The valve controls air flow in and out of the pad. Dirt or damage can cause it to stick or leak. Clean the valve with a soft cloth and mild soap. Check if the valve cap fits tightly.
If the valve won’t close properly, try adjusting or replacing it. Some valves can be unscrewed for easy repair. Keep the valve free from sand and debris to avoid problems.
Improving Inflation Efficiency
Inflating your pad quickly saves time and effort. Use a pump sack or built-in pump if available. Make sure the valve is open during inflation. Inflate the pad on a flat surface to avoid damage.
For manual inflation, take slow, deep breaths to fill the pad. Stop if you feel dizzy. Close the valve tightly after inflating to keep air inside. Store the pad rolled up to maintain shape and efficiency.
Enhancing Comfort On The Pad
Enhancing comfort on your inflatable sleeping pad makes your outdoor rest more enjoyable. A soft, warm, and well-positioned pad supports better sleep. Small adjustments and added layers change how you feel during the night. Here are key ways to improve comfort and get the most from your sleeping pad.
Using Insulating Layers
Place an insulating layer under your sleeping pad to block cold from the ground. Foam pads or closed-cell mats work well as a base. This stops heat loss and keeps you warmer. Adding a thin blanket over the pad adds extra warmth. Use materials that are lightweight and easy to pack for camping.
Adding Pillows And Cushions
Bring a small pillow or cushion for head support. Inflatable or compressible pillows save space in your bag. Use rolled clothes as a makeshift pillow if you forget one. Adding cushions under knees or lower back can relieve pressure points. Comfort improves when your body feels fully supported.
Positioning For Better Sleep
Lie in the center of the pad to avoid sliding off during sleep. Adjust your body so your spine stays straight and relaxed. Keep your arms and legs slightly bent to reduce tension. Test different positions before sleeping fully to find what feels best. Proper positioning reduces aches and helps you rest deeply.
Frequently Asked Questions
How To Use An Inflatable Sleeping Pad?
Unroll the sleeping pad and open its valve. Let it self-inflate or blow air manually for firmness. Adjust air by opening the valve to soften or inflating more for support. Close the valve tightly before use to prevent air loss.
How To Inflate A Self-inflating Sleeping Pad With A Pump?
Open the sleeping pad valve. Attach the pump securely. Use the pump to fill air until firm. Close the valve tightly.
How To Inflate A Self-inflating Cushion?
Open the valve on the cushion. Let foam expand and draw in air. Add mouth inflation for firmer support if needed. Close valve to finish.
How Long Does It Take For A Self-inflating Sleeping Pad To Inflate?
A self-inflating sleeping pad takes about 5 to 15 minutes to fully inflate. Larger pads may need up to 30 minutes. Opening the valve allows foam inside to expand and draw air in automatically. For firmer support, add extra air by mouth or pump.
Conclusion
Using an inflatable sleeping pad is simple and practical. Follow each step carefully for best results. Proper inflation gives you comfort and support during sleep. Remember to adjust air levels for your preference. Deflate the pad fully to save space when packing.
Regular use keeps the pad in good condition. Enjoy a better night’s rest on your outdoor trips. This guide helps you use your sleeping pad with ease.