Step by Step Guide to Using Hydration Pack Effectively
Are you ready to stay perfectly hydrated on your next adventure without the hassle of carrying bulky water bottles? Using a hydration pack might seem tricky at first, but once you get the hang of it, it becomes an effortless way to drink water on the go.
Whether you’re hiking, biking, or running, your hydration pack can keep you refreshed and energized every step of the way. In this step-by-step guide, you’ll learn how to fill, wear, and maintain your hydration pack like a pro. Keep reading to discover simple tips that will transform how you stay hydrated during your outdoor activities—because your body deserves the best care, and staying hydrated is the key!
Credit: liquid-iv.com.au
Choosing The Right Hydration Pack
Choosing the right hydration pack is essential to stay hydrated comfortably during your outdoor adventures. The perfect pack supports your activity without weighing you down or causing discomfort. Let’s break down the key factors to consider so you can find the pack that fits your needs perfectly.
Capacity And Size Options
Think about how much water you need for your activity. Hydration packs usually range from 1.5 to 3 liters in capacity. If you’re planning a short hike, a smaller 1.5-liter pack might be enough.
For longer rides or runs, consider a 2-3 liter pack to avoid frequent refills. Also, check the overall size—some packs include extra storage for snacks or gear, while others focus only on hydration.
Ask yourself: Do you want a lightweight pack with minimal storage, or a larger one that carries essentials?
Fit And Comfort Features
Comfort is key, especially when you wear your pack for hours. Look for adjustable straps and padded shoulder areas to reduce pressure points. Some packs come with mesh back panels to improve airflow and reduce sweat buildup.
Try the pack on before buying, if possible. Does it sit snugly without bouncing? A good fit makes a huge difference in comfort and prevents chafing.
Remember, a pack that feels great at the start of your activity might feel different after a few miles—choose one that stays comfortable over time.
Activity-specific Designs
Your activity shapes your pack choice. Trail runners benefit from slim, lightweight hydration vests that minimize movement. Cyclists often prefer packs with extra storage for tools and snacks.
Hikers might want a pack that balances hydration with enough room for layered clothing and emergency supplies. Some packs are designed specifically for winter sports or long-distance events.
What activity will you use your hydration pack for most? This will guide you toward the best design.
Additional Features To Consider
Look for features that enhance convenience. Quick-release bite valves let you sip without stopping. Some packs have insulated tubes to keep water cool in hot weather.
Extra pockets for phones, keys, or energy bars can be a game-changer. Reflective elements increase safety if you’re out early or late.
Consider how easy the pack is to clean—removable bladders and wide openings simplify maintenance. What features would make your hydration experience smoother?
Preparing Your Hydration Pack
Preparing your hydration pack properly ensures a smooth and enjoyable outdoor experience. This step includes cleaning, filling, flavoring, and sealing the bladder. Taking time to prepare it well helps avoid spills and keeps your water tasting fresh. Follow these simple steps to get your hydration pack ready for your next adventure.
Cleaning The Bladder Before Use
Start by rinsing the bladder with warm water. Use a mild soap or specialized cleaning tablets to remove any residue. Scrub the interior gently with a soft brush or sponge. Rinse thoroughly to remove all soap traces. Let the bladder air dry completely before filling it. Clean bladders prevent mold and keep water fresh.
Filling The Reservoir Correctly
Open the bladder wide for easy filling. Use clean, cold water for the best taste. Fill the bladder up to the recommended level, usually marked inside. Avoid overfilling to prevent leaks. Close the opening firmly to secure the water inside. Proper filling ensures comfort and balance while wearing the pack.
Adding Electrolytes And Flavors
Add electrolyte powders or tablets to boost hydration. Mix flavors like lemon or berry for a refreshing taste. Stir gently to dissolve the additives completely. Avoid sugary drinks that can clog the tube. Using electrolytes helps replace minerals lost through sweat. Flavored water encourages regular sipping during activity.
Sealing And Leak Testing
Seal the bladder opening tightly to prevent spills. Check the bite valve and tube for secure attachment. Hold the pack upside down to test for leaks. Squeeze the bladder gently to spot any drips. Fix any leaks before heading out. Proper sealing keeps your gear dry and your water safe.
Wearing Your Hydration Pack
Wearing your hydration pack correctly ensures comfort and easy access to water while on the move. A well-fitted pack stays secure and balanced, preventing distractions during your activity. Follow these steps to wear your hydration pack for the best experience.
Adjusting Straps For Comfort
Start by loosening all the straps before putting on the pack. Slip the pack over your shoulders and position it on your back. Tighten the shoulder straps evenly until the pack feels snug but not tight. Use the chest strap to pull the pack closer to your body. Adjust the waist belt to sit comfortably on your hips. Check that the pack does not shift when you move.
Positioning For Balance And Accessibility
Place the hydration pack high on your back for better balance. The weight should sit close to your center of gravity. Avoid letting the pack hang too low, which may cause discomfort. Position the bladder bladder so the water flows easily to the hose. Keep the bite valve within easy reach for quick sips.
Securing The Hose And Bite Valve
Route the hose over your shoulder and clip it to the strap or chest belt. This stops the hose from swinging or snagging on branches. Position the bite valve near your mouth for easy access. Use the valve’s cover to protect it from dirt. Make sure the valve is closed when not drinking to avoid leaks.
Tips For Running Vs Hiking
For running, keep the pack tight to reduce bounce. Use the chest and waist straps firmly to secure it. For hiking, you can loosen straps slightly for comfort on long walks. Check the hose position often during running to avoid interference. On hikes, feel free to adjust the pack for better airflow and comfort.
Credit: nuleafnaturals.com
Drinking From Your Hydration Pack
Drinking from your hydration pack keeps you refreshed during any activity. It offers hands-free access to water, making hydration easy and quick. Understanding how to use it correctly helps avoid spills and saves water. Follow these simple steps to drink comfortably and efficiently.
Using The Bite Valve Efficiently
The bite valve controls water flow from the hydration pack. Bite gently on the valve to open it. Suck water through the tube without pulling hard. Release your bite to stop the flow. Keep the valve clean to avoid blockages. Practice biting and sipping before your activity.
Managing Water Intake During Activity
Drink small amounts regularly instead of large gulps. This keeps you hydrated longer and prevents cramps. Sip water every 15 to 20 minutes during exercise. Pay attention to your thirst, but don’t wait too long to drink. Adjust your water intake based on the weather and activity intensity.
Preventing Leaks And Spills
Close the bite valve tightly when not drinking. Check the valve for damage before use. Secure the hydration pack’s tube to prevent it from pulling or snagging. Avoid overfilling the bladder to reduce pressure leaks. Store the pack upright to keep water inside the bladder.
Maintaining And Cleaning
Keeping your hydration pack clean and well-maintained ensures safe drinking water and extends its lifespan. Dirt, bacteria, and mold can grow inside the bladder if not cleaned properly. Regular care prevents bad smells and keeps your pack ready for use. Follow these steps to maintain your hydration pack effectively.
Daily Cleaning Tips
After each use, rinse the bladder with warm water. Remove any leftover water and debris from the tube and bite valve. Use a soft brush or cloth to clean the inside gently. Avoid using soap daily as it can leave residue. Let the pack air out to dry before storing it.
Deep Cleaning Methods
Clean the bladder deeply once a week or after extended use. Use a mixture of water and mild dish soap or baking soda. Fill the bladder halfway and shake it well. Scrub the inside with a cleaning brush designed for hydration bladders. Clean the tube and valve thoroughly. Rinse everything with clean water until no soap remains.
Drying And Storage Techniques
Dry the bladder completely before storage. Hang it upside down to let air flow inside. Use a drying rack or insert a clean paper towel to keep it open. Store the pack in a cool, dry place away from sunlight. Avoid folding or crushing the bladder to prevent damage.
Preventing Mold And Odors
Prevent mold by drying your pack fully after every use. Avoid leaving water inside the bladder for long periods. Use cleaning tablets designed for hydration bladders occasionally. Regularly check the tube and valve for buildup. Replace parts if you notice persistent odors or mold growth.
Troubleshooting Common Issues
Troubleshooting common issues with your hydration pack keeps you hydrated and comfortable. Small problems can stop your hydration system from working well. Fixing these issues quickly helps you enjoy your outdoor activities without interruptions.
Fixing Leaks And Valve Problems
Leaks are the most common issue in hydration packs. Check the bladder seams for any holes or tears. Replace the bladder if damage is found. Valve leaks often happen if the valve is not closed properly. Clean the valve regularly to avoid dirt buildup. Make sure the valve is fully closed when not in use. If the valve still leaks, consider replacing it with a new one.
Dealing With Hose Kinks
Hose kinks block water flow and cause frustration. Keep the hose straight and avoid sharp bends. Use clips or hose guides on your pack to hold the hose in place. Before filling the bladder, straighten the hose to prevent kinks. If a kink happens during use, gently bend the hose back into shape. Replacing the hose is an option if it stays kinked or damaged.
Replacing Worn Components
Over time, parts of your hydration pack wear out. The bladder, valve, or hose may crack or become less flexible. Check your pack regularly for signs of wear. Purchase replacement parts from the manufacturer or trusted sellers. Follow the instructions to swap old parts with new ones. Proper maintenance extends the life of your hydration pack and keeps it working well.
Maximizing Hydration Benefits
Using a hydration pack correctly improves your water intake efficiency. It helps keep your energy steady during activities. Proper use can prevent dehydration and related issues. Understanding key tips boosts your hydration experience and health.
Focus on the quality of fluids and monitoring your body’s needs. Adjust your hydration method based on your environment and activity level. Small changes can make a big difference in staying hydrated.
Using Electrolyte Packets Safely
Electrolyte packets add essential minerals to your water. These minerals help maintain fluid balance and muscle function. Follow the packet instructions carefully to avoid adding too much. Overuse can cause stomach discomfort or other problems.
Mix the packet in your hydration bladder before your activity. Shake gently to dissolve the powder fully. Avoid leaving mixed electrolyte water in the bladder for too long. Clean the bladder well after use to prevent build-up and bacteria.
Monitoring Hydration Levels
Track how much water you drink during activities to stay properly hydrated. Use time or distance as a guide for drinking intervals. Pay attention to signs like thirst, dry mouth, or dark urine color. These indicate your hydration status.
Adjust your water intake based on these signals. Avoid drinking too little or too much water. Both can lead to health issues like dehydration or water intoxication. Stay aware and listen to your body’s needs.
Hydration Tips For Different Climates
Hot weather increases sweating and water loss. Drink more frequently and include electrolytes to replace minerals lost. Cold weather may reduce thirst, but hydration is still important. Sip water regularly to avoid dehydration.
High altitude can cause faster dehydration. Increase water intake and rest when needed. Adjust your hydration plan based on the climate you face. This helps maintain energy and prevents health problems.

Credit: initibag.com
Frequently Asked Questions
How Long Will Water Stay Fresh In A Hydropack?
Water stays fresh in a hydropack for about 24 to 48 hours if stored in a cool, shaded place. Clean the bladder regularly to prevent bacteria growth.
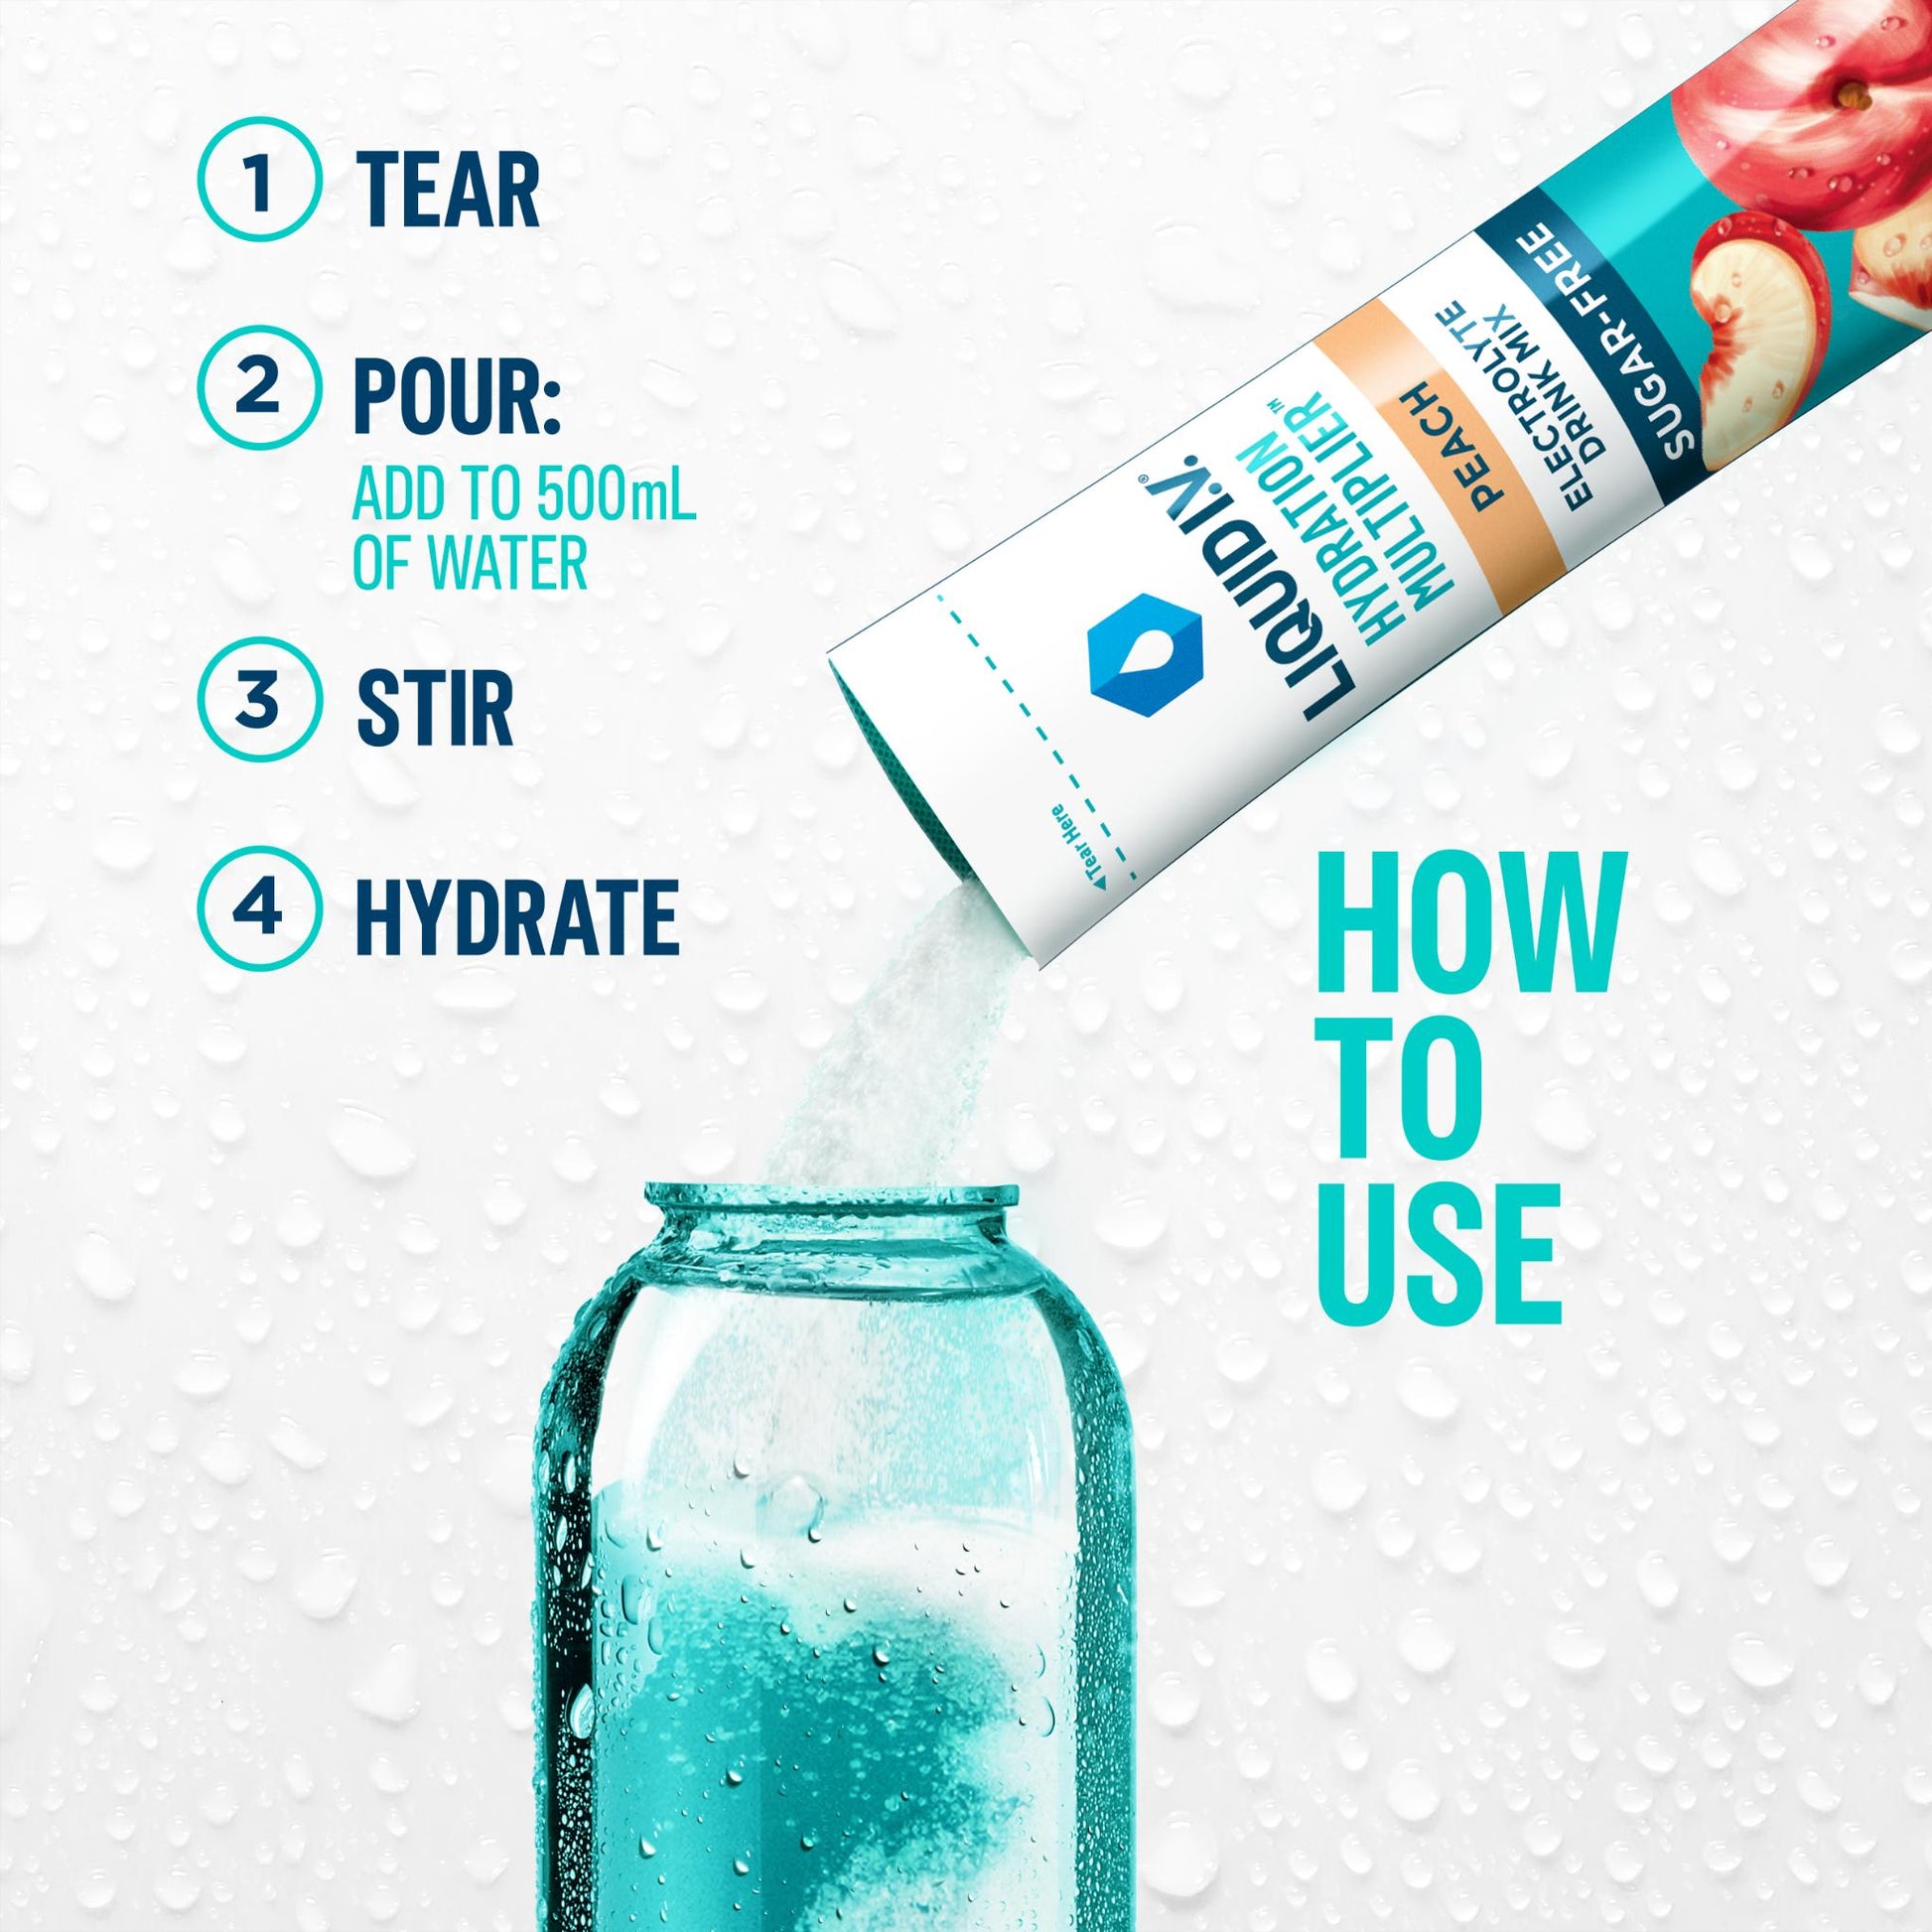
How Do You Use Hydration Packets?
Tear open the hydration packet and pour it into a water bottle or hydration pack. Shake well to mix. Drink regularly to stay hydrated and energized.
What Are The Disadvantages Of Using A Hydropack?
Hydropacks can be hard to monitor water levels since the bladder is opaque. They require frequent cleaning to prevent mold and odors. The bite valve may leak if damaged. Filling and drying the bladder takes more time than using a regular water bottle.
Can You Put Gatorade In A Hydration Pack?
Yes, you can put Gatorade in a hydration pack. Rinse the pack well afterward to prevent sticky residue and mold growth.
Conclusion
Using a hydration pack keeps you refreshed during outdoor activities. Follow each step carefully to fill, wear, and clean it properly. Remember to check for leaks before heading out. Drink regularly to stay hydrated and energized. With practice, using your hydration pack will feel natural and easy.
Enjoy your adventure with confidence and comfort.

I am an outdoor enthusiast and gear researcher passionate about camping, hiking, backpacking, and outdoor adventures. I enjoy testing gear, comparing products, and sharing practical advice to help readers make informed decisions. At BestOutsideGear, I create honest gear reviews, buying guides, and outdoor tips to help adventurers choose the right equipment with confidence.