Where to Put Tent in Backpack: Smart Packing Tips for Hikers
Packing your backpack for a trip into the wild is more than just stuffing everything inside. It’s about balance, access, and comfort. Where you put your tent in your backpack can make a big difference in how you hike and how easily you set up camp. If you get it right, you avoid back pain, save time, and keep your gear in good shape. Let’s break down the best ways to pack your tent, the reasons behind them, and some smart tips that even experienced hikers sometimes overlook.
Understanding Backpack Structure
Before you decide where to put your tent, you need to know the basic zones of a backpack. Most hiking packs have three main areas: the bottom, the middle, and the top. Some also have outside attachment points.
- Bottom zone: This is usually where you put items you won’t need during the day, like your sleeping bag.
- Middle zone: This is the core, near your back, where you want heavy items.
- Top zone: This area is for things you might need quickly, like a rain jacket or snacks.
- Exterior: Loops, straps, and mesh pockets for bulky or wet gear.
Understanding this layout helps you decide where to place your tent for the best weight distribution and access.
Tent Packing Options: Inside Vs. Outside
There are two main choices for packing your tent: inside your backpack or outside. Both have benefits and drawbacks.
Packing Inside The Backpack
Most experienced hikers agree: packing your tent inside protects it from rain, dirt, and snags. It also keeps your pack streamlined, reducing the risk of getting caught on branches or rocks.
Where Exactly Inside?
- Main compartment (middle zone): Place the tent body and rainfly here, close to your spine. This helps balance the load and keeps your center of gravity stable.
- Bottom compartment: Some people put tents at the bottom with the sleeping bag. This is fine for lightweight tents or if you’re sure you won’t need the tent until camp.
How To Pack The Tent Inside
- Remove the tent poles and stakes. These are rigid and can go along the sides of your pack or in side pockets.
- Compress the tent. Use a stuff sack or, for more flexibility, pack the tent loose to fill gaps.
- Layer other gear around the tent for extra padding.
Packing Outside The Backpack
Sometimes, especially if your tent is wet or your backpack is full, carrying it outside is necessary.
Where To Attach The Tent Outside
- Bottom straps: Many backpacks have sleeping bag straps. You can lash your tent here, but beware it can hit your legs or snag.
- Side compression straps: Attach the tent vertically along the side. This keeps the weight higher and closer to your back.
- Top of the pack: If your pack has top straps, you can secure the tent here, but it may shift your center of gravity.
Risks Of Outside Packing
- Exposure to weather: Your tent can get soaked or dirty.
- Snagging: The tent bag may catch on branches or rocks.
- Imbalance: If not close to your spine, it can pull you backward or sideways.

Credit: www.reddit.com
Tent Packing Order: A Practical Example
Let’s say you’re heading out for a two-night backpacking trip. Here’s a practical order for packing:
- Sleeping bag (bottom compartment)
- Tent body and rainfly (middle, tight to your back)
- Clothes and food (around the tent to fill space)
- Tent poles and stakes (side pockets or along the pack’s frame)
- First aid kit, snacks, rain jacket (top or lid pocket)
- Water bottles (side mesh pockets)
- Trowel or wet gear (exterior mesh)
By packing the tent body and rainfly in the middle, you stabilize the load. Poles and stakes go outside so they don’t poke or shift inside.
Comparing Packing Locations
To help you see the differences, here’s a side-by-side look at inside versus outside tent packing:
| Packing Location | Pros | Cons |
|---|---|---|
| Inside (Middle) | – Protects tent from weather – Balanced weight – Less snag risk |
– Takes up pack space – Can be hard to access if needed during the day |
| Outside (Bottom) | – Saves inside space – Easy to access |
– Can get wet or dirty – May shift balance – Higher snag risk |
| Outside (Side) | – Saves pack space – Keeps weight higher |
– Can affect balance – Still exposed |
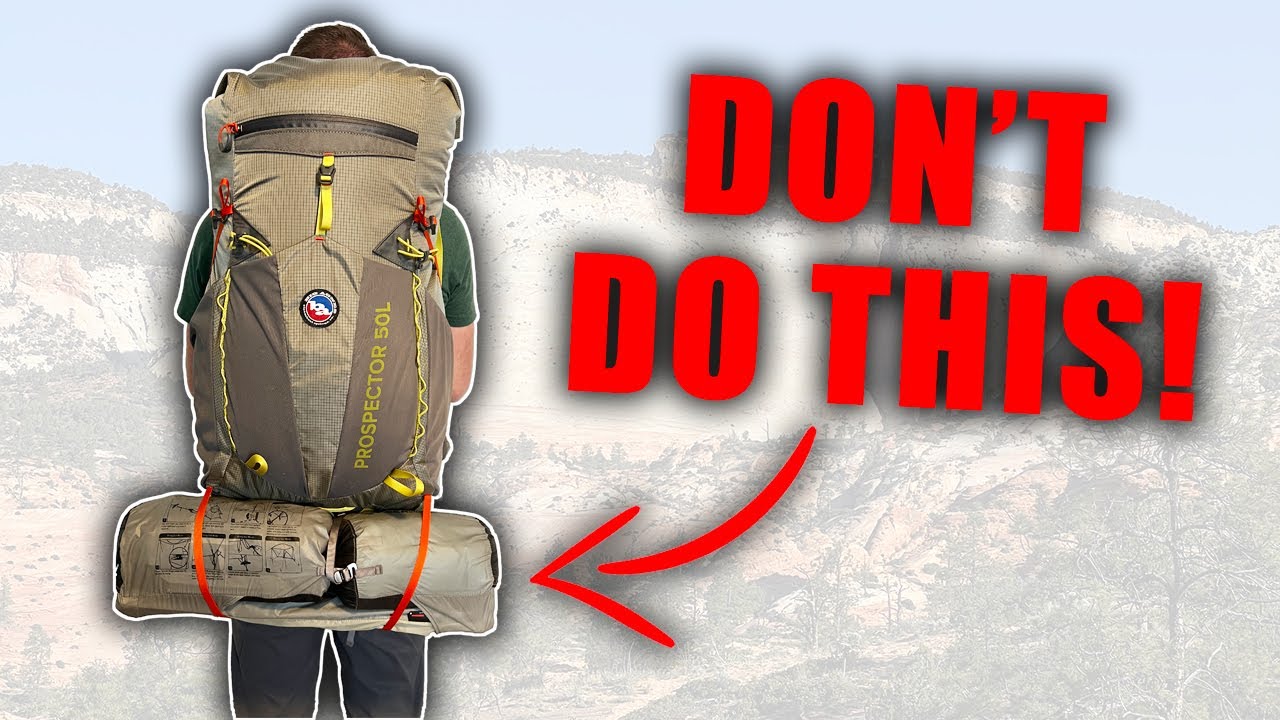
Credit: www.youtube.com
Factors That Affect Tent Placement
Not every situation is the same. The best spot for your tent depends on several factors:
- Backpack size and design: Internal frame packs often have a large main compartment, while some ultralight packs have fewer pockets.
- Tent size and weight: A big, heavy tent should go closer to your back. Ultralight tents are more flexible.
- Weather: If rain is likely, keep your tent inside or in a waterproof sack.
- Trail conditions: On bushy trails, exterior packing increases snag risk.
- Group gear sharing: If you split the tent with a partner, one person carries the body, the other carries poles and rainfly.
Tent Packing For Different Backpack Types
Backpacks come in all shapes and sizes. Here’s how tent placement works with the most common types:
Internal Frame Backpacks
These are the most popular for backpacking. They have a large main compartment, some with separate sleeping bag storage.
- Best tent placement: Middle compartment, close to your back.
- Poles and stakes: Side pockets or along the frame.
External Frame Backpacks
Less common now, but still used for heavy loads.
- Best tent placement: Strapped outside, either on top or bottom of the frame.
- Reason: These packs have open frames, making outside attachment easier.
Ultralight Packs
Minimal pockets, lightweight materials.
- Best tent placement: Inside, using the tent as a ‘filler’ to pad other gear.
- Tip: Use a tent without a stuff sack to maximize flexible packing.
Daypacks
Not ideal for overnight camping, but sometimes used for ultralight trips.
- Best tent placement: Rolled and lashed to the bottom or sides, or inside if space allows.
Key Packing Mistakes To Avoid
Even experienced hikers make errors with tent placement. Here are common mistakes and how to avoid them:
- Packing the tent too low: This can drag the pack’s weight down, making walking harder.
- Putting the tent far from your back: Heavy items away from your spine increase fatigue and risk of injury.
- Ignoring weatherproofing: If you must pack outside, always use a waterproof sack or dry bag.
- Forgetting about quick access: If you might need to set up in a hurry (bad weather, lunch shelter), keep the tent accessible.
- Over-tightening straps: This can damage tent poles or fabric.
Pro Tips For Efficient Tent Packing
Here are some expert-level insights you might not hear from basic guides:
- Split the tent components: If hiking with a partner, divide the tent body, poles, and rainfly between packs. This balances weight and saves space.
- Pack the tent loose: Instead of rolling or folding, stuff the tent loosely into your pack. It fills empty spaces better and reduces fabric wear.
- Use a trash compactor bag: Line the inside of your backpack with a heavy-duty bag. This keeps your tent and other gear dry even if you fall in a stream.
- Consider your first night’s plan: If you know you’ll set up camp in the rain, pack the rainfly near the top for quick shelter.
Waterproofing And Tent Care
Keeping your tent dry is critical, both for comfort and durability.
- Dry pack method: Always pack your tent in a waterproof sack if there’s any chance of rain.
- Separate wet and dry gear: If your tent is wet in the morning, pack it on the outside so it doesn’t soak your clothes or sleeping bag.
- Clean before packing: Shake off dirt and debris to avoid mold and damage.
How Tent Placement Affects Hiking Comfort
The way you pack your tent directly affects hiking comfort. If the tent is packed poorly, you’ll feel off-balance and tire more quickly. A well-packed tent, close to your back and centered, keeps your posture upright and your energy high.
This is especially important on long treks or rough terrain. The difference between a well-balanced pack and a lopsided one can be several miles of extra effort.
Comparing Weight Distribution Scenarios
Here’s a simple comparison to show how tent placement impacts balance:
| Placement | Effect on Center of Gravity | Hiking Comfort |
|---|---|---|
| Middle, near back | Low and centered | High comfort, less fatigue |
| Top of pack | Raises center | Can cause instability |
| Bottom of pack | Lowers center | May drag you down, hard on hips |
| Outside, far from back | Unbalanced side-to-side | More tiring, greater injury risk |
Real-world Example: Solo Vs. Group Packing
Imagine you’re hiking solo versus with a group. Solo, you must carry the whole tent. With a group, you can split the load.
- Solo: Tent body in the middle, poles on the side, rainfly on top if rain is expected.
- Group: One person carries the tent body, another the poles and fly. Both have lighter, more balanced packs.
This not only makes hiking easier but also helps prevent damage—tent poles are less likely to get bent if not forced into a crowded pack.
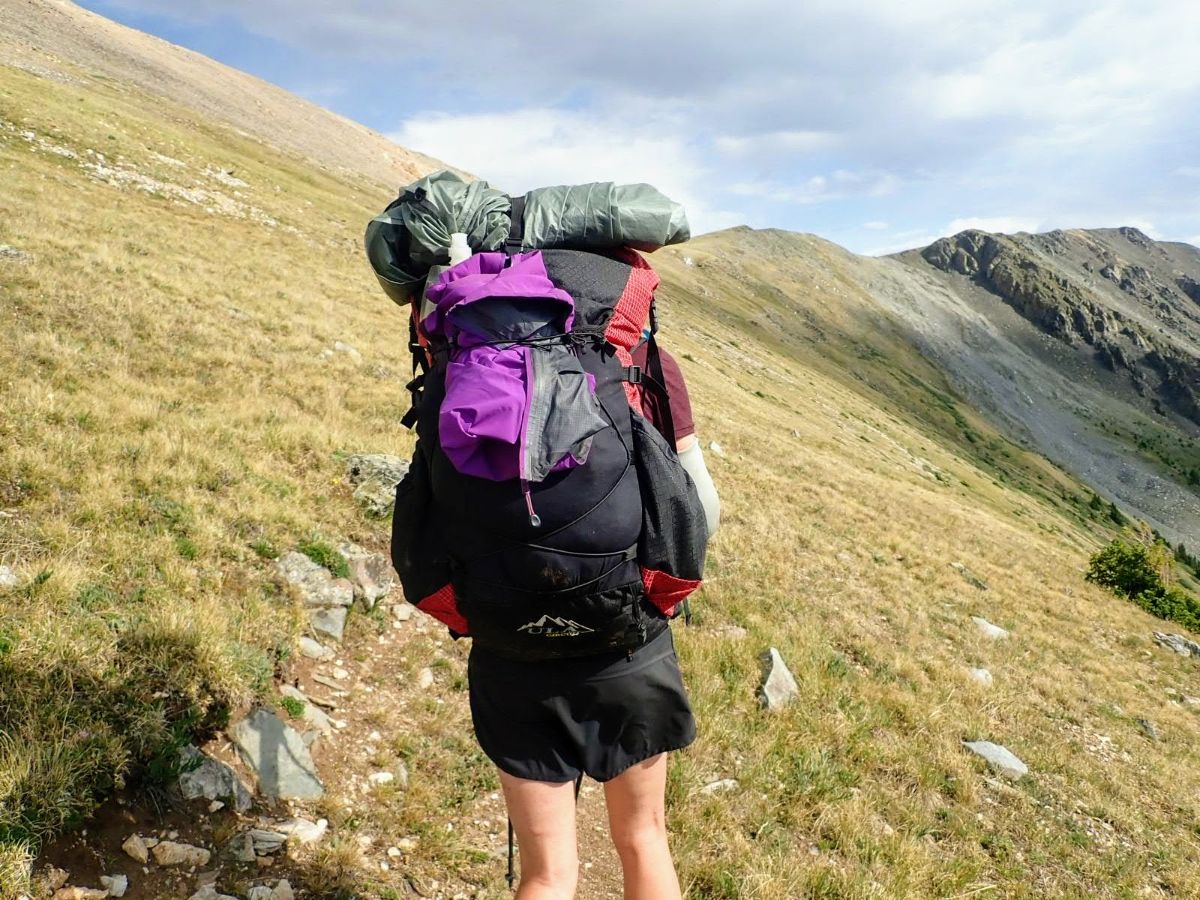
Credit: exploringwild.com
Tent Packing And Set-up Efficiency
Think ahead: How quickly will you need your tent? If you expect rain or wind, keep the rainfly or tent near the top for fast access. If weather is clear, pack it deeper for better balance.
Some backpackers even practice tent deployment drills at home to see how fast they can set up in an emergency.
The Role Of Tent Design
Modern tents are lighter and more flexible than ever. Ultralight tents can be packed almost anywhere, while older canvas tents need more space and care. Check your tent’s packed size and shape, and adjust your strategy.
- Single-wall tents: Often stuff smaller, can fit anywhere.
- Double-wall tents: Take more space but can be divided.
- Freestanding tents: Poles are rigid—side pockets are best.
Final Thoughts
Choosing where to put your tent in your backpack is more than just “inside or outside.” It’s about comfort, protection, and efficiency. For most people, the best place is inside, in the middle, close to your back. But your choice can change with weather, pack design, tent size, and personal style.
Take the time to try different methods before your trip. Practice packing and see how your body feels on a short hike. Small adjustments can save you hours of discomfort or even prevent injuries.
For deeper insights on backpacking gear organization, you might find advice from the REI Expert Advice library valuable.
If you follow these guidelines, you’ll not only protect your tent but enjoy your hike a lot more. Happy trails!

I am an outdoor enthusiast and gear researcher passionate about camping, hiking, backpacking, and outdoor adventures. I enjoy testing gear, comparing products, and sharing practical advice to help readers make informed decisions. At BestOutsideGear, I create honest gear reviews, buying guides, and outdoor tips to help adventurers choose the right equipment with confidence.