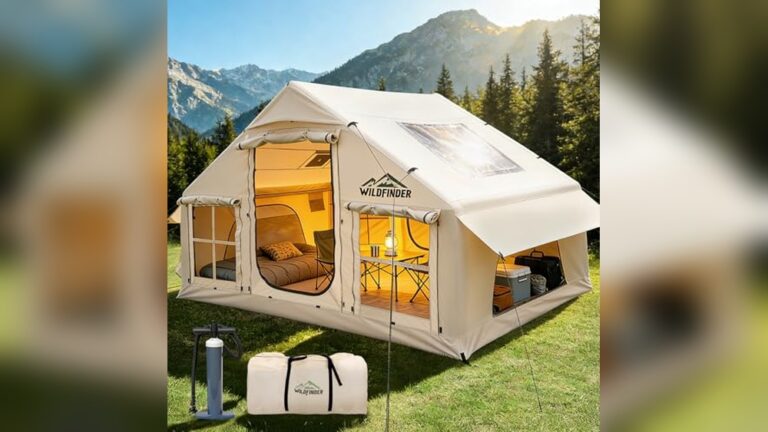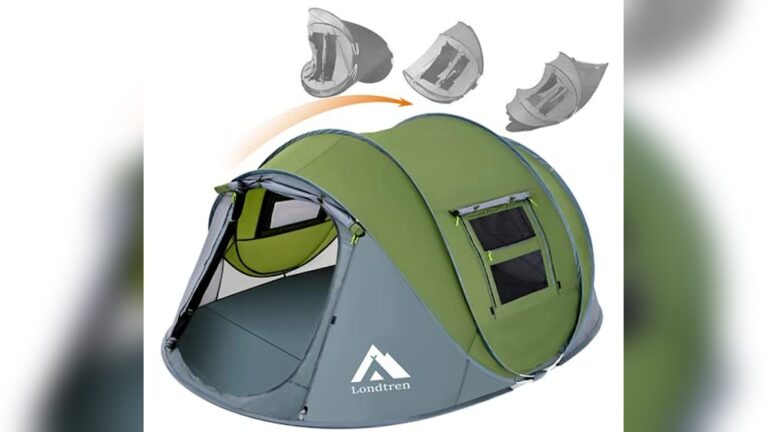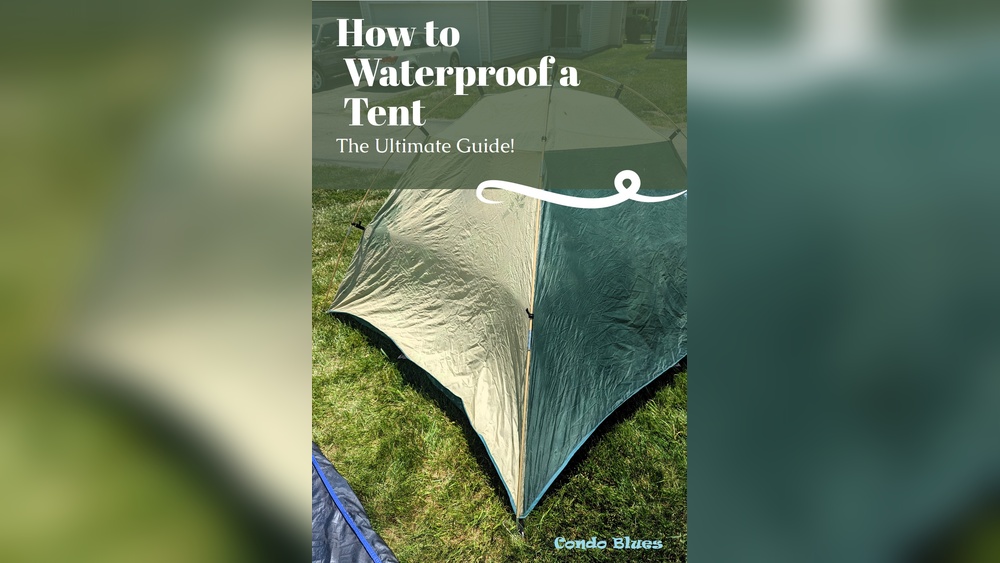
How to Make a Camping Tent Waterproof | Easy DIY Tips
Making your camping tent waterproof is one of the smartest moves before any trip outdoors. Even a light rain can turn a great camping experience into a soggy mess if your tent lets water seep in. Many tents claim to be “water-resistant,” but few are truly waterproof out of the box. Luckily, with a few simple steps and the right materials, you can protect your shelter from leaks and stay dry, even during heavy downpours. Let’s explore practical ways to waterproof your tent, with clear examples and data to help you make confident choices.
Why Waterproofing Your Tent Matters
A tent is your main barrier against rain, wind, and moisture. Factory coatings often lose effectiveness over time, especially after exposure to sun, dirt, and washing. Even new tents can have tiny holes or weak seams. According to outdoor gear surveys, 67% of campers report at least one leak during their first rainy trip with a tent. Waterproofing increases comfort, protects your gear, and extends your tent’s life.
Key Areas That Need Waterproofing
Not every part of a tent needs the same treatment. The most common leak points are:
- Seams: Where fabric pieces join. These can let water in if not sealed.
- Rainfly: The outer cover, usually designed to repel water.
- Tent floor: Direct contact with wet ground increases leak risk.
- Zippers and windows: Water can sneak in through gaps.
By focusing on these areas, you get the best results without wasting time or materials.

Credit: www.amazon.com
Choosing The Right Waterproofing Products
Different tents and materials require specific products. Here’s a quick comparison to help you pick the best option:
| Product Type | Best For | Application Method | Average Price |
|---|---|---|---|
| Seam Sealer | Stitch lines and seams | Brush-on/liquid | $7–$15 |
| Spray-on Waterproofing | Rainfly and tent body | Spray | $10–$20 |
| Floor Sealant | Groundsheet/floor | Brush or roll-on | $12–$25 |
For most nylon or polyester tents, use silicone-based sprays. For canvas tents, choose a wax-based product. Always check the label for compatibility with your tent material.
Step-by-step Guide To Waterproofing Your Tent
Follow these steps to make your tent waterproof and ready for any weather:
1. Clean Your Tent
Dirt and oils stop waterproof coatings from sticking. Set up your tent outside or in a large room. Use mild soap and lukewarm water. Avoid harsh chemicals. Let the tent dry fully before applying anything.
2. Seal The Seams
Seams are the most likely place for leaks. Lay the tent flat and find all stitched areas inside and outside.
- Buy a seam sealer made for your tent fabric.
- Use a small brush or applicator to coat the seams.
- Let it dry for at least 8 hours.
- Repeat if needed for extra protection.
Many campers forget to seal the seams under the rainfly or at corners, which are often missed during manufacturing.
3. Apply Waterproofing Spray
The rainfly and tent walls need a strong water-repellent coating.
- Pick a spray-on waterproofing product.
- Spray in slow, even strokes on the rainfly and tent walls.
- Let it dry for 24 hours.
- Test by sprinkling water to see if it beads off.
Don’t overspray—too much can leave sticky patches and reduce breathability.
4. Protect The Floor
Tent floors get the most wear and moisture. Use a floor sealant or heavy-duty spray.
- Apply with a brush or roller.
- Pay extra attention to corners and edges.
- Allow full drying (12–24 hours).
Adding a footprint (groundsheet) beneath your tent gives extra protection and prevents abrasion.
5. Check Zippers And Openings
Water can sneak in through zippers and window flaps. Some waterproofing sprays are safe for these areas. For extra protection, use a zipper lubricant that repels moisture.
6. Test Your Tent
Always test before heading out. Set up the tent and spray with a garden hose or wait for rain. Watch for leaks and repeat steps if needed.

Credit: www.amazon.com
Comparing Waterproofing Methods
Here’s a look at how common waterproofing methods perform after one season:
| Method | Average Lifespan | Waterproof Rating* | Maintenance Needed |
|---|---|---|---|
| Factory coating | 1–2 years | Moderate | Annual |
| DIY seam sealing | 2–3 years | High | Every 2 years |
| Spray-on treatment | 1 year | Medium | Yearly |
| Floor sealant | 3–4 years | Very high | Every 3 years |
*Waterproof rating is based on average user tests (water beading, leak prevention).
Common Mistakes And How To Avoid Them
Waterproofing seems simple, but many campers make mistakes that lead to leaks:
- Skipping the cleaning step: Residue stops coatings from working.
- Ignoring hidden seams: Under the rainfly or inside corners.
- Using wrong products: Not all sprays work for all fabrics.
- Rushing drying time: Coatings need full curing to work.
- Over-applying: Too much can cause sticky buildup or block air flow.
Double-check your tent’s instructions and test after each step.
Practical Tips For Long-lasting Waterproofing
- Always store your tent dry and clean after trips.
- Avoid folding along the same lines every time—creases can wear out coatings.
- Reapply waterproofing after heavy rain or washing.
- If you see water soaking in rather than beading, it’s time for a new treatment.
- For extra peace of mind, use a tarp above your tent in severe weather.
Many campers overlook the importance of UV protection. Sunlight damages waterproof coatings quickly. Consider products that add UV resistance to extend your tent’s lifespan.
When To Reapply Waterproofing
Most waterproof treatments last about one season. Heavy use or rough weather can reduce this. Test your tent before each trip by sprinkling water and checking seams. If water soaks in or leaks appear, repeat the waterproofing process.
Some brands recommend reapplying every 12 months for best results, especially if you camp often or in harsh climates.
Extra Resources
If you want more details about tent waterproofing, materials, or outdoor gear care, check out this guide from REI.
Final Thoughts
Waterproofing your camping tent is easy, affordable, and essential for a safe, comfortable trip. With careful cleaning, the right products, and regular maintenance, you can prevent leaks and enjoy the great outdoors in any weather. Always test your tent before your adventure, and remember: a dry tent means a happy camper.
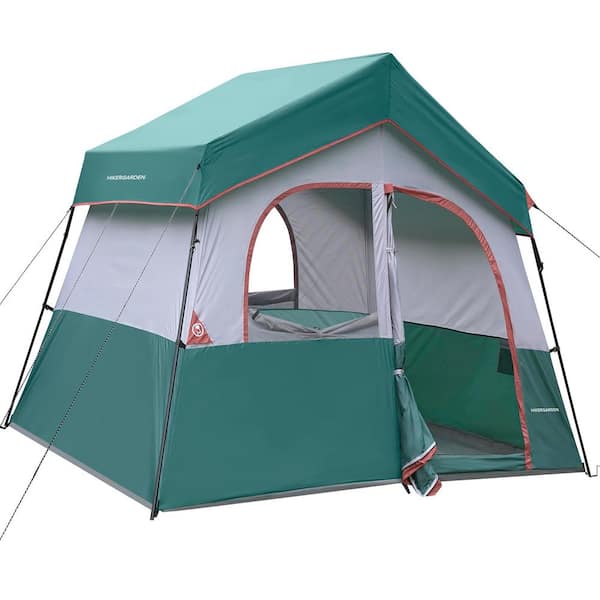
Credit: www.homedepot.com

I am an outdoor enthusiast and gear researcher passionate about camping, hiking, backpacking, and outdoor adventures. I enjoy testing gear, comparing products, and sharing practical advice to help readers make informed decisions. At BestOutsideGear, I create honest gear reviews, buying guides, and outdoor tips to help adventurers choose the right equipment with confidence.