How to Make a Camping Shower Tent | Proven Guide 2026
When you’re out camping, a refreshing shower can make all the difference. But carrying bulky equipment or searching for facilities isn’t always an option.
That’s where a camping shower tent comes in handy. Imagine having your own private, easy-to-set-up shower space wherever you go. In this guide, you’ll learn simple and affordable ways to make a camping shower tent using items you might already have or can easily get.
Whether you’re in the woods or at the beach, you’ll be able to stay clean and comfortable with your very own DIY shower tent. Ready to transform your camping experience? Let’s dive into the step-by-step process that will have you enjoying a warm shower in no time.
Materials Needed
Gathering the right materials is the first step to build a camping shower tent. Each item plays a key role in making the tent sturdy, waterproof, and easy to set up. Choose lightweight and durable supplies for comfort and long use.
Keep in mind the size of the tent and how many people will use it. This helps decide how much material to buy. Here is a list of essential items to prepare before starting your project.
Waterproof Tarp Or Shower Curtain
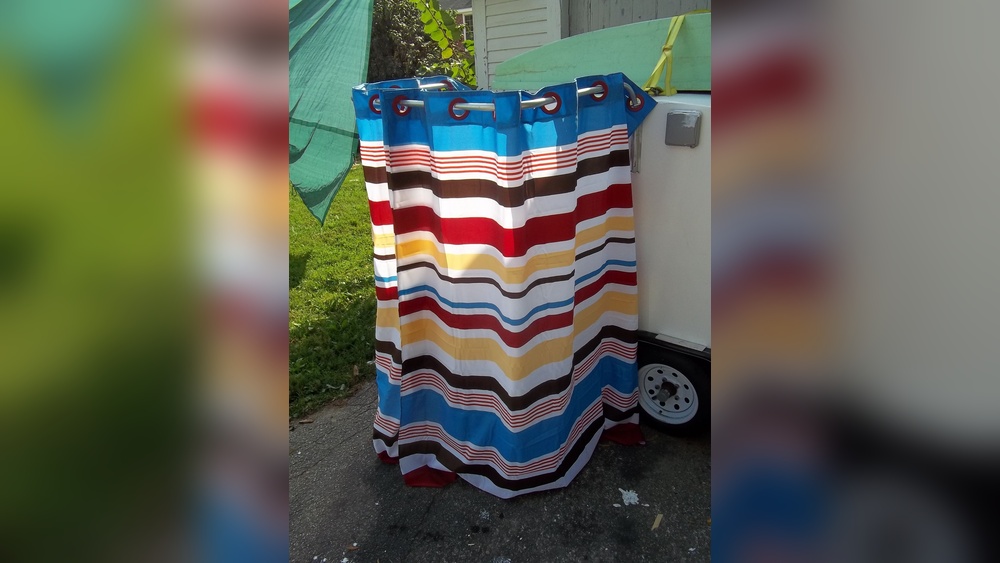
Select a waterproof tarp or a heavy-duty shower curtain. It will act as the walls of your shower tent. Choose one large enough to enclose the space fully. This keeps water inside and protects from wind and bugs.
Hula-hoop Or Flexible Pole
Use a hula-hoop or a flexible pole to create the tent’s frame. It should be strong but bendable to form a round shape. This frame supports the tarp and gives the tent its shape.
Paracord Or Heavy-duty Bungee Cords
Paracord or bungee cords are needed to secure the tarp to the frame. They hold the structure tight and stable. These cords are light, strong, and easy to tie and untie.
Clips Or Shower Curtain Rings
Use clips or shower curtain rings to attach the tarp to the frame. They help keep the tarp in place and allow easy opening and closing of the tent entrance. Choose rust-resistant clips for outdoor use.
Ground Stakes Or Tent Pegs
Ground stakes or tent pegs anchor the tent to the ground. They prevent the tent from blowing away in the wind. Metal or plastic stakes work well depending on the camping surface.
Portable Shower Bag Or Pump
A portable shower bag or pump supplies water inside the tent. Choose a model that fits your water needs and is easy to carry. This lets you enjoy a warm shower anywhere outdoors.
Credit: theexpertcamper.co.uk
Hula-hoop And Tarp Method
The Hula-Hoop and Tarp Method offers a simple way to build a camping shower tent. It uses a hula-hoop as the frame and shower curtains for privacy. This setup is lightweight, easy to carry, and quick to assemble. Ideal for camping trips where you need a private shower space without bulky gear.
Prepare The Hoop
First, check your hula-hoop. If it is hollow, keep it as one piece. For interlocking hoops, connect all sections tightly. This ensures the hoop holds its shape well. Make sure the hoop is clean and dry before starting.
Attach Shower Curtains
Next, get two shower curtains. Use shower curtain rings to attach the curtains to the hoop. Slide the rings through the grommets on the curtains. Space the curtains evenly around the hoop. This forms the walls of your shower tent.
Create Curtain Overlap
Make sure the ends of the two curtains overlap. The overlap prevents water from leaking out. Use clothespins or binder clips to secure the curtains together. This keeps the tent walls tightly closed for privacy and protection.
Hang The Enclosure
Find a strong tree branch or a sturdy pole to hang the hoop. Use paracord or bungee cords to tie the hoop securely. Adjust the height so you can stand comfortably inside. Check the tent’s stability before use. This step completes your camping shower tent.
Pvc Self-standing Frame
The PVC self-standing frame is the backbone of a camping shower tent. It provides solid support and keeps the tent stable on uneven ground. PVC pipes are lightweight, affordable, and easy to work with. They allow you to build a portable frame that you can assemble and disassemble quickly. This frame design avoids the need for stakes or guy lines, making it perfect for rocky or hard surfaces.
Building The Frame
Start by cutting PVC pipes into equal lengths for the vertical legs and horizontal bars. Use PVC connectors like elbows and T-joints to join the pipes. Assemble four vertical legs with two horizontal bars at the top and bottom to form a rectangular box. Make sure all joints fit tightly to ensure stability. You can add crossbars for extra support if the frame feels wobbly.
Attaching The Tarp
Choose a waterproof tarp that covers the frame completely. Drape the tarp over the frame, aligning the edges with the bottom bars. Use zip ties or bungee cords to secure the tarp to the PVC pipes. Pull the tarp tight to avoid sagging and water pooling. If needed, punch small holes in the tarp corners and thread ropes for extra tie-down points.
Adding A Door
Create an entrance by cutting a vertical slit on one side of the tarp. Reinforce the edges of the slit with waterproof tape to prevent tearing. Attach Velcro strips along both sides of the slit for easy opening and closing. This setup keeps the tent private and allows quick access. You can also add a small flap at the top to improve ventilation.
Credit: www.greensboroughhomebrew.com.au
Water Supply Options
Choosing the right water supply is key for a comfortable camping shower tent. Water must flow steadily and be easy to heat. Different setups suit different camping needs and locations. Consider space, weight, and water pressure before deciding.
Gravity-fed Shower
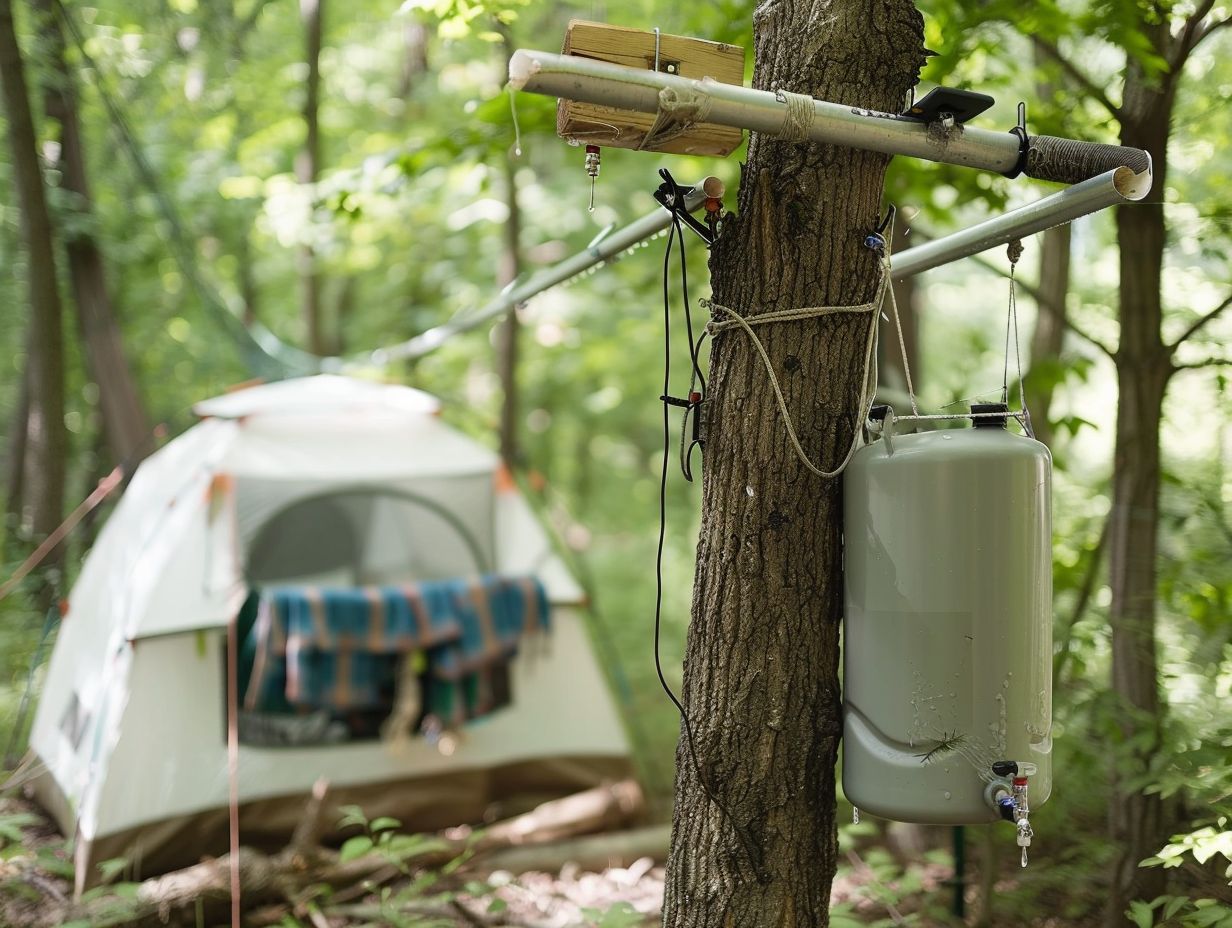
This system uses gravity to move water from a container above the shower. Hang a water bag or bucket on a tree or pole. The water flows down through a hose to the showerhead. No pump needed. Simple and reliable. Works best with a good height difference.
Pressurized Pump Shower
A pressurized pump forces water through the showerhead. Use a battery-operated or hand pump. Water comes from a bucket or water container. This option gives stronger water pressure and a better shower experience. It needs power or manual effort to work. Good for longer showers or larger tents.
Solar-heated Shower Bag
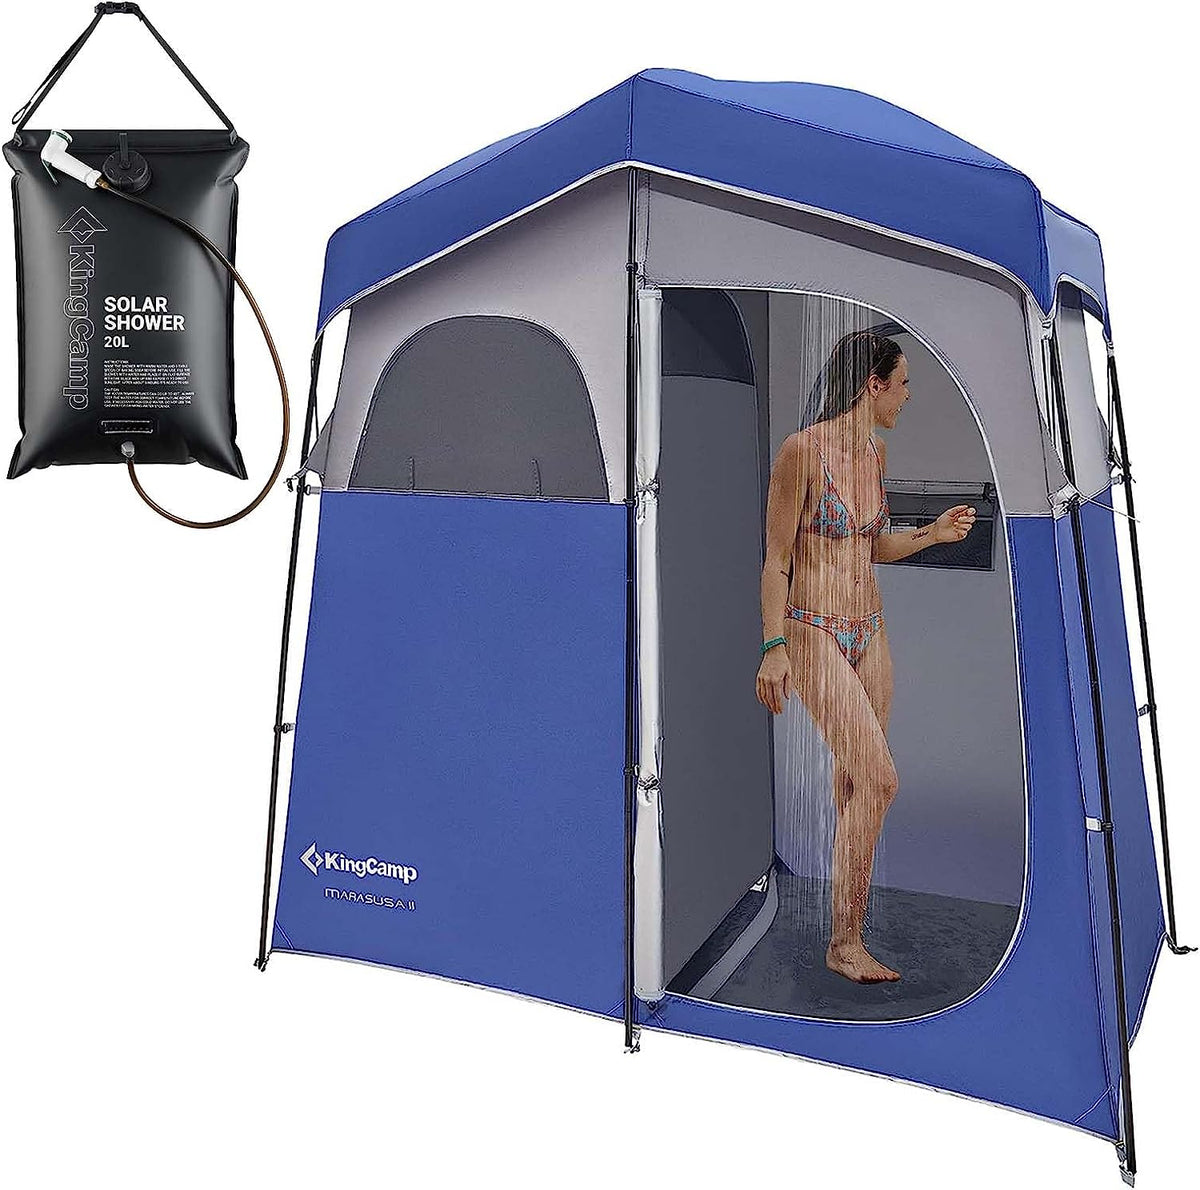
This bag heats water using the sun’s energy. Fill it with water and leave it in direct sunlight. The dark surface absorbs heat, warming the water inside. Hang the bag high for water flow by gravity. It combines warmth and portability. Ideal for sunny days and warm weather camping.
Additional Privacy Tips
Extra privacy is key for comfort in a camping shower tent. Simple steps can help you feel safe and secure. These tips focus on where you set your tent, how you keep it steady, and ways to block unwanted views. Follow these ideas to create a private space for your outdoor shower.
Choosing The Location
Select a spot away from busy trails and campsites. Look for natural barriers like trees or bushes to shield your tent. Avoid low areas where water may collect or where people often walk. A quiet corner of your campsite offers the best privacy. Make sure the ground is flat and firm to set up your tent easily.
Securing The Tent
Use strong stakes to anchor your tent in the ground. Tighten all ropes and cords to keep the tent stable. A loose tent can flap and reveal more than you want. Check the tent’s structure often, especially in windy weather. Adding extra guy lines can increase stability and privacy.
Using Weighted Curtains
Attach weights to the bottom of your shower curtains. This stops them from flying open in the breeze. Small sandbags or heavy clips work well as weights. Weighted curtains hang straight and cover all openings fully. This simple trick helps maintain your privacy during every shower.

Credit: www.instructables.com
Packing And Transport
Packing and transporting your camping shower tent properly saves time and effort. It also protects your tent parts from damage and loss. Organize everything neatly for a smooth camping experience.
Folding The Tent
Start by cleaning the tent and letting it dry fully. Fold the tent flat by aligning its corners. Fold the sides inward to form a compact rectangle. Roll the tent tightly, pushing out air as you go. Secure the roll with straps or cords. A tight roll fits easily in storage bags.
Storing Components
Keep tent poles, stakes, and connectors in a separate pouch. Use zippered bags or small containers for tiny parts. Label each bag for quick access later. Store the shower curtain or fabric in a dry, breathable bag. Avoid mixing wet and dry items to prevent mold.
Carrying Solutions
Choose a sturdy backpack or duffel bag to carry your tent. Use a bag with multiple compartments for better organization. Consider a bag with padded straps for comfort. Attach smaller items like stakes on the outside with clips. Balance the weight evenly to ease carrying on trails.
Conclusion
Creating your own camping shower tent is simple and rewarding. Use basic materials like a hula hoop, tarp, and cords. Follow the steps carefully to ensure privacy and comfort. This DIY project helps you enjoy clean, warm showers outdoors. It also saves money and space while camping.
Try making one for your next trip. Stay fresh and enjoy nature with your homemade shower tent!

I am an outdoor enthusiast and gear researcher passionate about camping, hiking, backpacking, and outdoor adventures. I enjoy testing gear, comparing products, and sharing practical advice to help readers make informed decisions. At BestOutsideGear, I create honest gear reviews, buying guides, and outdoor tips to help adventurers choose the right equipment with confidence.