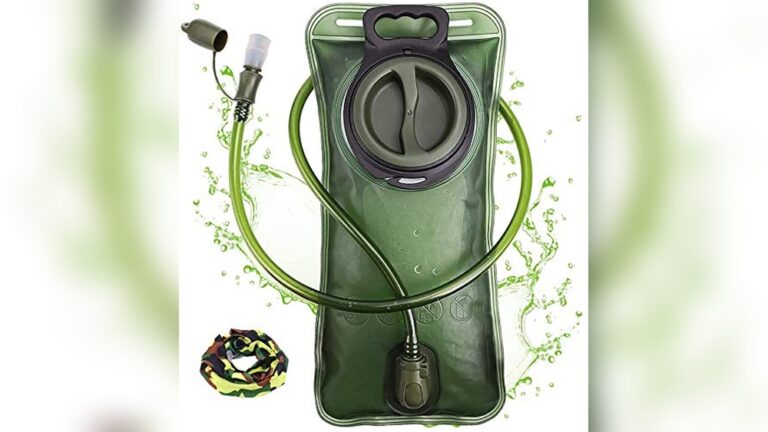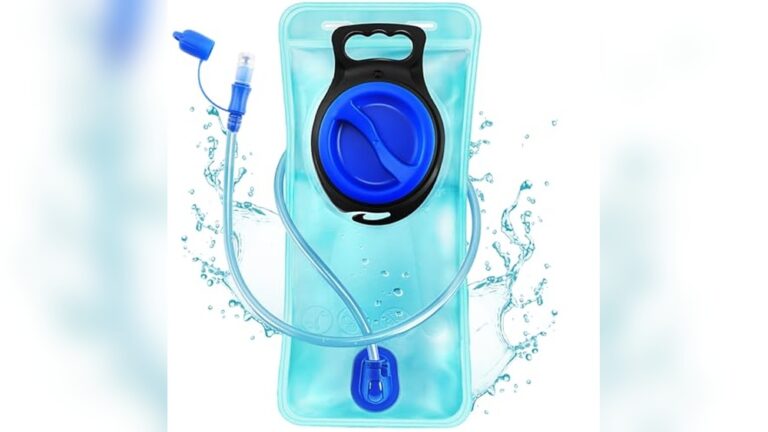
How to Dry Hydration Bladder Quickly and Effectively
If you’ve ever struggled with a soggy, moldy hydration bladder, you know how frustrating it can be. Drying your hydration bladder properly isn’t just about keeping it clean—it’s about protecting your health and making sure your water tastes fresh every time.
But how do you dry it quickly and thoroughly, especially when it’s tricky to reach inside? In this guide, you’ll discover simple, practical tricks to get your hydration bladder bone dry in no time. From clever hacks to storage tips, you’ll learn everything you need to keep your gear fresh and ready for your next adventure.
Ready to say goodbye to lingering moisture and bad odors? Let’s dive in.
Drain Water Completely
Draining water completely from your hydration bladder is the first step to effective drying. Any leftover water can cause mold and bad smells. Empty the bladder fully to avoid moisture buildup inside.
Start by holding the mouthpiece lower than the reservoir. This helps trapped water flow out easily. Let gravity do the work and shake the bladder gently to release water from corners.
Don’t forget to drain the hose as well. Water often hides inside the tube and bite valve. Removing all water from these parts speeds up drying and keeps the bladder fresh.
Drain Water From The Reservoir
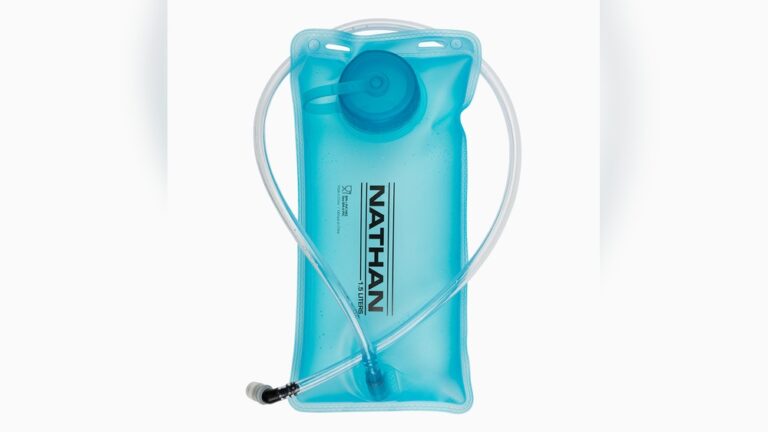
Open the bladder’s cap or lid. Tilt the bladder so water flows out completely. Squeeze the sides lightly to push out hidden water. Check the inside for any remaining drops and drain them.
Drain Water From The Hose
Detach the hose from the reservoir carefully. Hold the hose’s mouthpiece downward and let water drip out. Blow gently into the hose to push out trapped water. Remove the bite valve for better airflow and drying.
Drain Water From The Bite Valve
Remove the bite valve from the hose. Shake it to empty any water inside. Squeeze the valve gently to force water out. Allow it to air dry separately to prevent mold growth.

Credit: www.reddit.com
Use Air Circulation Tricks
Drying your hydration bladder properly prevents mold and keeps it fresh. Air circulation speeds up drying by letting moisture escape quickly. Use simple tricks around your home to maximize airflow inside the bladder. These methods help dry every corner and tubing fast. Here are easy air circulation tricks to try today.
Hang Upside Down
After emptying all water, hang the bladder upside down. Use the built-in loop or handle to suspend it. This position lets gravity pull water out of the bladder and tube. Air flows inside, drying the interior faster than laying it flat. Choose a dry, ventilated spot for hanging.
Hanging upside down also prevents moisture from pooling inside. It keeps the bladder open just enough for air to reach all surfaces. Avoid folding or crumpling the bladder during this step. Keep it stretched to allow better airflow.
Prop Open With Household Items
Use clean household items to keep the bladder open. Insert a kitchen whisk or bend a hanger to fit inside the bladder’s opening. This props the sides apart, letting air reach deep inside. You can also use crumpled paper towels to push the bladder walls apart gently.
This trick stops the bladder from sticking shut as it dries. It increases the surface area exposed to air. Make sure the items are dry and clean to avoid dirt or bacteria. Replace paper towels if they get damp during drying.
Dry The Hose Efficiently
Drying the hose efficiently is key to keeping your hydration bladder fresh and ready. Moisture left inside can cause mold and bad smells. Proper airflow through the hose helps it dry faster and cleaner.
Detach And Swing Method
Start by detaching the hose from the bladder. Hold the hose by the mouthpiece and swing it in wide circles. This action forces water droplets out. Repeat until no more water drips from the hose.
After swinging, hang the hose vertically. Let gravity pull out any leftover moisture. This simple method speeds up drying without extra tools.
Remove Bite Valve For Better Airflow
Remove the bite valve from the hose end. This opens the pathway for air to flow freely. Increased airflow helps the hose dry inside faster. It also prevents bacteria build-up in the valve area.
Use a small cloth or paper towel to wipe inside the hose. Leave both ends open in a well-ventilated space. This keeps the hose dry and clean for your next use.
Paper Towel Moisture Absorber
Using paper towels as a moisture absorber is a simple way to dry your hydration bladder. This method helps pull out water stuck inside the bladder. It also keeps the bladder walls apart to let air flow freely.
Paper towels are easy to find and cheap. They absorb moisture quickly and prevent mold growth. The bladder dries faster with this technique compared to just hanging it.
How To Use Paper Towels In Your Hydration Bladder
First, drain all the water from the bladder and hose. Next, crumple a few dry paper towels into small balls. Stuff these wads inside the bladder through the opening. Make sure to push them deep to reach all parts.
The paper towels will soak up the leftover moisture inside. They also keep the bladder open, which lets air circulate better. After a few hours, remove the paper towels. Your bladder should feel much drier.
Benefits Of Using Paper Towels As A Moisture Absorber
Paper towels quickly absorb water trapped inside the bladder. They prevent the bladder walls from sticking together. This stops mold and bacteria from growing inside the bladder.
This method is gentle and does not damage the bladder. It works well even in humid conditions. Plus, it is a low-cost and easy drying option for hikers and cyclists.
Tips For Best Results With Paper Towels
Use fresh, dry paper towels for each drying session. Avoid colored or scented paper towels to prevent any residues inside the bladder. Change the towels if they become too wet. Combine this method with hanging the bladder upside down for faster drying.
Keep the bladder in a well-ventilated area while drying. Do not seal it during the drying process. Proper airflow is key to removing moisture completely.
Hanger Method For Bladder Shape
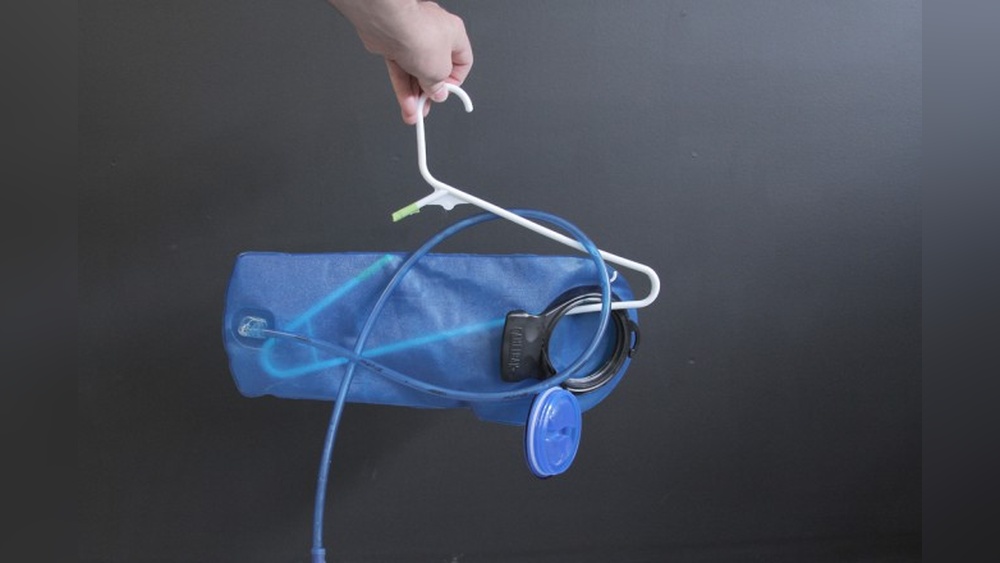
Drying a hydration bladder correctly prevents mold and bad smells. The hanger method keeps the bladder open and maintains its shape. This allows air to flow inside and dry the interior quickly.
Using a hanger is simple and effective. It stops the bladder from folding on itself while drying. This method helps the bladder dry faster and stay fresh for your next use.
Choosing The Right Hanger
Select a sturdy plastic or metal hanger. Avoid thin wire hangers that might bend easily. A hanger with a wide bottom works best to keep the bladder open.
Preparing The Bladder
First, empty all water from the bladder. Shake out any drops inside. Open the fill port wide to allow airflow. This helps the bladder dry inside completely.
Inserting The Hanger
Bend or cut the hanger ends to fit through the fill opening. Insert the hanger legs inside to push the bladder walls apart. This keeps the bladder wide open while hanging.
Hanging The Bladder
Hang the bladder upside down by its loop. The hanger holds the shape open. Leave it in a dry, well-ventilated spot. Avoid direct sunlight to protect the material.
Drying The Hose
Detach the hose from the bladder. Shake out any water inside. Hang the hose separately to dry completely. This prevents mold buildup in the tube.
Freeze To Stop Mold Growth
Freezing your hydration bladder can stop mold growth effectively. Mold thrives in warm, moist environments. Placing the bladder in the freezer halts mold development by lowering the temperature. This method helps keep your bladder fresh and safe for future use.
Freezing does not dry the bladder but preserves it. It is a simple step to prevent mold between uses. This technique works best after cleaning and draining the bladder thoroughly. The cold environment slows down any bacteria or mold spores.
How To Prepare Your Bladder For Freezing
First, clean the bladder with soap and water. Rinse it well to remove all soap. Next, drain all the water from the bladder and tube. Shake out any remaining drops to reduce moisture inside. Make sure the bladder is as dry as possible before freezing.
Freezing Process
Place the bladder flat in a plastic bag or container. Seal it to avoid freezer odors. Put the bladder in the freezer for several hours or overnight. The cold stops mold from growing and keeps bacteria at bay. Do not freeze the bladder with water inside, as ice can damage it.
Thawing And Using Your Bladder After Freezing
Remove the bladder from the freezer before use. Let it thaw at room temperature for a few hours. Avoid using hot water to speed thawing, which can damage the material. Once thawed, check for any odors or mold before refilling. Clean again if needed before your next adventure.
Preventing Bad Taste
Preventing bad taste in your hydration bladder starts with proper drying and cleaning. Any leftover moisture creates a perfect environment for bacteria and mold. These microbes cause unpleasant smells and flavors. Keeping your bladder dry and clean helps maintain fresh-tasting water every time.
Drying alone is not enough. You must clean the bladder regularly to stop buildup. Follow simple steps to keep your hydration bladder tasting great and safe to use.
Regular Cleaning Tips
Rinse your bladder after every use with warm water. Use mild soap or special cleaning tablets to remove residue. Pay attention to corners and the tube where grime hides. Clean the mouthpiece thoroughly as well. Let the bladder air dry completely before storing.
Clean the tube by running water through it or using a brush made for hydration tubes. Remove the tube from the bladder to clean inside easily. Do this regularly to avoid bad taste and odors.
Avoiding Mold And Bacteria
Dry the bladder fully after cleaning to stop mold growth. Hang it upside down and prop open the opening to let air circulate. Use a clean whisk or hanger to keep the bladder wide open. Insert a clean cloth or paper towel into the tube to absorb moisture.
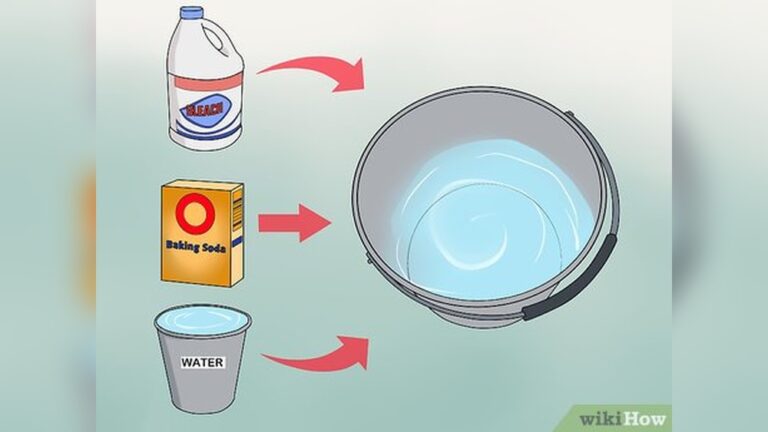
Store your hydration bladder in a cool, dry place. Avoid folding or crushing it while wet. Check for any signs of mold regularly. If mold appears, clean it with a baking soda or vinegar solution before use.

Credit: www.youtube.com
Storage Tips For Longevity
Proper storage extends the life of your hydration bladder. Drying it fully before storage stops mold and odors. It also keeps the material strong and safe for use. Follow simple steps to store your bladder right and keep it fresh for many adventures.
Keep Bladder Dry And Open
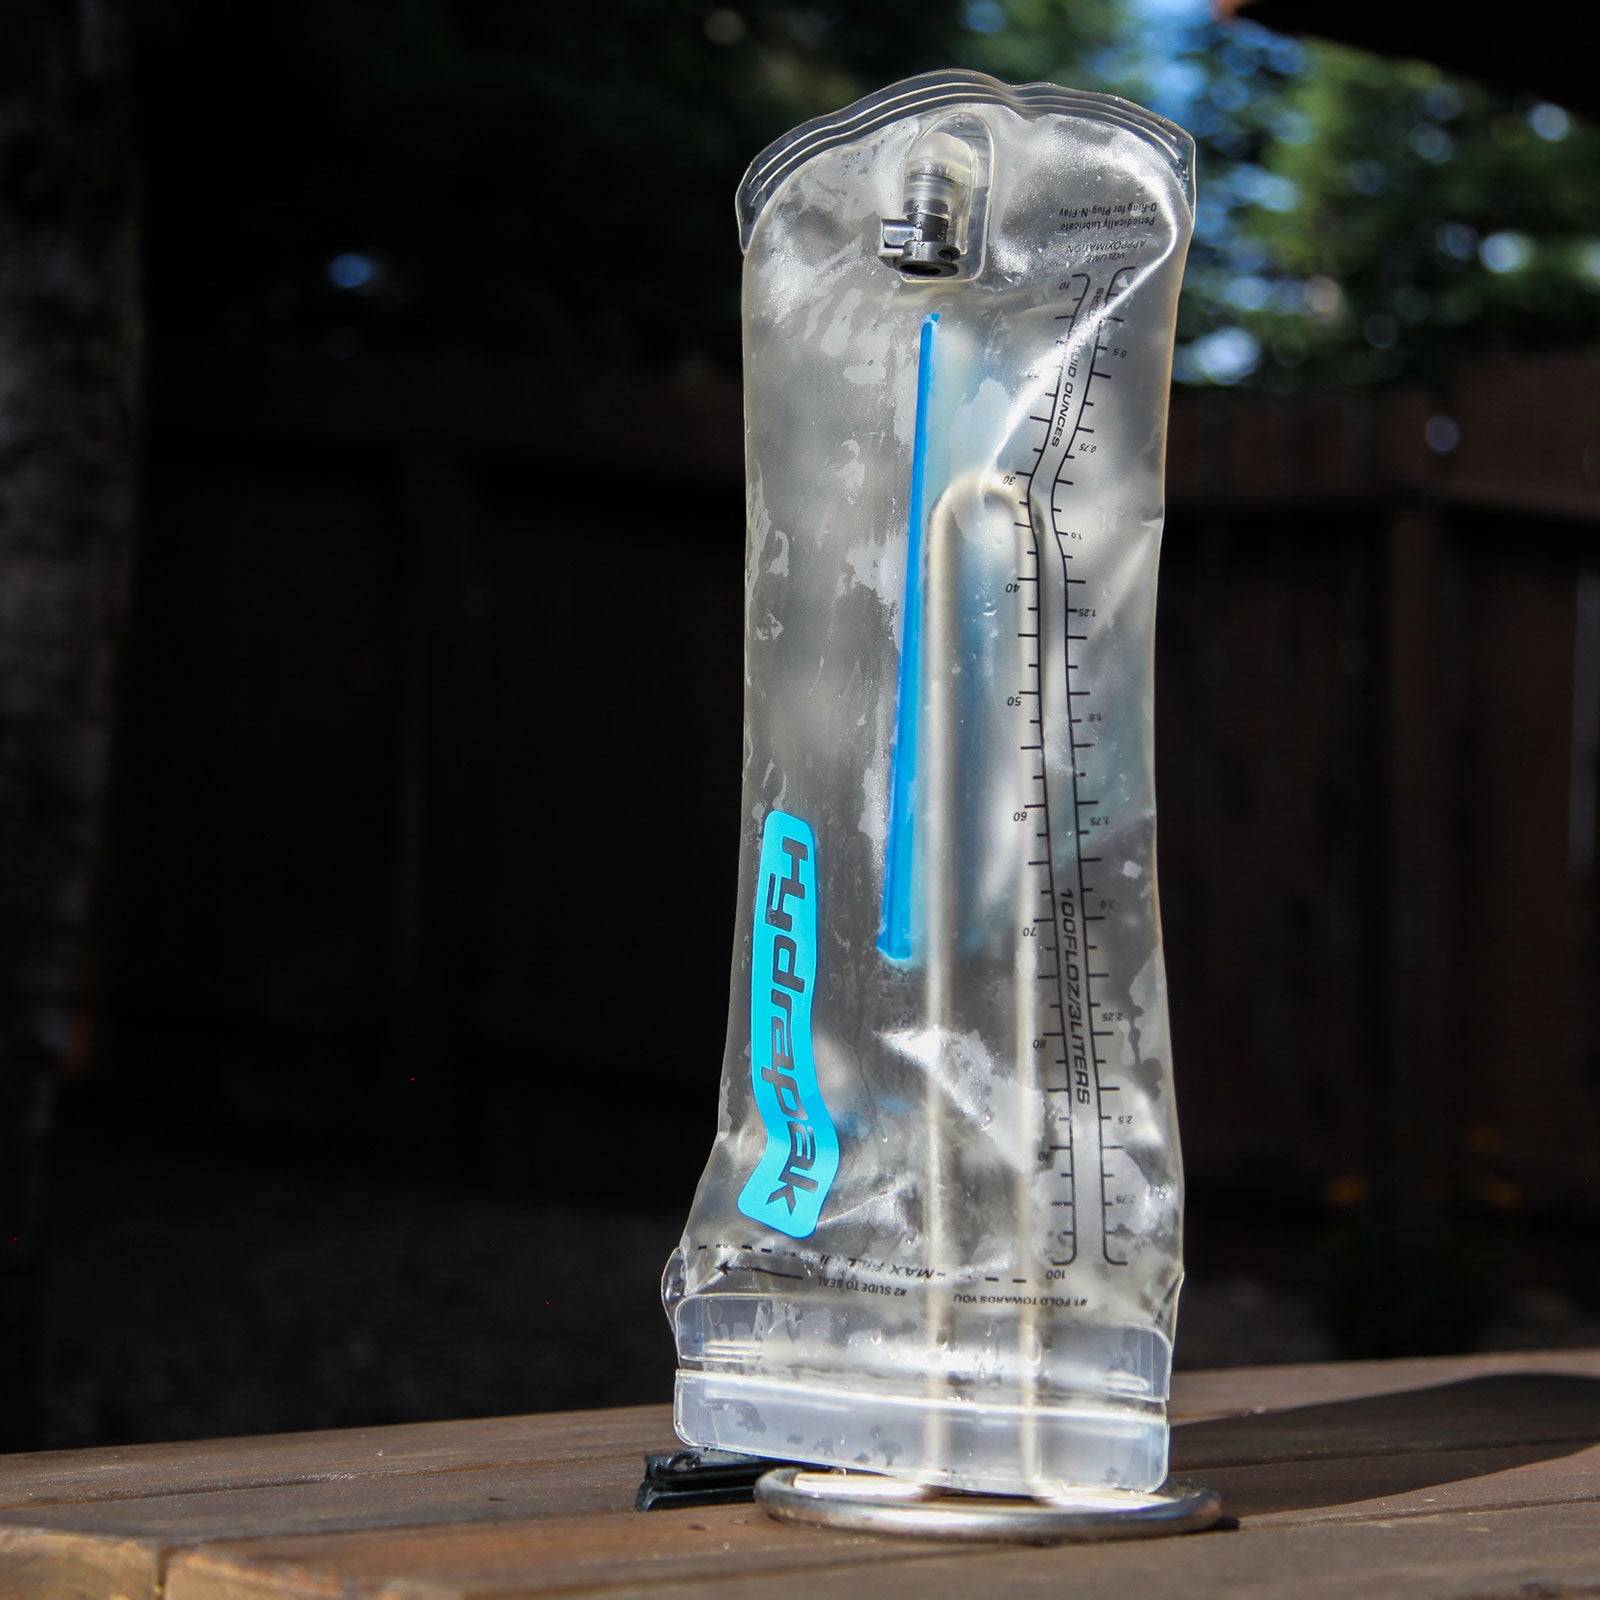
Always dry the bladder completely before storing. Hang it upside down by the built-in loop. Use a clean utensil, like a kitchen whisk or hanger, to keep the bladder open. This allows air to circulate inside and speeds up drying. Avoid folding or sealing the bladder while damp. Moisture trapped inside causes mold and bad smells.
Avoiding Sloshing
Sloshing water can damage the bladder over time. Store the bladder empty to prevent water movement. If you must carry water, fill it just enough to reduce sloshing. Use a tube clip or holder to keep the hose secure. This prevents wear and keeps your bladder working well longer.
Credit: www.outsideonline.com
Conclusion
Drying your hydration bladder well prevents mold and bad smells. Always drain the hose completely before hanging the bladder upside down. Use simple tools like a hanger or paper towels to keep it open for airflow. Swing the hose outside to remove leftover water droplets.
Regularly drying your bladder keeps it fresh and ready for your next adventure. Taking these small steps saves you time and hassle in the long run. Keep your hydration gear clean and dry for safe, fresh water every time.

I am an outdoor enthusiast and gear researcher passionate about camping, hiking, backpacking, and outdoor adventures. I enjoy testing gear, comparing products, and sharing practical advice to help readers make informed decisions. At BestOutsideGear, I create honest gear reviews, buying guides, and outdoor tips to help adventurers choose the right equipment with confidence.