How to Make a Mini Camping Tent | Best DIY Guide
Are you ready to bring a little adventure right into your home? Making a mini camping tent is a fun and simple project that lets you get creative with just a few materials.
Whether you want a cozy hideaway for your toys or a charming decoration for your space, building your own tiny tent is easier than you think. In this guide, you’ll discover easy steps to craft a mini camping tent that looks great and feels special.
Stick with me, and by the end, you’ll have a unique little tent that’s all yours—perfect for sparking imagination and adding a touch of the outdoors indoors. Let’s get started!
Materials Needed
Gathering the right materials is the first step to make a mini camping tent. Simple supplies work well and keep the project easy. You can also add some fun items to decorate the tent. This section lists the materials you need to start crafting your mini tent.
Basic Supplies
- Popsicle sticks or small wooden dowels for the frame
- Fabric or sturdy paper for the tent cover
- Glue or hot glue gun for assembly
- Scissors to cut the fabric or paper
- String or thin rope for tying parts together
- Ruler and pencil for measuring and marking
Optional Decorative Items
- Paint or markers to add color and designs
- Mini clothespins to hold parts while drying
- Small beads or buttons for decoration
- Mini LED lights to brighten the tent
- Stickers or fabric patches for extra style
Choosing Your Tent Design
Choosing the right tent design is key to making a mini camping tent. The design affects how easy it is to build and how it looks. Pick a shape that fits your style and skill level. This guide covers three simple designs to inspire your project.
Simple A-frame Tent
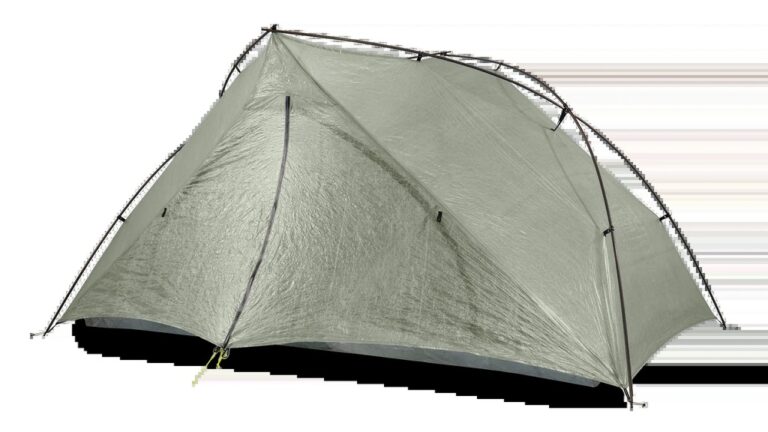
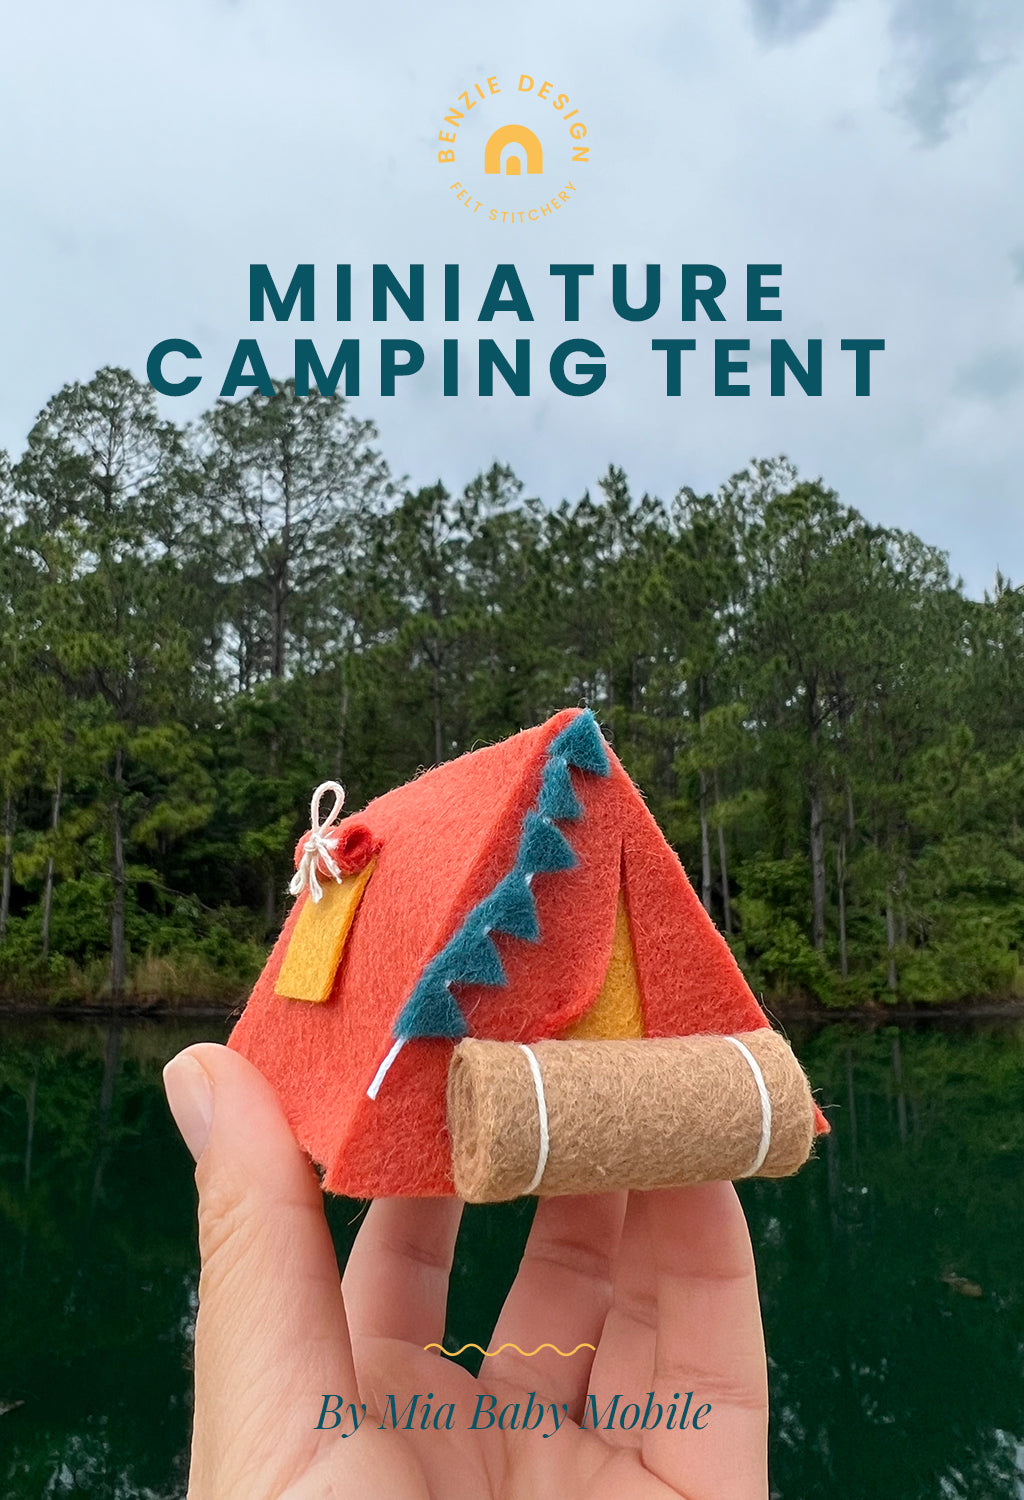
The A-frame tent is classic and easy to make. It uses two poles to form a triangle shape. Cover the frame with fabric or paper for walls. This design is sturdy and looks like a real camping tent. It fits well in small spaces and is great for beginners.
Pyramid Style Tent
The pyramid tent has one peak and slopes down on all sides. It needs a single pole in the center. This design is lightweight and stable. Cover the sides tightly to keep the shape. It looks neat and is simple to create with basic materials.
Miniature Teepee
The teepee design uses poles that lean together at the top. The poles form a cone shape. Wrap fabric or paper around the poles for walls. This style is cozy and fun to build. It has a traditional look and works well for a mini tent project.
Preparing The Tent Frame
Preparing the tent frame is a crucial step in making a mini camping tent. The frame gives the tent its shape and strength. A well-built frame ensures stability and ease of setup. Focus on precise cutting and careful assembly for the best results.
Cutting And Shaping Poles
Start by selecting lightweight poles. Bamboo, wooden dowels, or plastic rods work well. Measure the poles according to your tent size. Use a saw or strong scissors to cut them evenly. Smooth the edges with sandpaper to avoid splinters. Shape the poles gently if needed to fit the tent design. Make sure all poles are straight and uniform.
Assembling The Frame Structure
Lay out the cut poles on a flat surface. Arrange them in the shape of your tent frame. Use strong glue, tape, or small connectors to join poles at the corners. Check that the joints are tight and secure. Allow glue to dry completely before moving the frame. Test the structure by gently pressing on it. It should hold firm without bending or wobbling.

Credit: www.amazon.com
Creating The Tent Cover
Creating the tent cover is an important step in building your mini camping tent. The cover protects the inside from dust and gives your tent a finished look. It also adds charm and realism to your project. This section explains how to select the right material, measure and cut it, and attach it to the frame carefully.
Selecting Fabric Or Paper
Choose a material that is light but strong. Fabric like cotton or felt works well for a soft, realistic tent. Paper can be easier to handle but is less durable. Pick a color that fits your camping theme. Bright colors look playful, while neutral shades feel natural.
Measuring And Cutting Cover Material
Measure the frame’s height, width, and length. Add an extra half inch to each side for folding and attaching. Use a ruler and pencil to mark these dimensions on the fabric or paper. Cut carefully along the lines with scissors or a craft knife. Straight edges help the cover fit nicely.
Attaching Cover To Frame
Place the cut cover over the frame to check the fit. Fold the edges around the frame poles or sticks. Use glue, tape, or small stitches to secure the cover. Make sure the cover is tight but not stretched too much. Smooth out any wrinkles for a neat look. Let glue or tape dry completely before using the tent.
Adding Tent Details
Adding details to your mini camping tent makes it look more realistic and fun. Small touches bring your tent to life. These details improve the overall design. They also show your creativity and care in crafting.
Focus on making door flaps, windows, and vents. Then, decorate the tent for a personal touch. These steps add both style and function to your mini tent.
Making Door Flaps
Create door flaps using fabric or paper cut into rectangles. Attach them at the tent entrance with glue or tape. Cut slits or use velcro to allow opening and closing. This adds a real door effect. It also lets light in and out.
Adding Windows Or Vents
Cut small squares or circles on the tent sides for windows or vents. Cover openings with thin mesh or clear plastic to keep it neat. Windows improve the tent’s look and help pretend airflow. Vents add realism and keep your mini campers comfortable.
Decorative Touches
Use markers, stickers, or paint to decorate your tent’s surface. Add stripes, dots, or camping logos for style. Attach tiny ropes or flags to poles for extra charm. These small decorations make your mini tent unique and eye-catching.

Credit: www.youtube.com
Securing The Tent
Securing your mini camping tent is key for a safe and sturdy setup. It keeps the tent steady in wind or movement. Proper securing stops the tent from collapsing or blowing away. Focus on strong anchoring and balance to protect your tiny shelter.
Using Stakes Or Weights
Use small stakes to anchor the tent corners firmly into the ground. Push stakes deep enough for a solid hold. If outdoors on hard surfaces, attach weights like rocks or heavy objects. Tie tent loops tightly around stakes or weights to prevent slipping. This method keeps your tent in place during light breezes and gentle knocks.
Ensuring Stability
Check all tent sides for even tension. Tighten ropes or elastic bands to remove slack. Spread the tent base flat to avoid wobbling. Position your tent on a level surface for better balance. Add extra support with sticks or poles inside if needed. Stability keeps your mini tent upright and ready for use.
Setting Up Your Mini Campsite
Setting up your mini campsite brings your small tent to life. It creates a fun and cozy scene. This step adds charm and interest to your camping project. You can use simple items to build your mini outdoor space. Focus on details that make the campsite look real and inviting.
Start with the basics, then add small decorations. Think about what makes a real campsite special. Lights, campfires, and camping gear all help. Let’s explore how to create a mini campfire and add accessories to your site.
Creating Mini Campfire
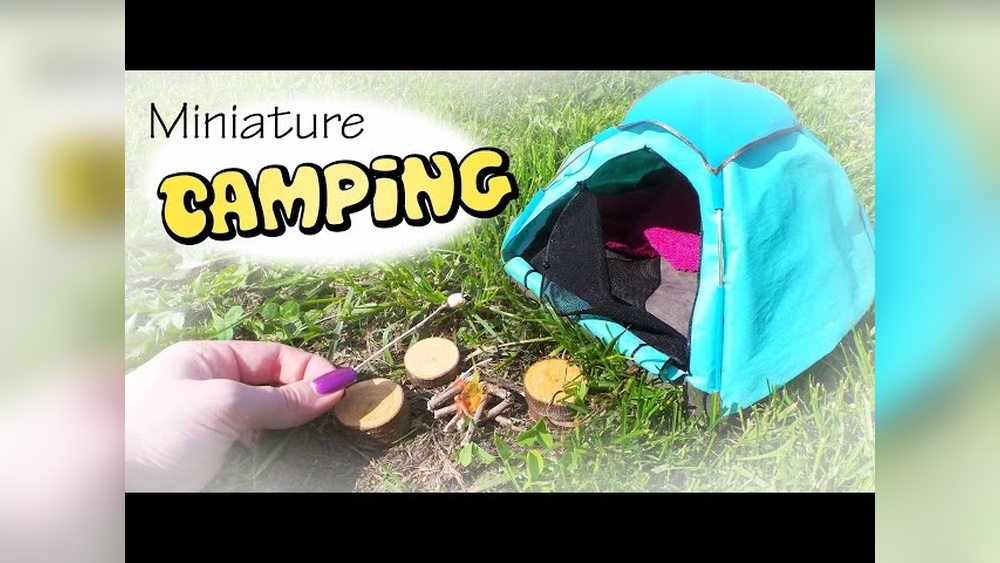
A mini campfire adds warmth and excitement to your campsite. Use small twigs or toothpicks for logs. Arrange them in a circle or teepee shape. Add tiny orange and red paper or felt pieces as flames.
Use glue to fix the flames on the logs. Place the campfire near your mini tent for realism. You can also add small stones around the fire to make it look safe and natural. This simple touch brings your campsite to life.
Adding Accessories And Props
Accessories make your campsite more detailed and fun. Use small items like toy chairs or mini sleeping bags. Tiny backpacks or lanterns add more camping feel.
Create a picnic spot with a mini blanket and tiny food items. Use craft foam or paper for plates and cups. Scatter small rocks or leaves to make the scene lively.
These props add personality and make your mini campsite special. They show your creativity and attention to detail.
Credit: www.benziedesign.com
Tips For Beginners
Building a mini camping tent is fun and rewarding. Beginners often face small challenges that can slow them down. Simple tips can make the process easier and more enjoyable. Focus on getting the basics right first. This will help you avoid frustration and create a better tent. Here are some key tips for beginners.
Common Mistakes To Avoid
Starting without a clear plan can cause problems. Sketch your tent design before you begin. Using weak materials leads to a fragile tent. Choose sturdy sticks or sticks with good thickness. Avoid rushing the assembly. Take your time to connect parts carefully. Skipping measurements often results in uneven shapes. Measure twice, cut once to keep accuracy.
Improving Durability
Use glue that dries strong and fast to hold pieces well. Reinforce corners with extra glue or small tape strips. Select waterproof or water-resistant fabric for the tent cover. This protects your tent from spills and humidity. Add small supports or cross beams inside the frame. This adds strength and helps keep the shape. Check all joints and connections for stability before finishing.
Creative Customizations
Decorate your tent with paint or markers to add personality. Use fabric scraps or colored paper for a vibrant look. Add tiny accessories like mini flags or a door flap. Try using glow-in-the-dark paint for a fun night effect. Personal touches make your mini tent unique and special. Experiment with different shapes and sizes for variety in your campsite.
Conclusion
Making a mini camping tent is simple and fun. You only need a few materials and basic steps. This project sparks creativity and offers hands-on learning. Enjoy building your tiny shelter for play or decoration. Try different designs and personalize your tent easily.
Crafting small projects like this can bring great joy. Start today and see how rewarding it feels.

I am an outdoor enthusiast and gear researcher passionate about camping, hiking, backpacking, and outdoor adventures. I enjoy testing gear, comparing products, and sharing practical advice to help readers make informed decisions. At BestOutsideGear, I create honest gear reviews, buying guides, and outdoor tips to help adventurers choose the right equipment with confidence.