How to Use a Hydration Bladder | Easy Step-by-Step Guide
You know how important it is to stay hydrated when you’re out hiking, biking, or on any adventure. A hydration bladder makes drinking water easy and hands-free, but only if you use it right.
If you’ve ever struggled with leaks, awkward tube placement, or wondered how to clean it properly, this guide is for you. Keep reading, and you’ll learn simple, step-by-step tips to fill, secure, and drink from your hydration bladder without hassle.
By the end, you’ll be confident using your bladder so you can focus on enjoying your time outdoors—not worrying about your water supply.
Choosing The Right Hydration Bladder
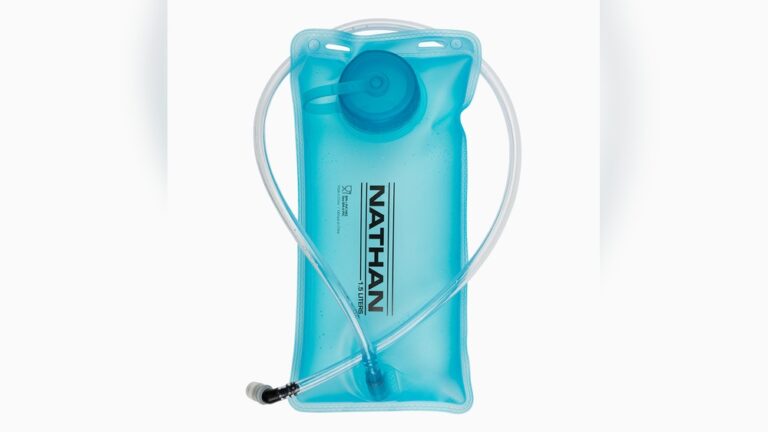
Choosing the right hydration bladder makes your outdoor adventure easier. The right choice depends on several factors. Consider your activity, duration, and personal preferences. This section helps you pick a hydration bladder that fits your needs perfectly.
Capacity Options
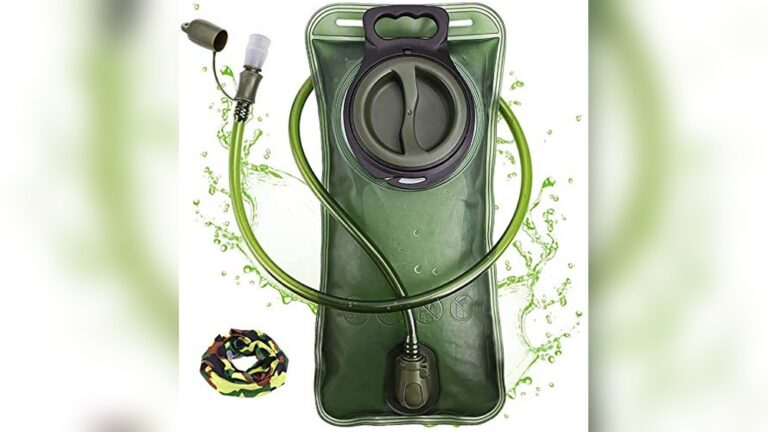
Hydration bladders come in various sizes. Common sizes include 1, 2, and 3 liters. A 1-liter bladder suits short hikes or quick runs. A 2-liter bladder works well for most day trips. For long hikes, a 3-liter bladder provides enough water. Choose a size based on how long you will be active and how much water you need.
Material Types
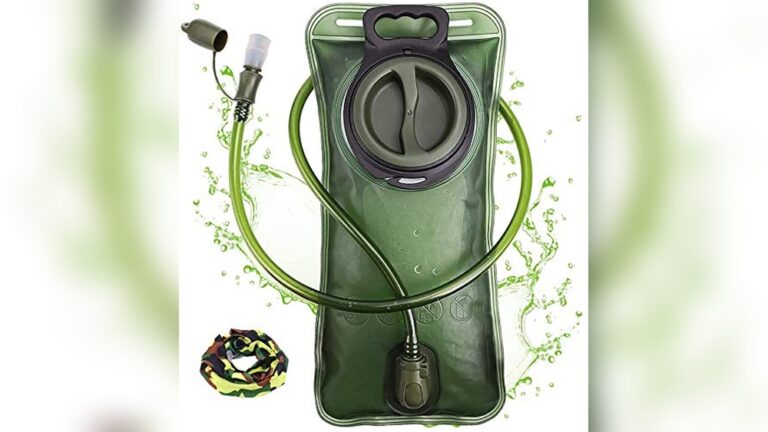
Materials affect bladder durability and weight. Most bladders are made from BPA-free plastic or TPU. BPA-free plastic is lightweight and flexible. TPU is more durable and resists punctures. Some bladders have antimicrobial coatings to prevent mold. Pick a material that balances weight and toughness for your adventures.
Valve And Tube Features
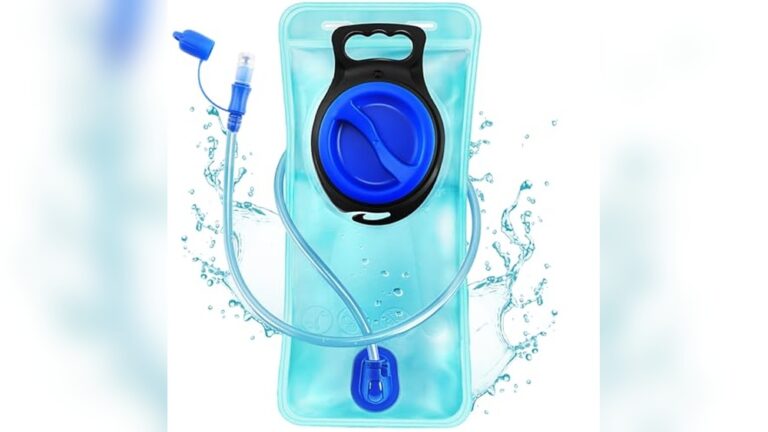
Valve and tube design impact ease of use. Look for bite valves that open easily when you bite. Some valves have shut-off switches to stop leaks. Tubes vary in length and flexibility. A longer tube offers more reach but can add weight. Quick-disconnect features allow you to remove the tube fast. Choose features that make drinking simple and leak-free.
Filling The Bladder
Filling the hydration bladder is the first step to staying hydrated on your hike or run. Proper filling helps prevent spills and keeps the water fresh. Follow simple steps to fill the bladder safely and securely. This ensures the best experience while using your hydration system.
Using Fresh Water
Always fill the bladder with clean, fresh water. Avoid using water from unknown sources. Fresh water tastes better and reduces the risk of bacteria. Use a tap or filtered water for the best results. Fill the bladder slowly to avoid splashing.
Removing Air Bubbles
After filling, turn the bladder upside down. Gently squeeze the bladder to push out trapped air. Removing air stops the water from sloshing during movement. It also helps the bladder fit better in your pack. Repeat until no air bubbles remain.
Sealing And Leak Testing
Close the bladder tightly using the slider or screw cap. Make sure the seal is secure to prevent leaks. Check the seal by turning the bladder upside down over a sink. Look for any water dripping out. Fix any leaks before placing the bladder in your pack.
Installing In Your Backpack
Installing your hydration bladder in the backpack is a simple yet important step. Proper installation keeps the bladder secure and makes drinking easy while on the move. Follow these steps to fit your hydration bladder correctly and enjoy hassle-free hydration.
Locating The Hydration Sleeve
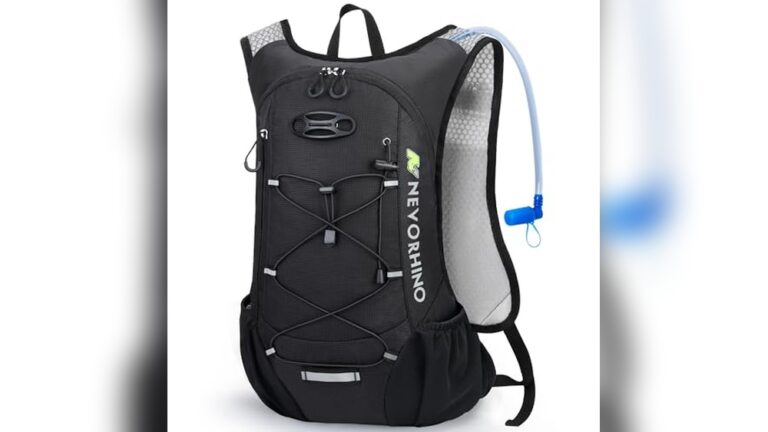
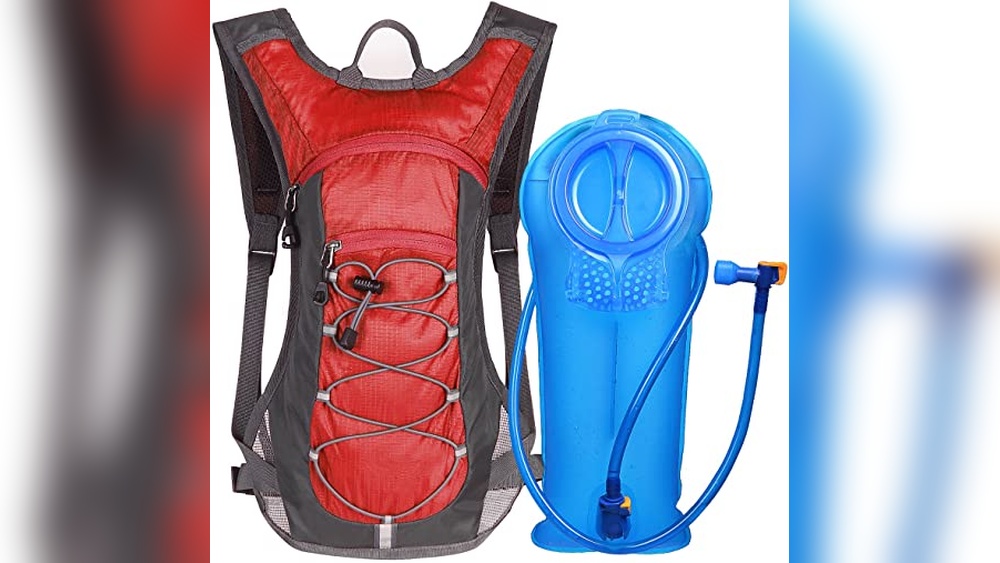
Most backpacks have a special sleeve for hydration bladders. This sleeve is usually inside the main compartment. Look for a tall, narrow pocket that fits the shape of your bladder. It often sits near your back panel for comfort and balance. Finding this sleeve is the first step to proper installation.
Positioning The Bladder
Place the bladder into the hydration sleeve with the opening at the top. Make sure it sits flat against the back panel. This position helps keep the bladder stable and reduces movement. Avoid folding or bending the bladder. Keep the bladder upright to prevent leaks and allow smooth water flow.
Routing The Drinking Tube
Find the small opening near the top of your backpack designed for the tube. Pull the drinking tube through this hole so it comes out near your shoulder strap. Secure the tube along the shoulder strap using clips or loops on the backpack. This setup keeps the tube in place and easy to reach while hiking or biking.

Credit: www.apidura.com
Drinking Techniques
Drinking from a hydration bladder feels simple once you know the right techniques. These tips help you sip water easily during your hike or run. Practice makes it smoother and more comfortable.
Unlocking The Bite Valve
Most hydration bladders have a bite valve on the tube. To unlock it, twist or pull the valve gently. This opens the flow of water. Make sure it is fully open before drinking. If locked, no water will come out.
Proper Biting And Sucking
To drink, bite the valve gently with your teeth. Do not bite too hard or you may damage it. While biting, suck water through the tube. Use short, steady pulls. This controls water flow and prevents spills.
Using Tube Clips For Convenience
Tube clips keep the drinking tube in place on your backpack strap. Clip the tube near your shoulder for easy reach. This stops the tube from swinging or getting tangled. It also helps you drink without stopping your activity.
Cleaning And Maintenance
Cleaning and maintenance keep your hydration bladder safe and fresh. Proper care stops mold and bacteria growth. It also extends the life of your bladder. Simple steps after each use make a big difference. Follow these tips to keep your hydration bladder clean and ready.
Rinsing After Use
Rinse the bladder with warm water after each use. Fill it halfway, close the opening, and shake well. Open the bladder and flush out any leftover water. Run clean water through the tube to clear it. Repeat until water runs clear and fresh.
Drying Methods
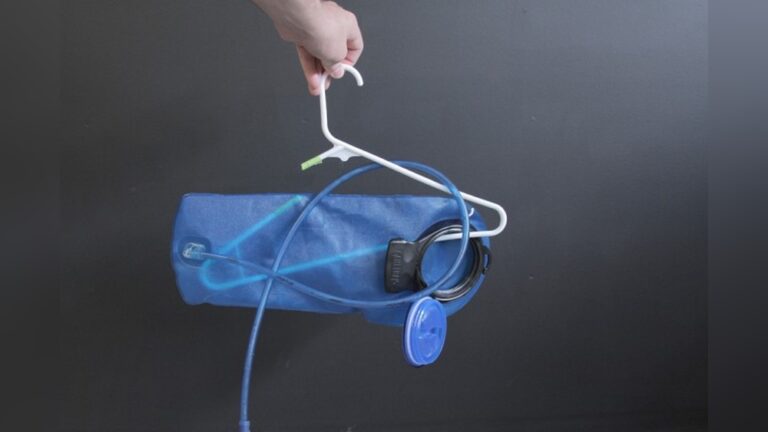
Dry the bladder fully before storing it. Hang it upside down to drain water. Use a clean cloth to wipe the inside if needed. Leave the bladder open to let air circulate. Dry the tube by blowing air through it or hanging it straight.
Preventing Mold And Bacteria
Use mild soap or baking soda for cleaning sometimes. Avoid harsh chemicals that can damage the bladder. Store the bladder open and dry to prevent mold. Clean the bite valve by removing and rinsing it well. Regular cleaning stops bacteria buildup in hard-to-reach places.
Freezer Storage Tips
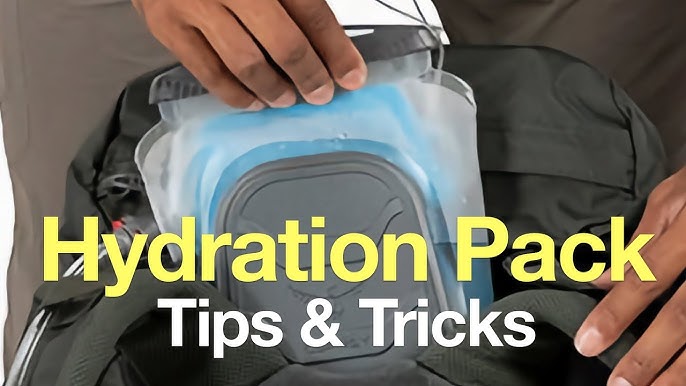
Store your hydration bladder in the freezer to stop mold. Make sure it is clean and dry before freezing. Freeze the bladder with the tube attached to keep shape. Use this method only if you plan to store it for weeks. Thaw it fully before use and rinse again.
Credit: www.youtube.com
Troubleshooting Common Issues
Troubleshooting common issues with your hydration bladder helps maintain its performance. Small problems can interrupt your hydration during activities. Knowing simple fixes keeps you hydrated and comfortable. Here are solutions for frequent problems users face.
Fixing Leaks
Leaks often come from loose seals or small tears. Check the bladder’s opening and seal for tightness. Replace or fix damaged seals immediately. Inspect the tube connections and bite valve for cracks. Use waterproof tape for tiny tears as a quick fix. Avoid overfilling the bladder to reduce pressure. Carry a repair kit for emergencies on long trips.
Clearing Blocked Tubes
Blocked tubes stop water flow and cause frustration. Remove the tube from the bladder carefully. Flush warm water through the tube to clear obstructions. Use a small brush designed for hydration tubes if needed. Dry the tube thoroughly to prevent mold and bacteria growth. Regular cleaning after each use reduces blockages. Store the tube with a slight bend to avoid kinks.
Dealing With Unpleasant Tastes
Unpleasant tastes usually come from leftover water or mold. Clean the bladder and tube with warm water and mild soap after each use. Use a baking soda or lemon juice solution to remove odors. Rinse thoroughly to remove any cleaning residue. Let the bladder dry completely before storing it. Avoid storing water in the bladder for long periods. Replace the bite valve if the taste persists.
Tips For Outdoor Success
Using a hydration bladder outdoors needs smart tips for a smooth experience. These tips help keep water flowing and make hydration easy. Stay comfortable and drink enough water with simple tricks.
Hydration Habits On The Trail
Drink small amounts often, not large gulps rarely. This keeps your body hydrated and energy steady. Take sips every 15 to 20 minutes while walking. Don’t wait to feel thirsty to drink water. Carry extra water for long hikes or hot days. Check your bladder tube often to avoid clogs or leaks.
Winter And Summer Use
In winter, keep water from freezing by storing the tube inside your jacket. Use insulated covers for the tube and bladder. In summer, keep the bladder in shade to keep water cool. Clean and dry the bladder well after each use to avoid mold. Use fresh water daily to stay healthy and refreshed.
Packing And Carrying Strategies
Place the bladder in the backpack sleeve to balance weight. Ensure the tube is easy to reach over your shoulder. Keep the bite valve clean by covering it when not in use. Roll the bladder when packing to save space after use. Avoid sharp objects near the bladder to prevent punctures.

Credit: outdoorinoxto.com
Conclusion
Using a hydration bladder keeps water handy and easy to drink. Fill it with clean water and seal it well. Place it in your backpack’s sleeve for stability. Make sure the tube is secure and easy to reach. Bite the valve gently to drink without stopping.
After use, clean and dry it to avoid mold. Regular care helps your bladder last longer. Staying hydrated on the move becomes simple and convenient. Give it a try on your next outdoor adventure.

I am an outdoor enthusiast and gear researcher passionate about camping, hiking, backpacking, and outdoor adventures. I enjoy testing gear, comparing products, and sharing practical advice to help readers make informed decisions. At BestOutsideGear, I create honest gear reviews, buying guides, and outdoor tips to help adventurers choose the right equipment with confidence.