How to Use Camping Coffee Maker: Brew Perfect Coffee Outdoors
Imagine waking up at your campsite with the fresh aroma of hot coffee brewing right beside you. If you’ve ever struggled with making coffee outdoors, a camping coffee maker can change your mornings for the better.
You might wonder, “How exactly do I use this handy device? ” Don’t worry—this guide will walk you through every simple step to brew a perfect cup, whether you’re by a campfire or a portable stove. Stick with me, and you’ll discover easy tricks to enjoy rich, smooth coffee that fuels your adventures and makes your camping experience truly memorable.
Ready to become a camp coffee pro? Let’s dive in!
Choosing A Camping Coffee Maker
Camping coffee makers come in different types. Popular options include percolators, French presses, and portable espresso makers. Each type works differently and fits different needs.
Materials matter. Stainless steel is strong and lasts long. Aluminum is lightweight but less durable. Plastic models are light but may break easily.
Size and portability are key. Choose a coffee maker that fits your backpack easily. Small and compact models save space. Consider the weight if you hike far.

Credit: aeropress.com
Essential Gear And Ingredients
Selecting the right coffee grounds is key for good camp coffee. Use medium-coarse grounds to avoid bitterness and sediment. Fine grounds can clog the filter and cause gritty coffee. Coarse grounds work best with most camping coffee makers.
Water quality and temperature matter a lot. Use fresh, clean water for the best taste. Avoid stale or hard water. Heat water to just below boiling, about 190-200°F (88-93°C). Too hot water makes coffee bitter. Too cold water makes coffee weak.
Bring some additional accessories like a spoon, filter papers, and a clean cloth. A small brush helps clean the coffee maker well. Packing a thermometer can help keep water at the right temperature. A travel mug keeps your coffee warm longer.
Preparing Your Coffee Maker
Before using your camping coffee maker, make sure to clean it well. Rinse all parts with warm water to remove dust or old coffee residue. Avoid using soap as it may leave a taste. Dry components with a clean cloth.
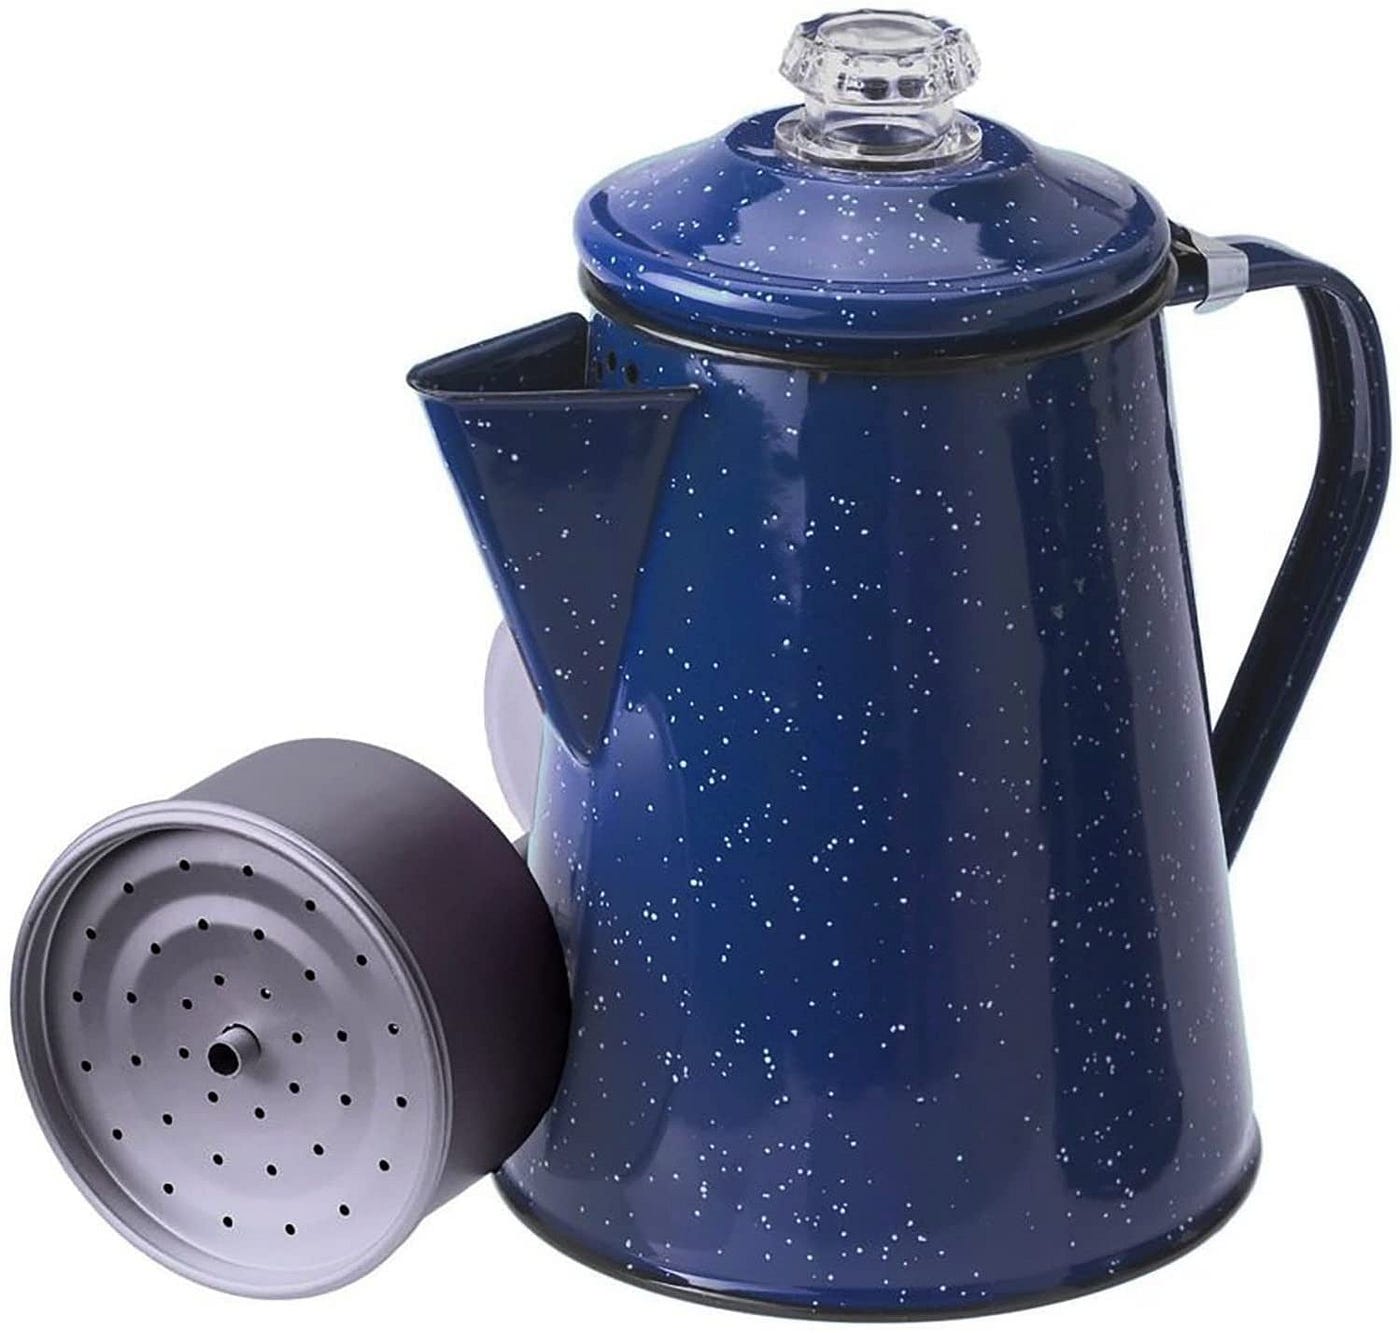
Assemble the coffee maker by placing the basket inside the main pot. Secure the lid tightly to avoid spills during brewing. Check that all parts fit snugly to keep heat and steam inside.
Fill the pot with cold water up to the marked level. Do not overfill to prevent water from spilling over. Water should stay below the basket to allow proper brewing.
Brewing Coffee Outdoors
Start by setting up your heat source carefully. Use a campfire, propane stove, or grill with medium-high heat. Make sure the flame is steady but not too strong. This helps avoid burning your coffee.
Next, prepare the coffee maker. Fill the base with cold water, below the basket level. Add medium-coarse coffee grounds into the basket. Place the basket and lid securely.
Place the coffee maker on the heat source. Wait until you see a gentle bubbling. This means the water is percolating through the grounds.
Timing is key. Let the coffee brew for about 5 to 7 minutes. Remove from heat before it boils hard. This prevents bitter taste from over-extraction.
- Use a coarse grind to avoid sediment in your coffee.
- Reduce heat after first bubbles to keep flavor balanced.
- Clean your coffee maker well after use for best taste next time.
Tips For Better Camp Coffee
Grind size matters a lot. Use medium-coarse grind to avoid coffee grounds in your cup. Too fine grind lets sediment pass through the basket, causing a gritty taste.
Control the heat carefully. Start with medium-high heat and reduce once boiling begins. Avoid a strong boil because it makes coffee bitter and harsh.
To stop sediment from settling, try using a paper filter with a hole in the center. It keeps grounds from floating in your coffee. Also, pour slowly to let grounds stay at the bottom.
Cleaning And Maintenance
Clean the coffee maker right after brewing. Rinse all parts with warm water. Avoid soap as it can leave taste.
Use a brush to scrub the basket and pot gently. Dry completely before storing to stop mold growth.
Store your coffee maker in a dry place. Keep all parts together to avoid losing small pieces.
Check seals and handles often. Replace any cracked or broken parts to keep the maker safe to use.
Common issues include clogging and rust. Clean filters and dry metal parts well to prevent these problems.
| Task | Tip |
|---|---|
| Post-Brew Cleaning | Rinse with warm water, avoid soap, dry well. |
| Storing | Keep in a dry spot, store parts together. |
| Avoiding Problems | Check seals, clean filters, prevent rust. |
Troubleshooting Common Issues
Weak or watery coffee often means not enough coffee grounds were used. Try adding more grounds next time. Also, ensure the coffee grind is not too coarse. Water temperature may be too low, so heat the water properly before brewing.
Over-extraction and bitterness happen when coffee brews too long or at too high heat. Reduce brewing time and lower the heat. Stirring the grounds too much can also cause bitterness, so avoid stirring during brewing.
Sediment in coffee is common with camping coffee makers. Using a paper filter can help catch grounds. Also, use a medium-coarse grind to reduce sediment. Cleaning the coffee maker well after each use prevents leftover grounds from ending up in your cup.

Credit: www.youtube.com
Enhancing Your Camp Coffee Experience
Adding flavors like cinnamon, vanilla, or nutmeg can make camp coffee special. Small amounts of sugar or honey also improve taste. Try adding a splash of milk or cream for a smoother drink. Some campers enjoy flavored syrups or cocoa powder mixed in.
Pair coffee with simple camp meals for a better experience. Breakfast items like toast, eggs, or pancakes go well with coffee. Snack on granola bars or nuts during coffee breaks. Warm drinks help wake you up and keep you cozy in cool weather.
Sharing coffee moments outdoors builds connection among friends. Sit around the campfire and enjoy your drink together. Talk, laugh, and relax while sipping fresh coffee. These moments make camping trips more memorable and fun.
Credit: medium.com
Frequently Asked Questions
What Is A Camping Coffee Maker?
A camping coffee maker is a portable device designed to brew coffee outdoors. It is usually lightweight, durable, and easy to use on camping stoves or campfires. It helps campers enjoy fresh coffee while away from home.
How Do I Prepare A Camping Coffee Maker?
Remove the lid and basket, then fill the base with cold water below the basket level. Optionally, place a paper filter in the basket to reduce sediment. Add coarse coffee grounds into the basket before brewing.
How Long Should I Heat Coffee On A Camping Stove?
Place the coffee maker on medium-high heat and allow it to percolate. Once bubbling starts, reduce the heat to avoid over-boiling. Typically, brewing takes 5 to 10 minutes for perfect camp coffee.
Why Use Coarse Coffee Grounds For Camping Coffee?
Coarse grounds prevent coffee from passing through the basket holes, reducing grit in your cup. Fine grounds can clog the filter and cause bitter flavors. Coarse grind ensures a cleaner and smoother taste.
Conclusion
Using a camping coffee maker can make your outdoor mornings better. Follow simple steps to prepare water and coffee grounds correctly. Keep the heat low to avoid bitter coffee. Coarse coffee grounds help prevent grit in your cup. Clean your coffee maker well after use for next time.
Enjoy fresh, warm coffee wherever you camp. A good cup of coffee can start your adventure right. Practice these tips, and brewing camp coffee becomes easy and fun.

I am an outdoor enthusiast and gear researcher passionate about camping, hiking, backpacking, and outdoor adventures. I enjoy testing gear, comparing products, and sharing practical advice to help readers make informed decisions. At BestOutsideGear, I create honest gear reviews, buying guides, and outdoor tips to help adventurers choose the right equipment with confidence.