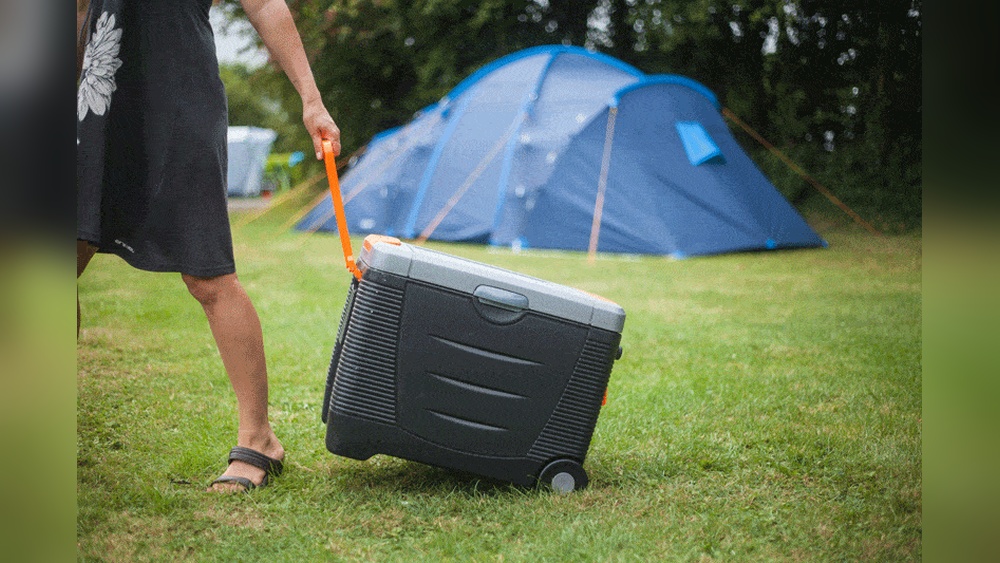
How to Keep Food Cold While Tent Camping
Tent camping brings you close to nature, but it also brings a challenge: keeping food cold without a fridge. Warm temperatures cause food to spoil quickly, which can ruin your trip and even make you sick. Whether you’re planning a weekend getaway or a week-long adventure, knowing how to keep food cold while tent camping is a skill every camper should master.
The good news is, with the right planning and a few smart tricks, you can enjoy fresh food far from home. Let’s explore the best ways to keep your food safe, cold, and delicious—even in the wild.
Why Keeping Food Cold Matters
Food safety is not just about comfort, it’s about health. Bacteria multiply rapidly between 40°F and 140°F, the “danger zone” for perishable foods. Eating spoiled food can lead to food poisoning, which may cause vomiting, diarrhea, and even hospitalization. When camping, medical help is often far away, so preventing food spoilage is crucial.
Choosing The Right Cooler
Your cooler is your main defense against heat. But not all coolers are the same. Choosing the best one can make a big difference in how long your food stays cold.
| Cooler Type | Ice Retention (Days) | Weight (Empty) | Best For |
|---|---|---|---|
| Traditional Plastic Cooler | 1–2 | Light | Short trips, car camping |
| High-Performance Rotomolded | 4–7 | Heavy | Long trips, hot climates |
| Soft-Sided Cooler | Less than 1 | Very light | Day hikes, picnics |
High-performance coolers (like Yeti, RTIC, or Pelican) are expensive but can keep ice for nearly a week if packed correctly. For most campers, a quality plastic cooler works if you’re only out for a couple of days. Avoid soft-sided coolers for long trips, they lose cold quickly.
Pre-trip Preparation: The Chilling Advantage
The work starts before you leave home. How you prepare your cooler and food can add 24–48 hours of cold.
- Pre-chill your cooler: The night before your trip, fill the cooler with ice or frozen water bottles. This lowers the temperature inside, so fresh ice lasts longer.
- Freeze food and drinks: Anything you can freeze (meat, water, juice boxes) should go in your freezer first. Frozen food acts as extra ice and thaws slowly, keeping other items cold.
- Use block ice: Large blocks melt slower than cubes. Freeze water in milk jugs or buy block ice for longer trips.
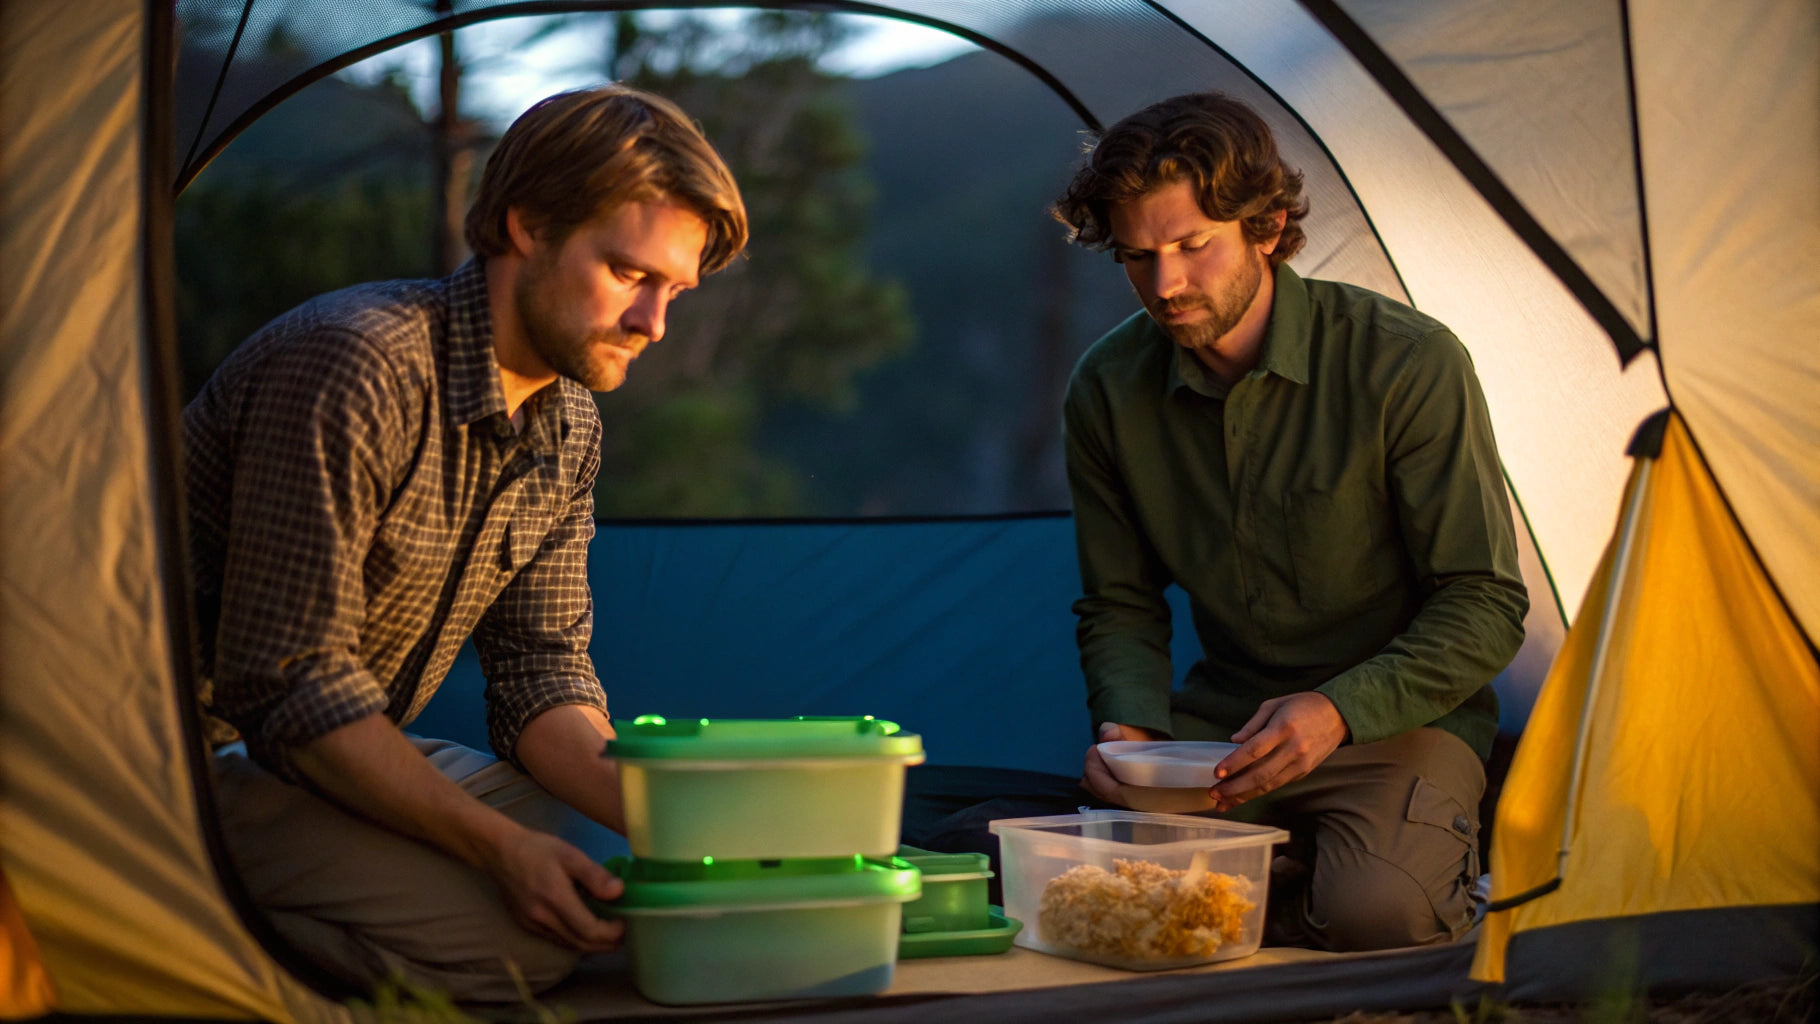
- Pack food in airtight containers: Airtight boxes stop leaks, keep food dry, and help cold air circulate better.
Packing The Cooler Like A Pro
How you pack your cooler matters as much as what you put inside. A well-packed cooler keeps food cold longer and prevents cross-contamination.
- Layering: Start with a layer of block ice at the bottom. Next, place frozen foods and raw meats (in sealed bags or containers). Add another layer of ice, then put dairy, cooked foods, and snacks on top.
- Use ice packs for gaps: Fill empty spaces with small ice packs or frozen water bottles. Less air means less heat can get in.
- Separate drinks and food: If possible, use one cooler for drinks and one for food. Drink coolers get opened more often, letting cold escape.
- Keep raw meat isolated: Always keep meat below ready-to-eat foods to prevent drips and contamination.
| Packing Order | Reason |
|---|---|
| Bottom: Block ice, frozen meat | Coldest part, prevents leaks |
| Middle: Dairy, eggs, cooked foods | Needs to stay cold, but less risky |
| Top: Fresh produce, snacks | Frequent access, less risk |

Credit: www.battlbox.com
Smart Ice Strategies
Ice is not just ice. The kind you use and how you use it can extend your cold time.
- Block Ice vs. Cube Ice: Block ice melts slowly, perfect for the bottom of your cooler. Cube ice chills faster, so use it on top for quick cooling.
- Dry Ice: For advanced campers, dry ice keeps food frozen for days. But it needs special handling—wear gloves and never touch directly. Don’t use in a sealed cooler, as it gives off carbon dioxide.
- Homemade Ice Packs: Freeze water bottles or juice boxes. They double as cold drinks when thawed and reduce water waste.
A common mistake is topping up with new ice every day. Instead, plan your ice needs before leaving, as finding clean ice in remote areas can be hard.
Keeping Your Cooler Cool In Camp
Where you place and how you use your cooler at camp makes a big impact.
- Stay in the shade: Direct sunlight can melt ice twice as fast. Always put your cooler under a tree, tarp, or inside your tent’s vestibule.
- Raise it off the ground: Place your cooler on a rock, log, or camping table. The ground can get hot in the sun and speed up melting.
- Cover with a reflective blanket: An emergency blanket or reflective tarp acts like a sun shield, keeping heat out.
- Open as little as possible: Every time you open the lid, cold air escapes. Decide what you need before opening, and close it quickly.
Many campers forget that the coldest part of the day is early morning and late at night. Use these times to rearrange or check your cooler, not during the heat of the afternoon.
Food Choices That Make A Difference
Not all foods need to stay cold. Choosing the right foods can reduce stress and risk.
- Shelf-stable foods: Canned beans, tuna, pasta, and crackers don’t need refrigeration. Mix these with cold foods for balance.
- Hard cheeses and cured meats: Parmesan or salami last longer without refrigeration than soft cheese or fresh cuts.
- Powdered milk or eggs: These substitutes are safe and light, saving cooler space for essentials.
A simple rule: the fewer perishable items you bring, the less you have to worry about keeping them cold.
Advanced Cooling Tips (for Serious Campers)
If you’re camping for more than three days, or in hot weather, basic tricks might not be enough. Here are some advanced strategies:
- Double-cooler system: Pack a small cooler with only what you need for each day, refilling from your main cooler. This keeps your main stash cold longer.
- Evaporative cooling: Wrap a wet towel around your cooler and let the breeze do the work. As water evaporates, it pulls heat away.
- DIY “Zeer pot” (pot-in-pot cooler): Place a smaller clay pot inside a larger one, fill the gap with wet sand, and cover with a damp cloth. This old method can keep fruits and veggies cool for days—no ice needed.
- Use a spring or cold stream: If camping near running water, you can set your cooler or sealed food containers in the water (anchor them well). Water at 50–60°F is much colder than air and can act as a natural fridge.
Most beginners miss how much the environment affects cooling. Even the best cooler will struggle in direct sun or 100°F heat, so use all your surroundings to your advantage.
What To Avoid: Common Mistakes
Even experienced campers make mistakes that lead to spoiled food. Watch out for these:
- Overpacking the cooler: Too much food, not enough ice means things warm up fast. The general rule is 2/3 ice, 1/3 food for long trips.
- Using loose ice only: Loose ice melts quickly, pools at the bottom, and turns your food soggy. Always use a mix of block ice and sealed packs.
- Ignoring leaks: Water at the bottom of the cooler speeds up melting and can soak food. Drain excess water daily, but don’t drain ice-cold water unless you’re adding new ice.
- Leaving cooler open: Plan what you need, open once, and close tightly. Kids especially love to peek—teach them why it matters.
How Long Will Food Stay Cold?
Here’s what you can typically expect with different setups:
| Setup | Expected Cold Time | Notes |
|---|---|---|
| Basic Cooler + Cube Ice | 12–24 hours | Best for short trips |
| Rotomolded Cooler + Block Ice | 3–5 days | Good packing required |
| Cooler + Dry Ice | 5–7 days | Special care needed |
| Stream/Spring Cooling | As long as water stays cool | Best for sealed foods |
Remember, outside temperature, how often you open the cooler, and the type of food all affect these numbers.
Credit: www.battlbox.com
Practical Example: 3-day Family Camping Trip
Let’s say you’re planning a 3-day trip for a family of four. Here’s how you might keep food cold:
- Two coolers: One for drinks/snacks, one for meals.
- Pre-chill both coolers overnight.
- Pack block ice on the bottom, then layer frozen meats, dairy, and produce.
- Freeze water bottles to fill gaps.
- Take mostly shelf-stable breakfasts and lunches (oats, bread, nut butter, canned tuna).
- Place coolers in the shade, cover with a reflective blanket, and raise them on a crate.
- Open coolers only at mealtimes.
- Drain melted water each morning and add new ice if available.
With these steps, it’s realistic to keep perishable food cold for the full trip—even in summer.
Final Insights: Little-known Tips
Most campers know about coolers and ice, but a few less-obvious tricks can make a big difference:
- Salt in ice slows melting: Mixing a little salt into your block ice lowers its melting point, keeping the cooler colder longer. But don’t let salty water touch your food.
- Black trash bags as heat shields: Placing a cooler in a black bag at night absorbs cold. In the day, a white or reflective cover keeps heat out.
- Temperature checker: Bring a cheap fridge thermometer. Keep it in your cooler to know if you’re above 40°F. If it rises, eat perishables first.
- Pack less, shop locally: For longer trips, plan to buy fresh food at local markets every few days, so you don’t have to keep things cold for too long.
And remember: always follow local rules for food storage to keep wildlife safe as well. Some parks require bear-proof containers—these are often even better at keeping food cold.
If you want to explore more about food safety while camping, check out this helpful resource from the U.S. Department of Agriculture.
With good planning and the right methods, you can relax and enjoy your next camping trip, knowing your food will stay cold, fresh, and safe to eat—no matter where your tent is pitched.

Credit: theexpertcamper.co.uk
I am an outdoor enthusiast and gear researcher passionate about camping, hiking, backpacking, and outdoor adventures. I enjoy testing gear, comparing products, and sharing practical advice to help readers make informed decisions. At BestOutsideGear, I create honest gear reviews, buying guides, and outdoor tips to help adventurers choose the right equipment with confidence.